

Every software ever deployed is only as trustworthy as the process that produced it. Code signing sits at the heart of that trust — it proves that a binary hasn’t been tampered with and that it genuinely came from your organization. But manually signing builds are error-prone and slows your team down. The better path is to bring signing directly into your CI/CD pipeline, so it happens automatically, consistently, and securely on every build.
This guide walks you through integrating Encryption Consulting’s CodeSign Secure with CircleCI using Microsoft’s Signtool and a self-hosted CircleCI runner on a Windows machine. With these integration steps, your pipeline will automatically sign every build using keys stored securely in CodeSign Secure’s HSM-backed platform — with no private keys ever exposed on the build machine.
CircleCI code signing integration, defined: a self-hosted Windows CircleCI runner calling Microsoft’s signtool.exe through Encryption Consulting’s Key Storage Provider (KSP), which routes every signing request to CodeSign Secure’s HSM over an authenticated channel, so the build machine handles a digest and a signature but never the private key itself.
Key Takeaways
- This is a CircleCI-specific platform tutorial. For the general architecture behind secrets-free, HSM-backed CI/CD signing (identity, approval gates, verification patterns that apply across any CI/CD platform), see Strengthening Supply Chain Security with SLSA Level 3 and Code Signing.
- The private key never leaves CodeSign Secure’s HSM; the Windows runner only ever handles a digest and the resulting signature, via the EC KSP acting as a CNG provider for signtool.exe.
- The API token and P12 authentication certificate created during setup are production credentials, not throwaway values; treat them with the same rotation and access discipline as any other CI/CD secret.
- This requires a self-hosted Windows runner because signtool.exe and the EC KSP are Windows-native; CircleCI’s cloud-hosted Linux/macOS resource classes can’t run this integration directly.
Reference Architecture
Before the setup steps, it helps to see how the pieces fit together. A commit triggers the CircleCI pipeline in the cloud, which dispatches the signing job to your self-hosted Windows runner. On that runner, signtool.exe doesn’t hold a key of its own; it calls out through the EC KSP, a Windows CNG provider Encryption Consulting installs specifically to bridge signtool to remote HSM-backed keys. The KSP authenticates to CodeSign Secure using the API token and P12 certificate configured during setup, submits the artifact’s hash, and receives back a signature computed inside the HSM. The signed artifact is what returns to the pipeline; the private key stays inside CodeSign Secure’s HSM boundary the entire time.
What You’ll Need
Before you begin, make sure you have the following in place:
- An active CodeSign Secure account with portal access
- A Windows machine that will act as your self-hosted CircleCI runner
- A CircleCI account
- A GitHub (or other supported) repository to connect with your CircleCI project
- Administrator access on the Windows machine for installing tools
What This Guide Covers
The setup is broken into four main sections, each building on the last:
- Setting up the EC KSP — Install and configure Encryption Consulting’s Key Storage Provider on your Windows machine
- Setting up P12 Authentication — Create a machine authentication certificate and configure environment variables
- Setting up Signtool — Install the Windows SDK and point your environment to Signtool.exe
- Setting up and running CircleCI — Create your organization, runner, project, and pipeline config to tie everything together
Set up CodeSign Secure KSP
The Encryption Consulting Key Storage Provider (KSP) for Windows is a software component that extends the Microsoft Cryptography API: Next Generation (CNG) framework. Its primary purpose is to enable Windows applications, such as signtool.exe, to interact seamlessly with the cryptographic keys and certificates stored within an HSM.
Steps:
1. Download the EC KSP
-
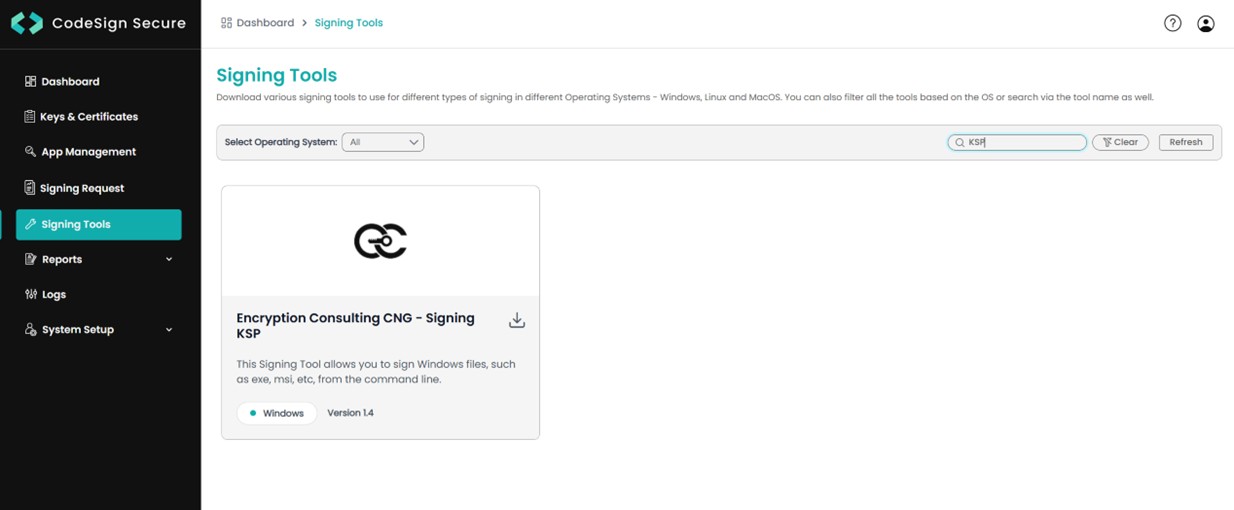
Log in to the CodeSign Secure portal and navigate to the Signing Tools section to download “EC KSP for Windows”.
- Extract the zip file to get the “Setup.msi” file.
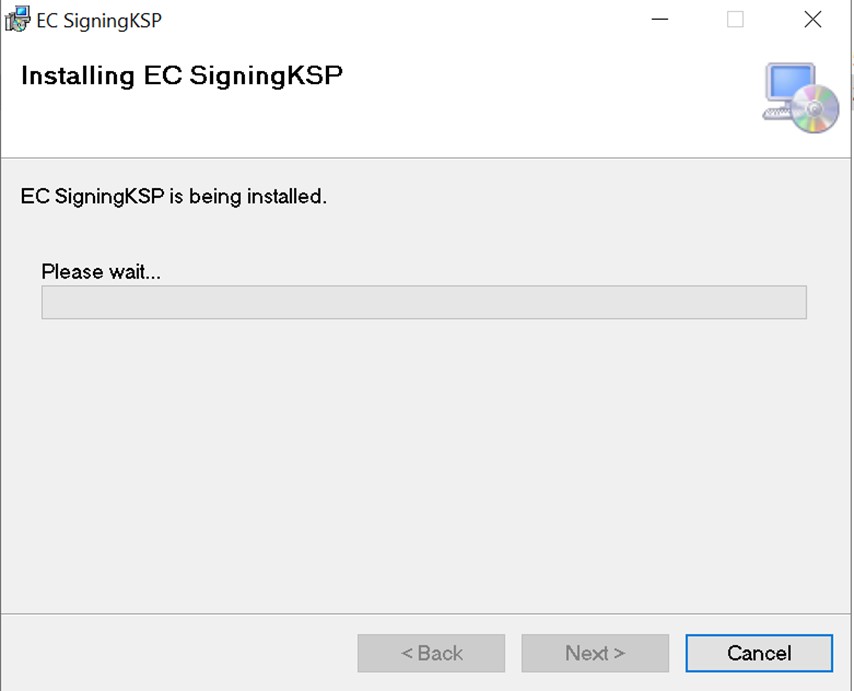
2. Install the EC KSP
-
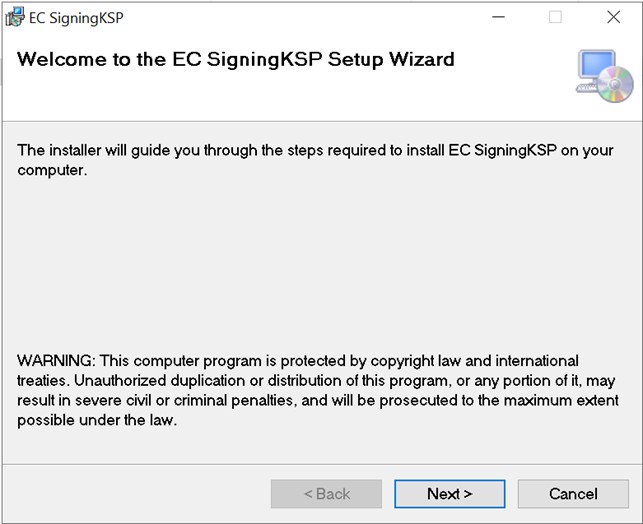
Run the “Setup.msi” installer with Administrator privileges.
-
Follow the on-screen prompts of the installation wizard.
- Accept the End-User License Agreement.
-
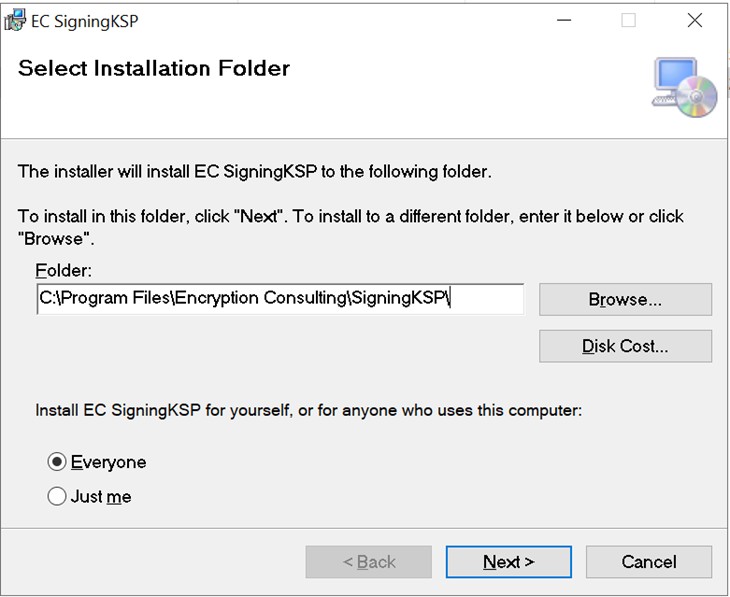
Choose the installation directory (the default is
C:\Program Files\Encryption Consulting\SigningKSP). -
Choose whether you want to install the KSP for Everyone or just for the current user.
-
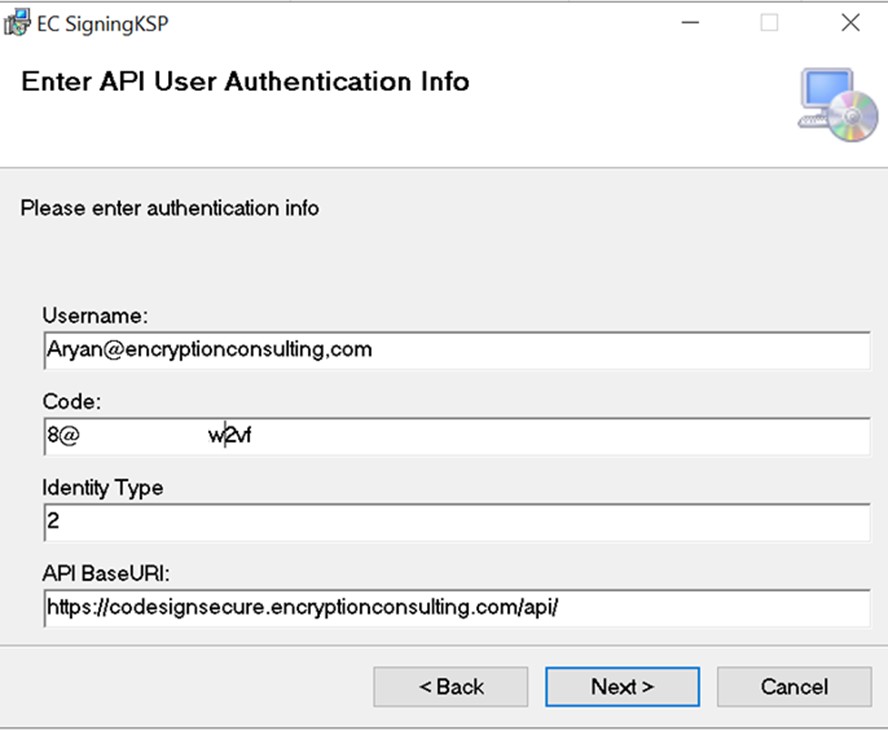
Enter the prompted details such as:
- Username – The username/email that you use to log in to the CodeSign Secure portal.
- Code – The secret code that you set at the time of setting up the CodeSign Secure solution.
- IdentityType – Keep this field as default (2).
-
CodeSign Secure URL – The URL to access the portal (Remember to add “/api/” at the end of the URL).
-
Click Next and confirm the installation.
3. Configure the Registry Editor settings
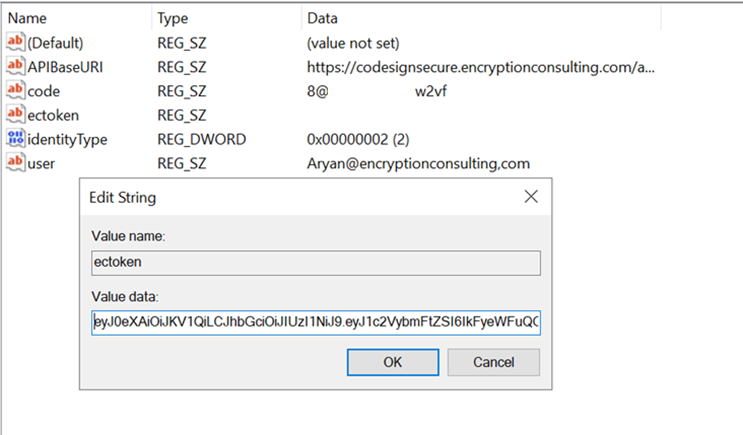
Open the Registry Editor and navigate to
HKEY_CURRENT_USER > Software > Encryption Consulting >
      SigningKSP
directory.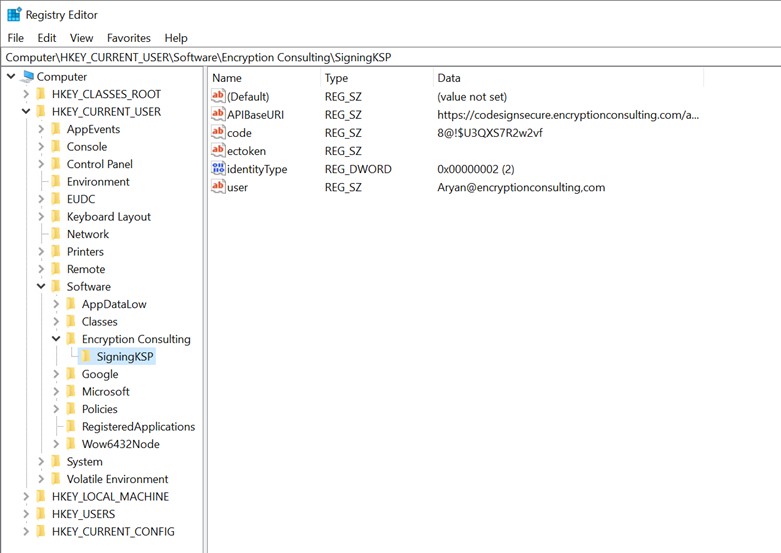
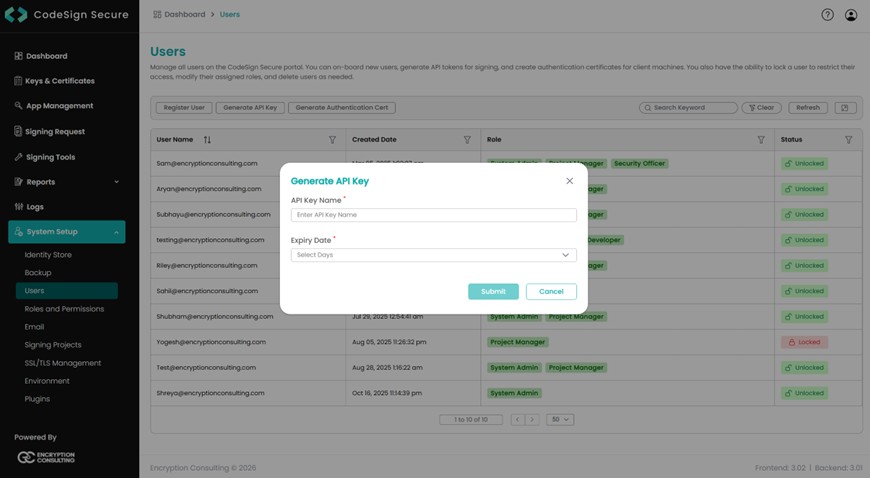
Now open the CodeSign Secure portal and navigate to System Setup > User. Select the “Generate API Key” option.
-
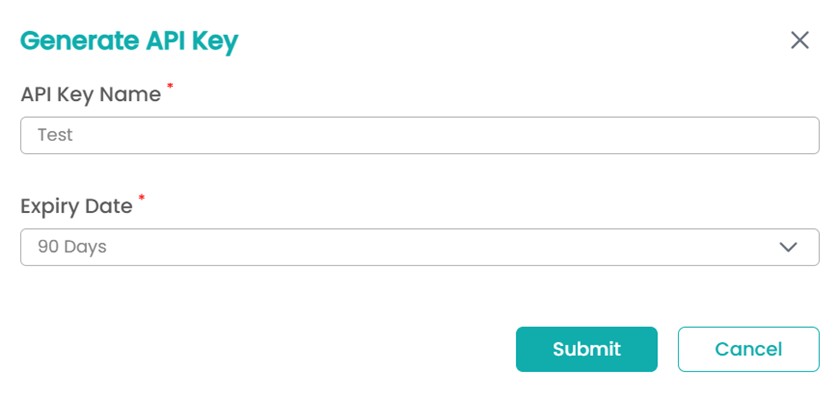
Create a token for your account by providing a name and the validity period. Remember to copy the token as it will be shown only once.
-
Add this token to the ”ectoken” field in the Registry Editor.
Least-Privilege Note
The API token you just generated authenticates as whichever account created it. Rather than generating it from a personal admin account, create a dedicated service account scoped to only the signing operations this pipeline needs, and give it its own token. That way, revoking access for this specific pipeline, or auditing what it has signed, doesn’t require touching every other credential tied to a real person’s account.
Set up P12 Authentication Certificate
Setting up a P12 Certificate involves configuring your environment variables to authenticate your client machine with Encryption Consulting’s CodeSign Secure.
Steps:
1. Create a Machine Authentication Certificate
-
Open the CodeSign Secure portal and navigate to System Setup > User. Select the “Generate Authentication Cert” option.
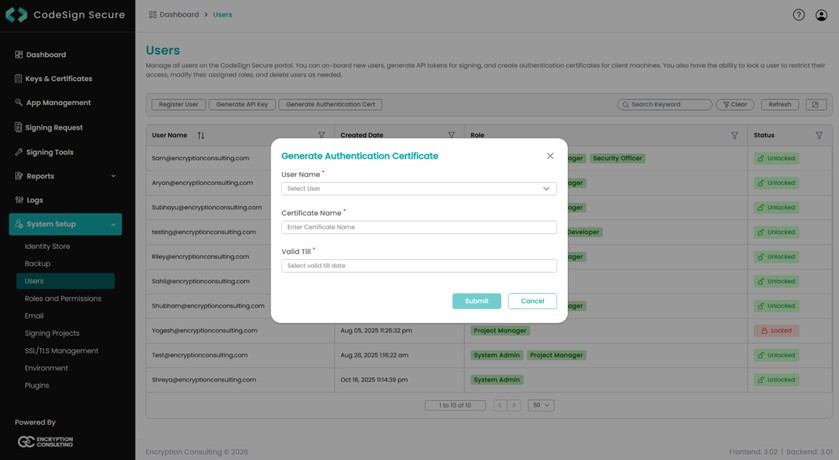
- Select the user name from the drop down and enter the details like certificate name and its expiry date.
-
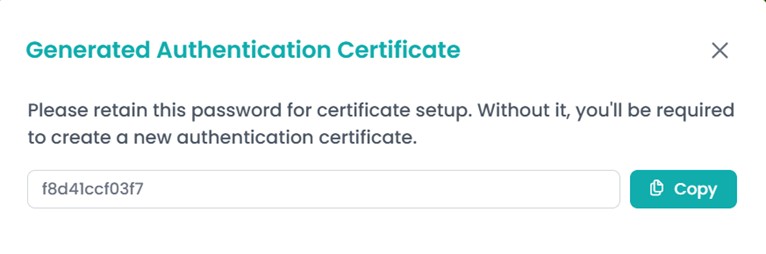
It will then provide you with a .pfx certificate file and
also display the password to the certificate file.
NOTE: This password will be displayed only once. So you must copy and store it safely to perform the authentication with the CodeSign Secure server.
2. Configure the Environment Variables
-
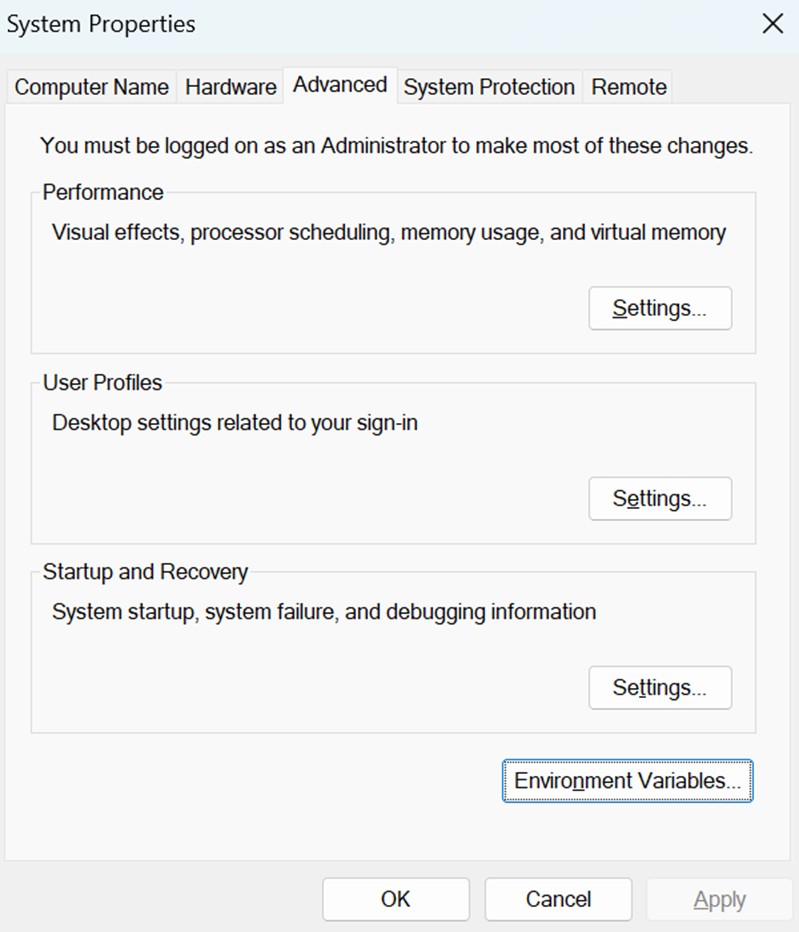
Open the Environment Variables from your Start Menu.
-
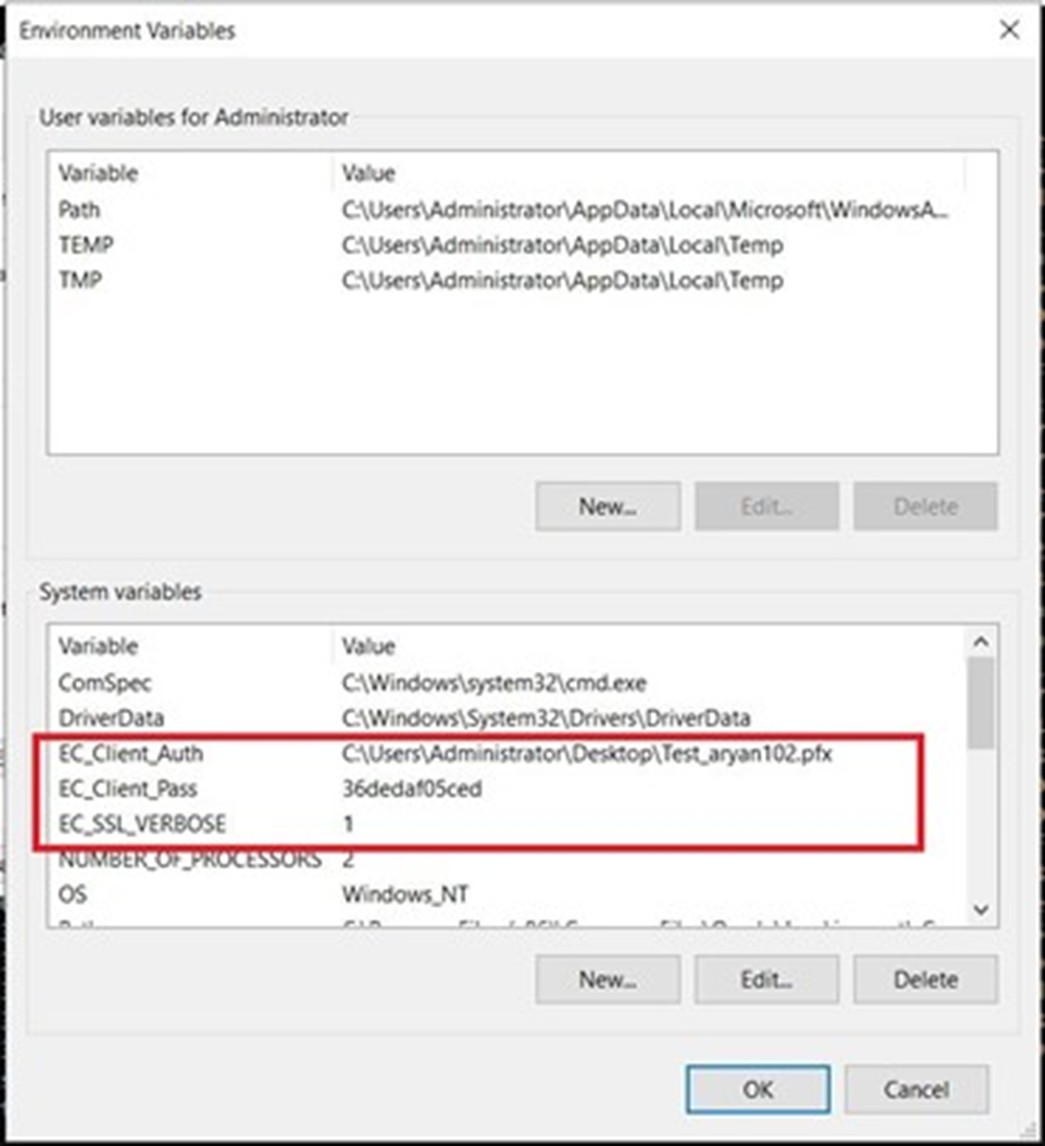
Add new system variables by clicking on the New button.
Provide the following variable name and its corresponding details.
- EC_Client_Auth: Corresponds to the path of your SSL Authentication certificate, which can be created from CodeSign Secure.
- EC_Client_Pass: Corresponds to the password of your certificate, which is provided at the time of creation of the certificate.
- EC_SSL_VERBOSE: Corresponds to the setting to either enable (1) or disable (0) the debugging output for EC KSP.
Set up Signtool for Signing
Setting up signtool for code signing involves ensuring that the Signtool.exe utility is available on your machine and configured to correctly interact with Encryption Consulting’s cryptographic provider that provides access to your code signing certificate’s private key.
Steps:
1. Download and Install Windows SDK
-
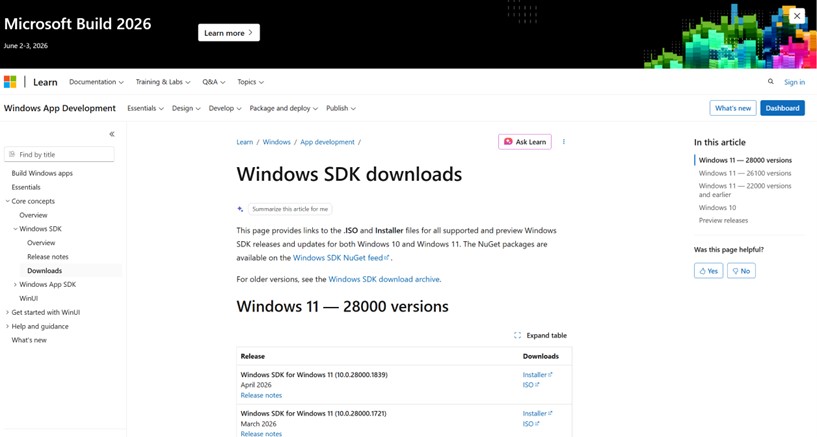
Using the following download link, download the Windows Software Development Kit: Windows SDK downloads – Windows apps | Microsoft Learn
-
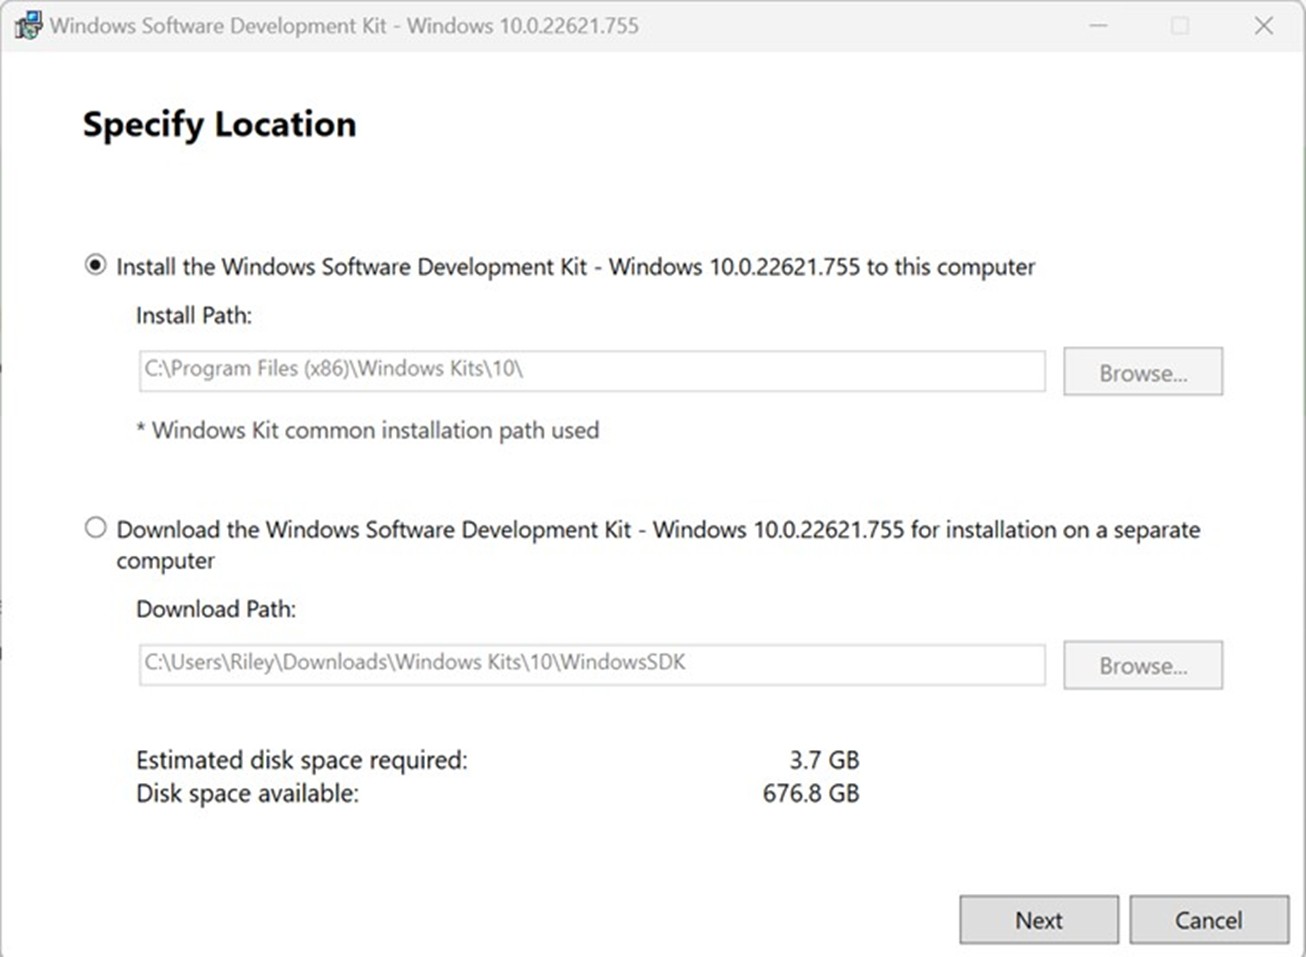
Open the installer once downloaded and select “Next” on the first screen to keep the default settings.
-
Follow the on-screen prompts of the installation wizard.
- Accept the Windows Kit Privacy.
- Accept the End-User License Agreement.
-
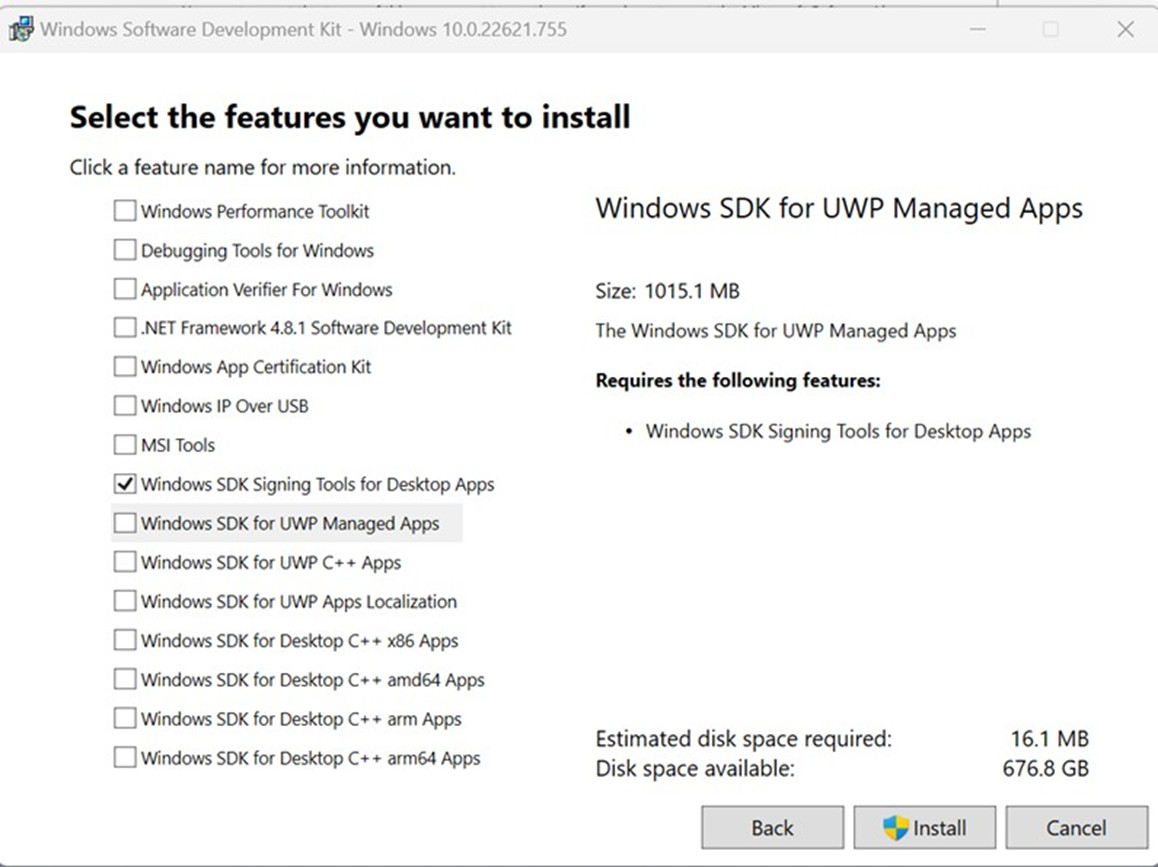
Deselect everything except “Windows SDK Signing Tools for Desktop Apps” and select “Install”.
-
Go to the following path where the tools should have been downloaded to:
C:\Program Files (x86)\Windows Kits\10\bin. Select the desired version directory and check whether the “signtool.exe” file is present.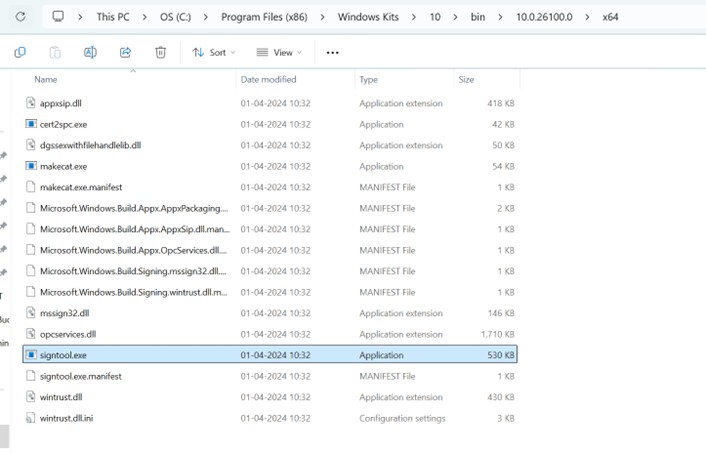
- Ensure you are in the x64 directory and copy this directory path.
2. Add Path to Signtool.exe in Environment Variables
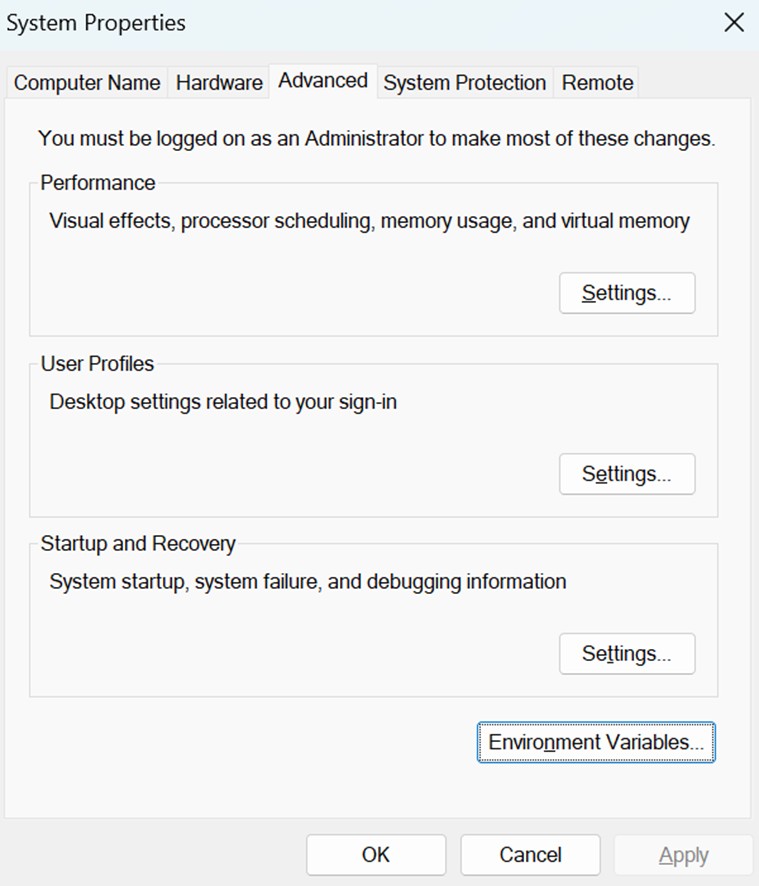
-
Open the Environment Variables from the Start Menu.
-
Scroll down through the system variables on the bottom table until you find PATH in the variable names.
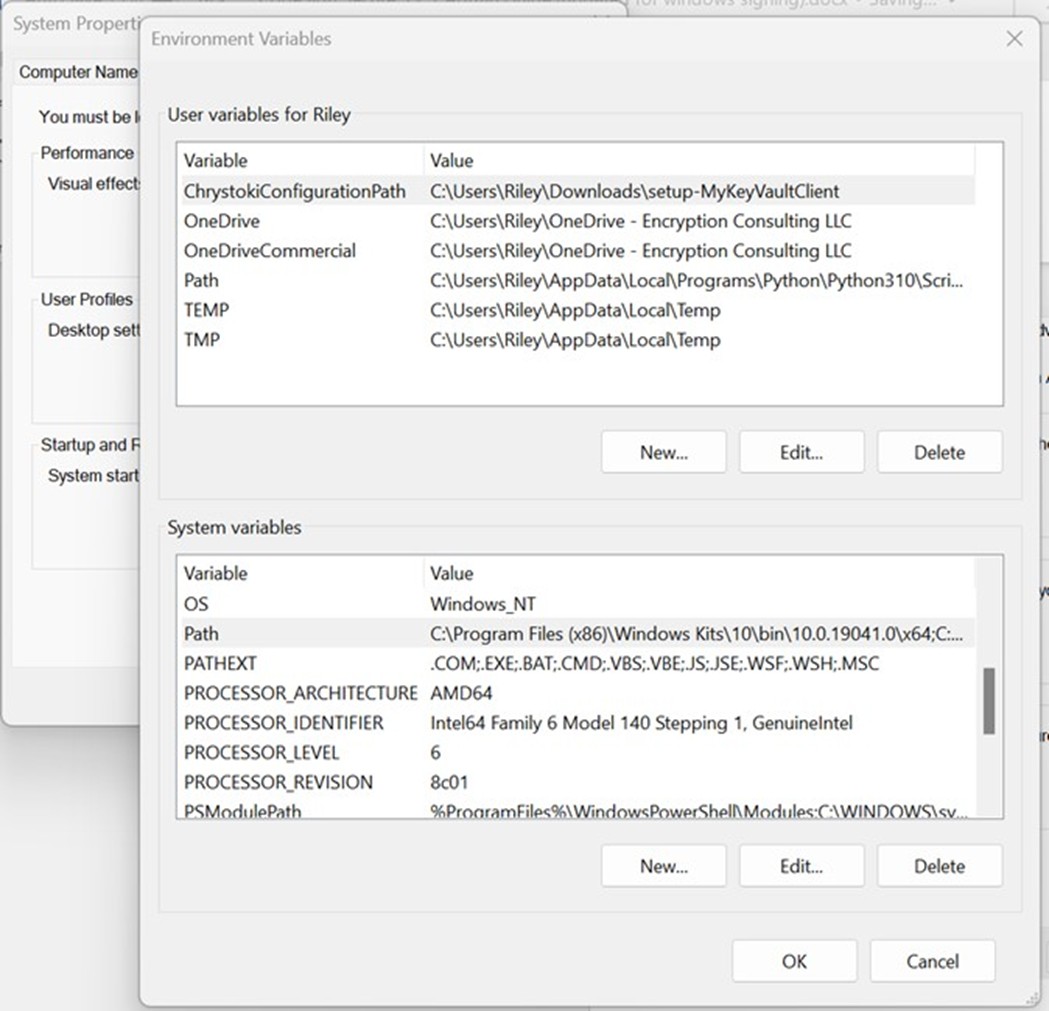
-
Double click on PATH in system variables and select New on the left of the screen. Paste your copied directory path of “signtool.exe” into the new selection.
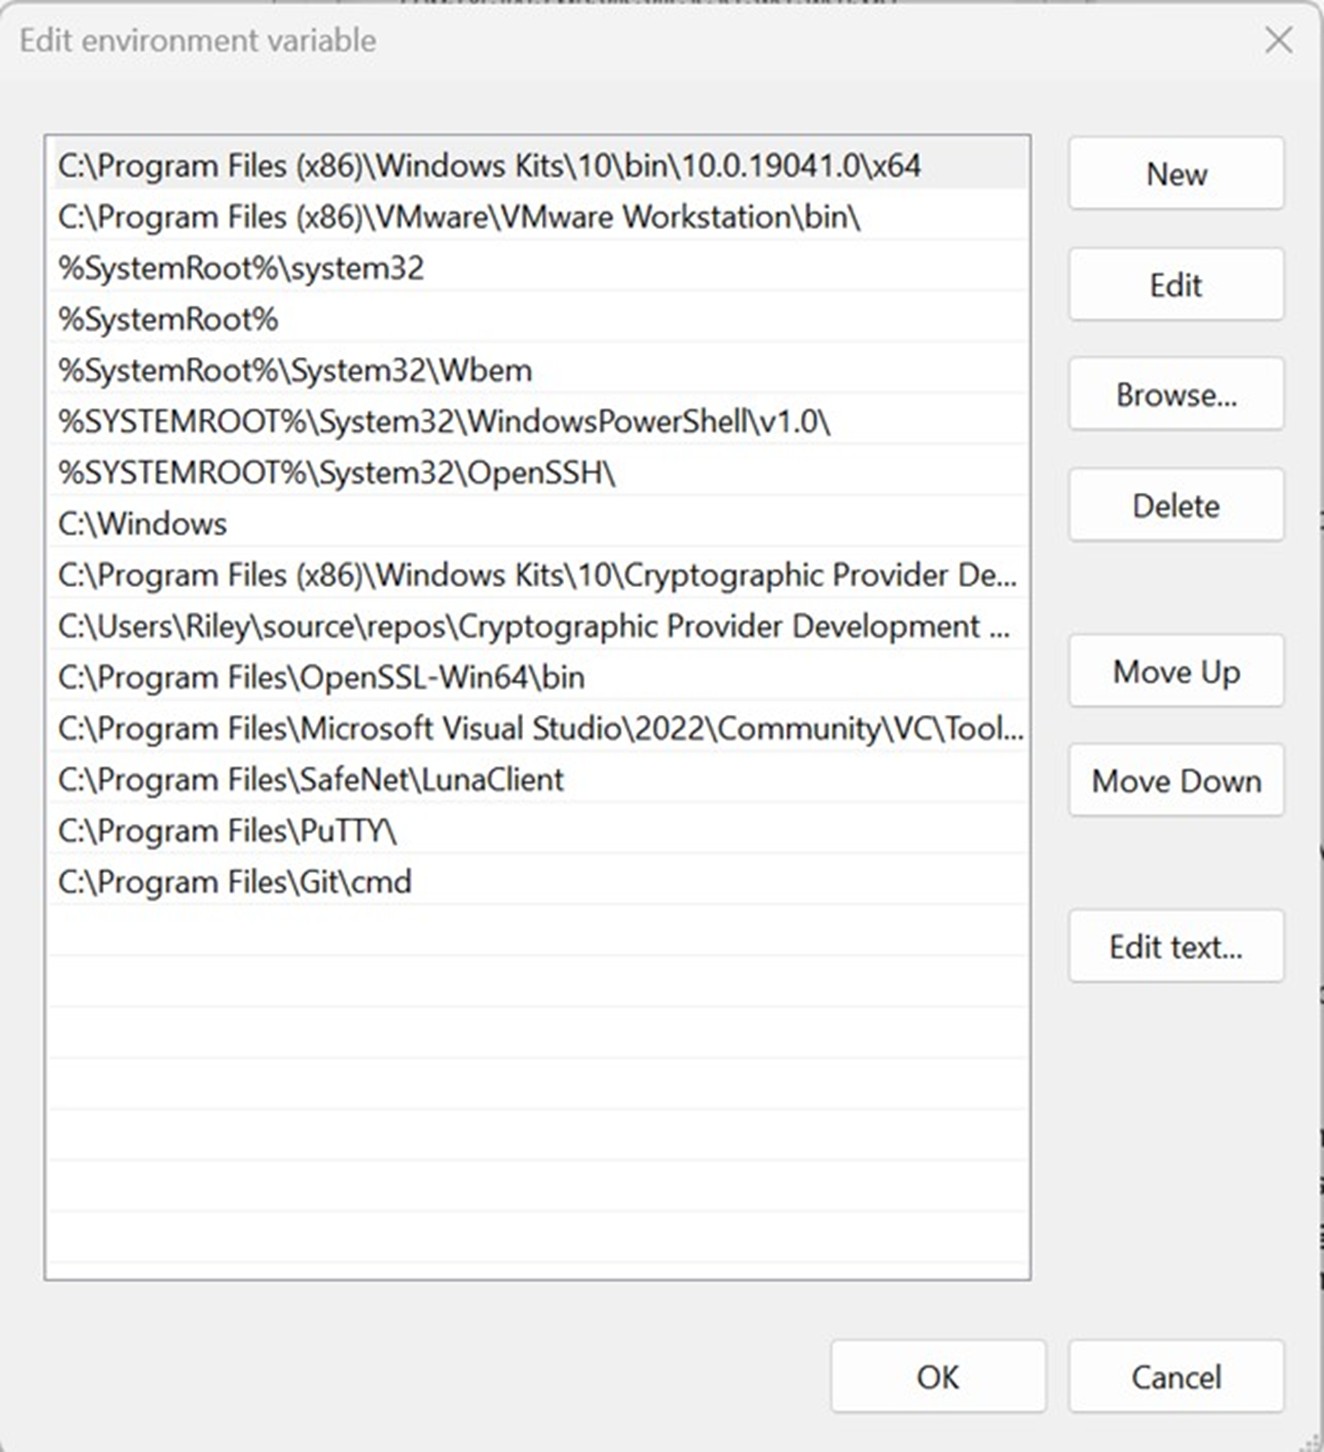
- Select OK at the bottom to exit the Environment Variables page.
Set up CircleCI
Setting up CircleCI requires setting up the organization, configuring your project, and specifically your build machines with the runners and pipelines for signing files using signtool on a Windows machine.
Steps:
1. Create a CircleCI organization
-
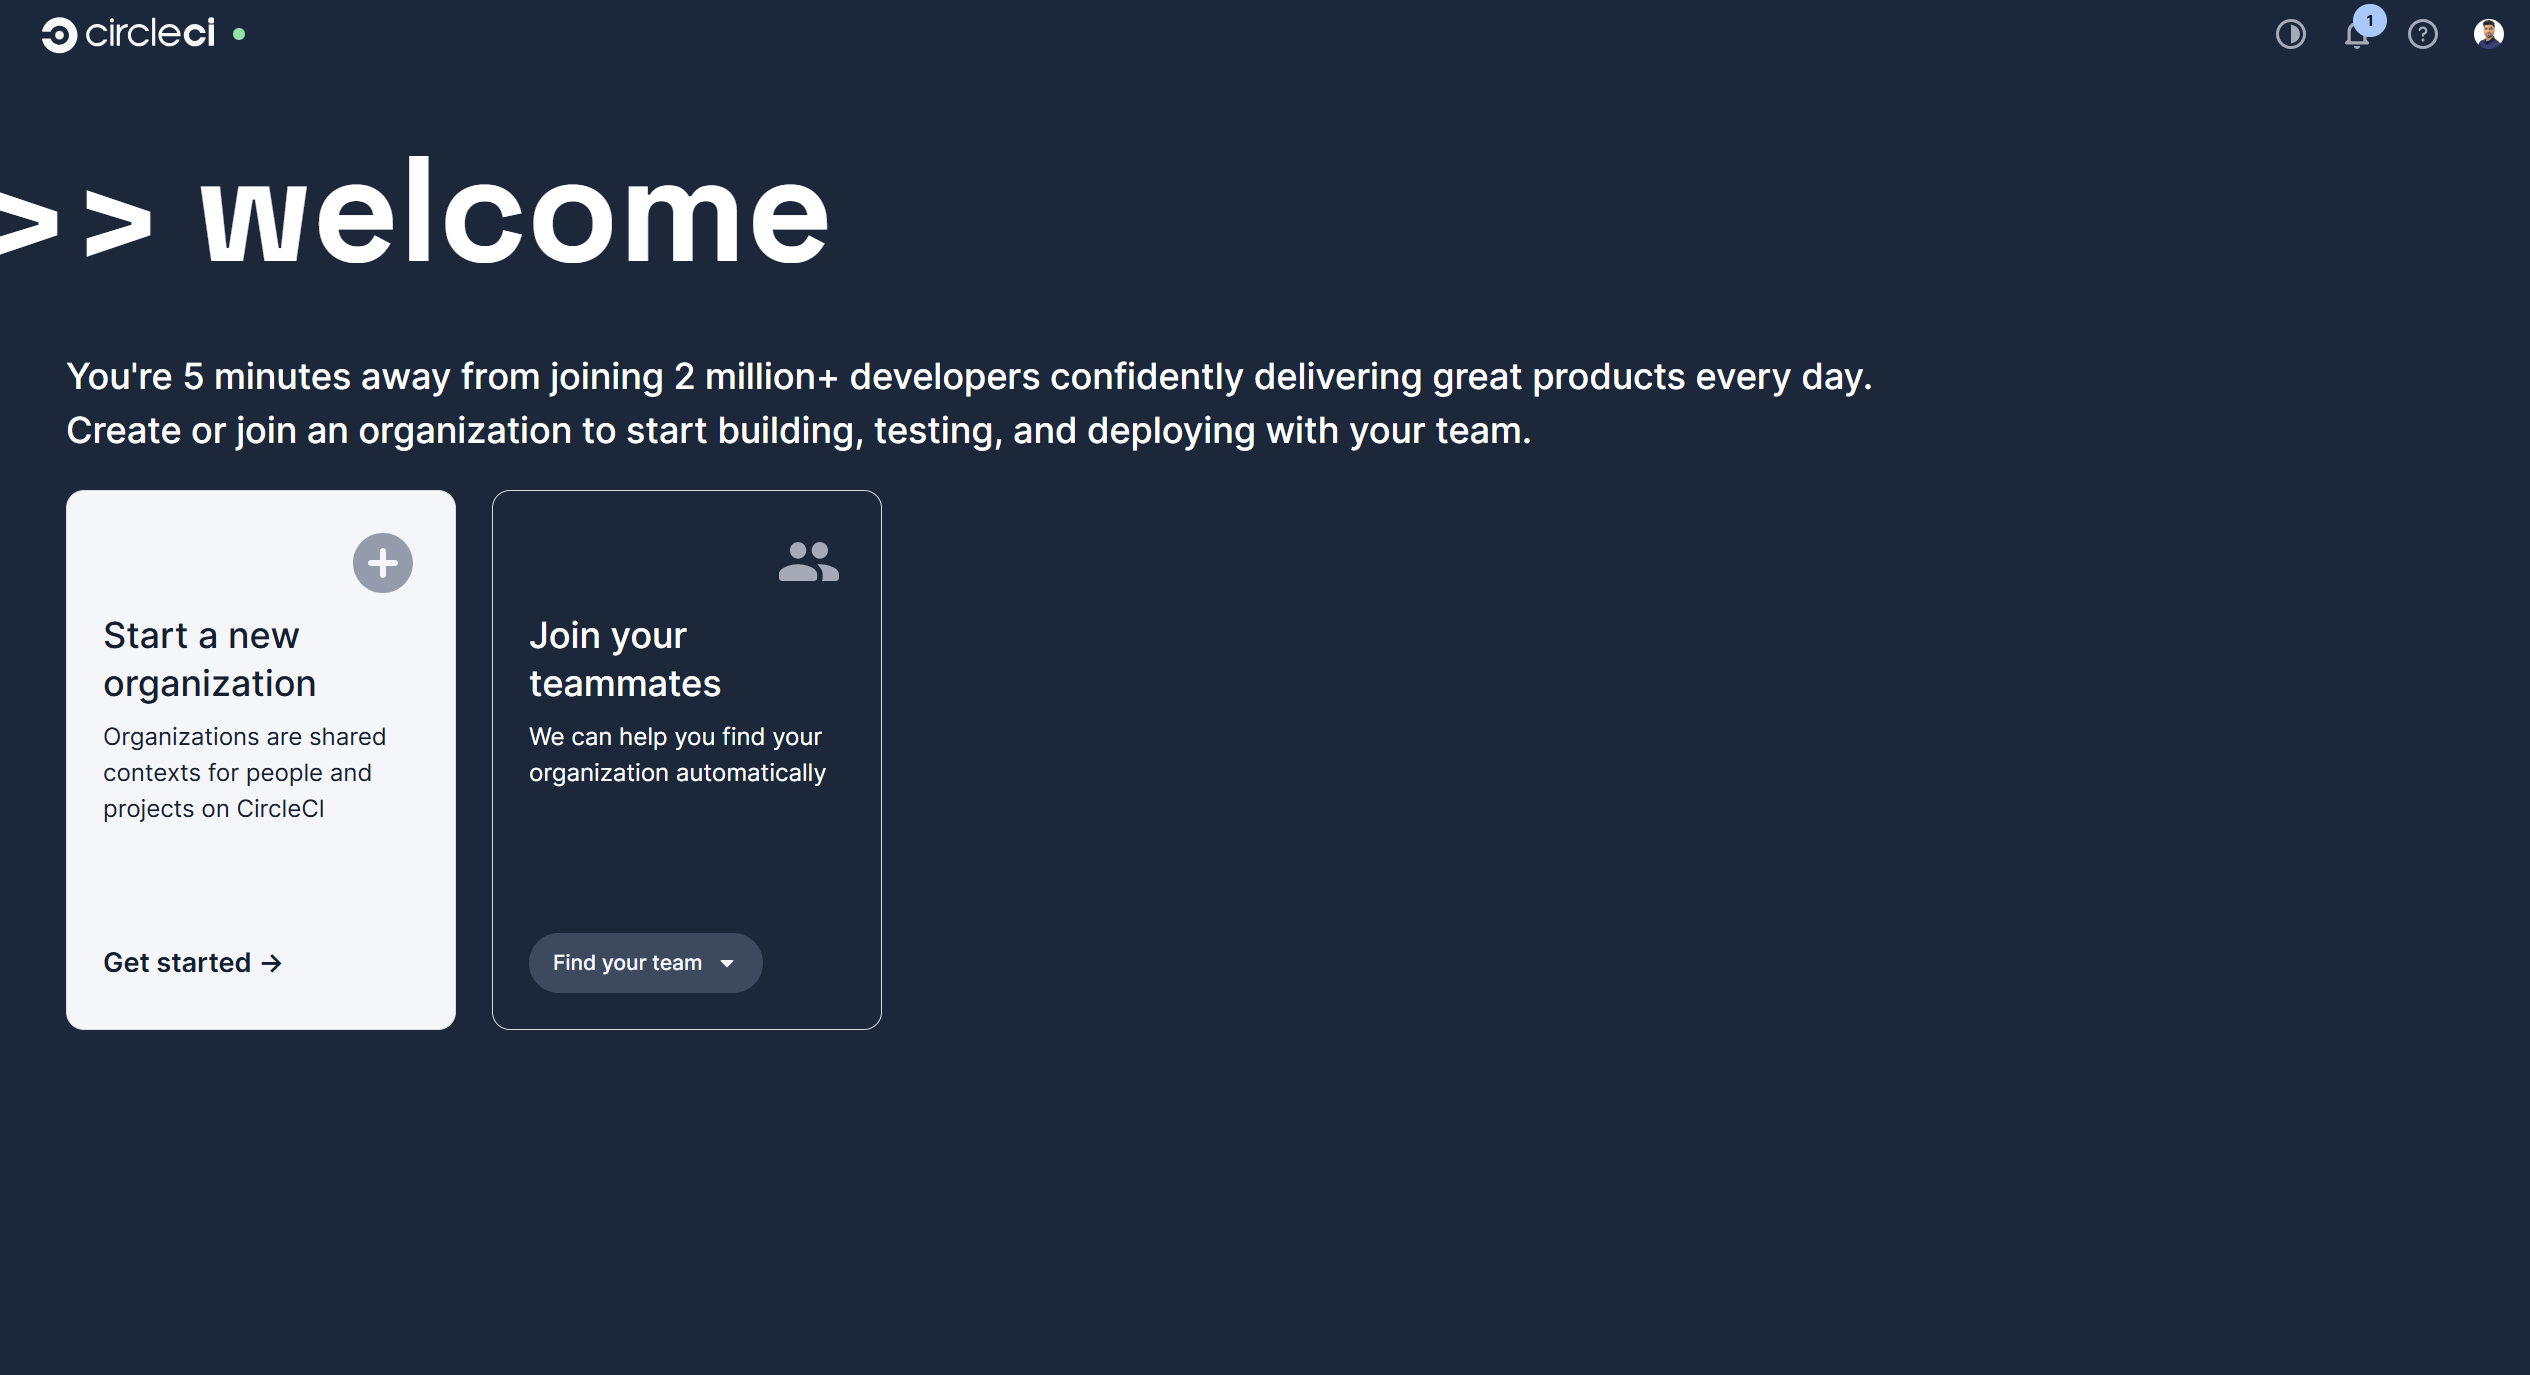
Navigate to CircleCI and log in with your account. It will then show you the options to either create a new Organization or choose an already created one. In this guide, we will be creating a new organization.
-
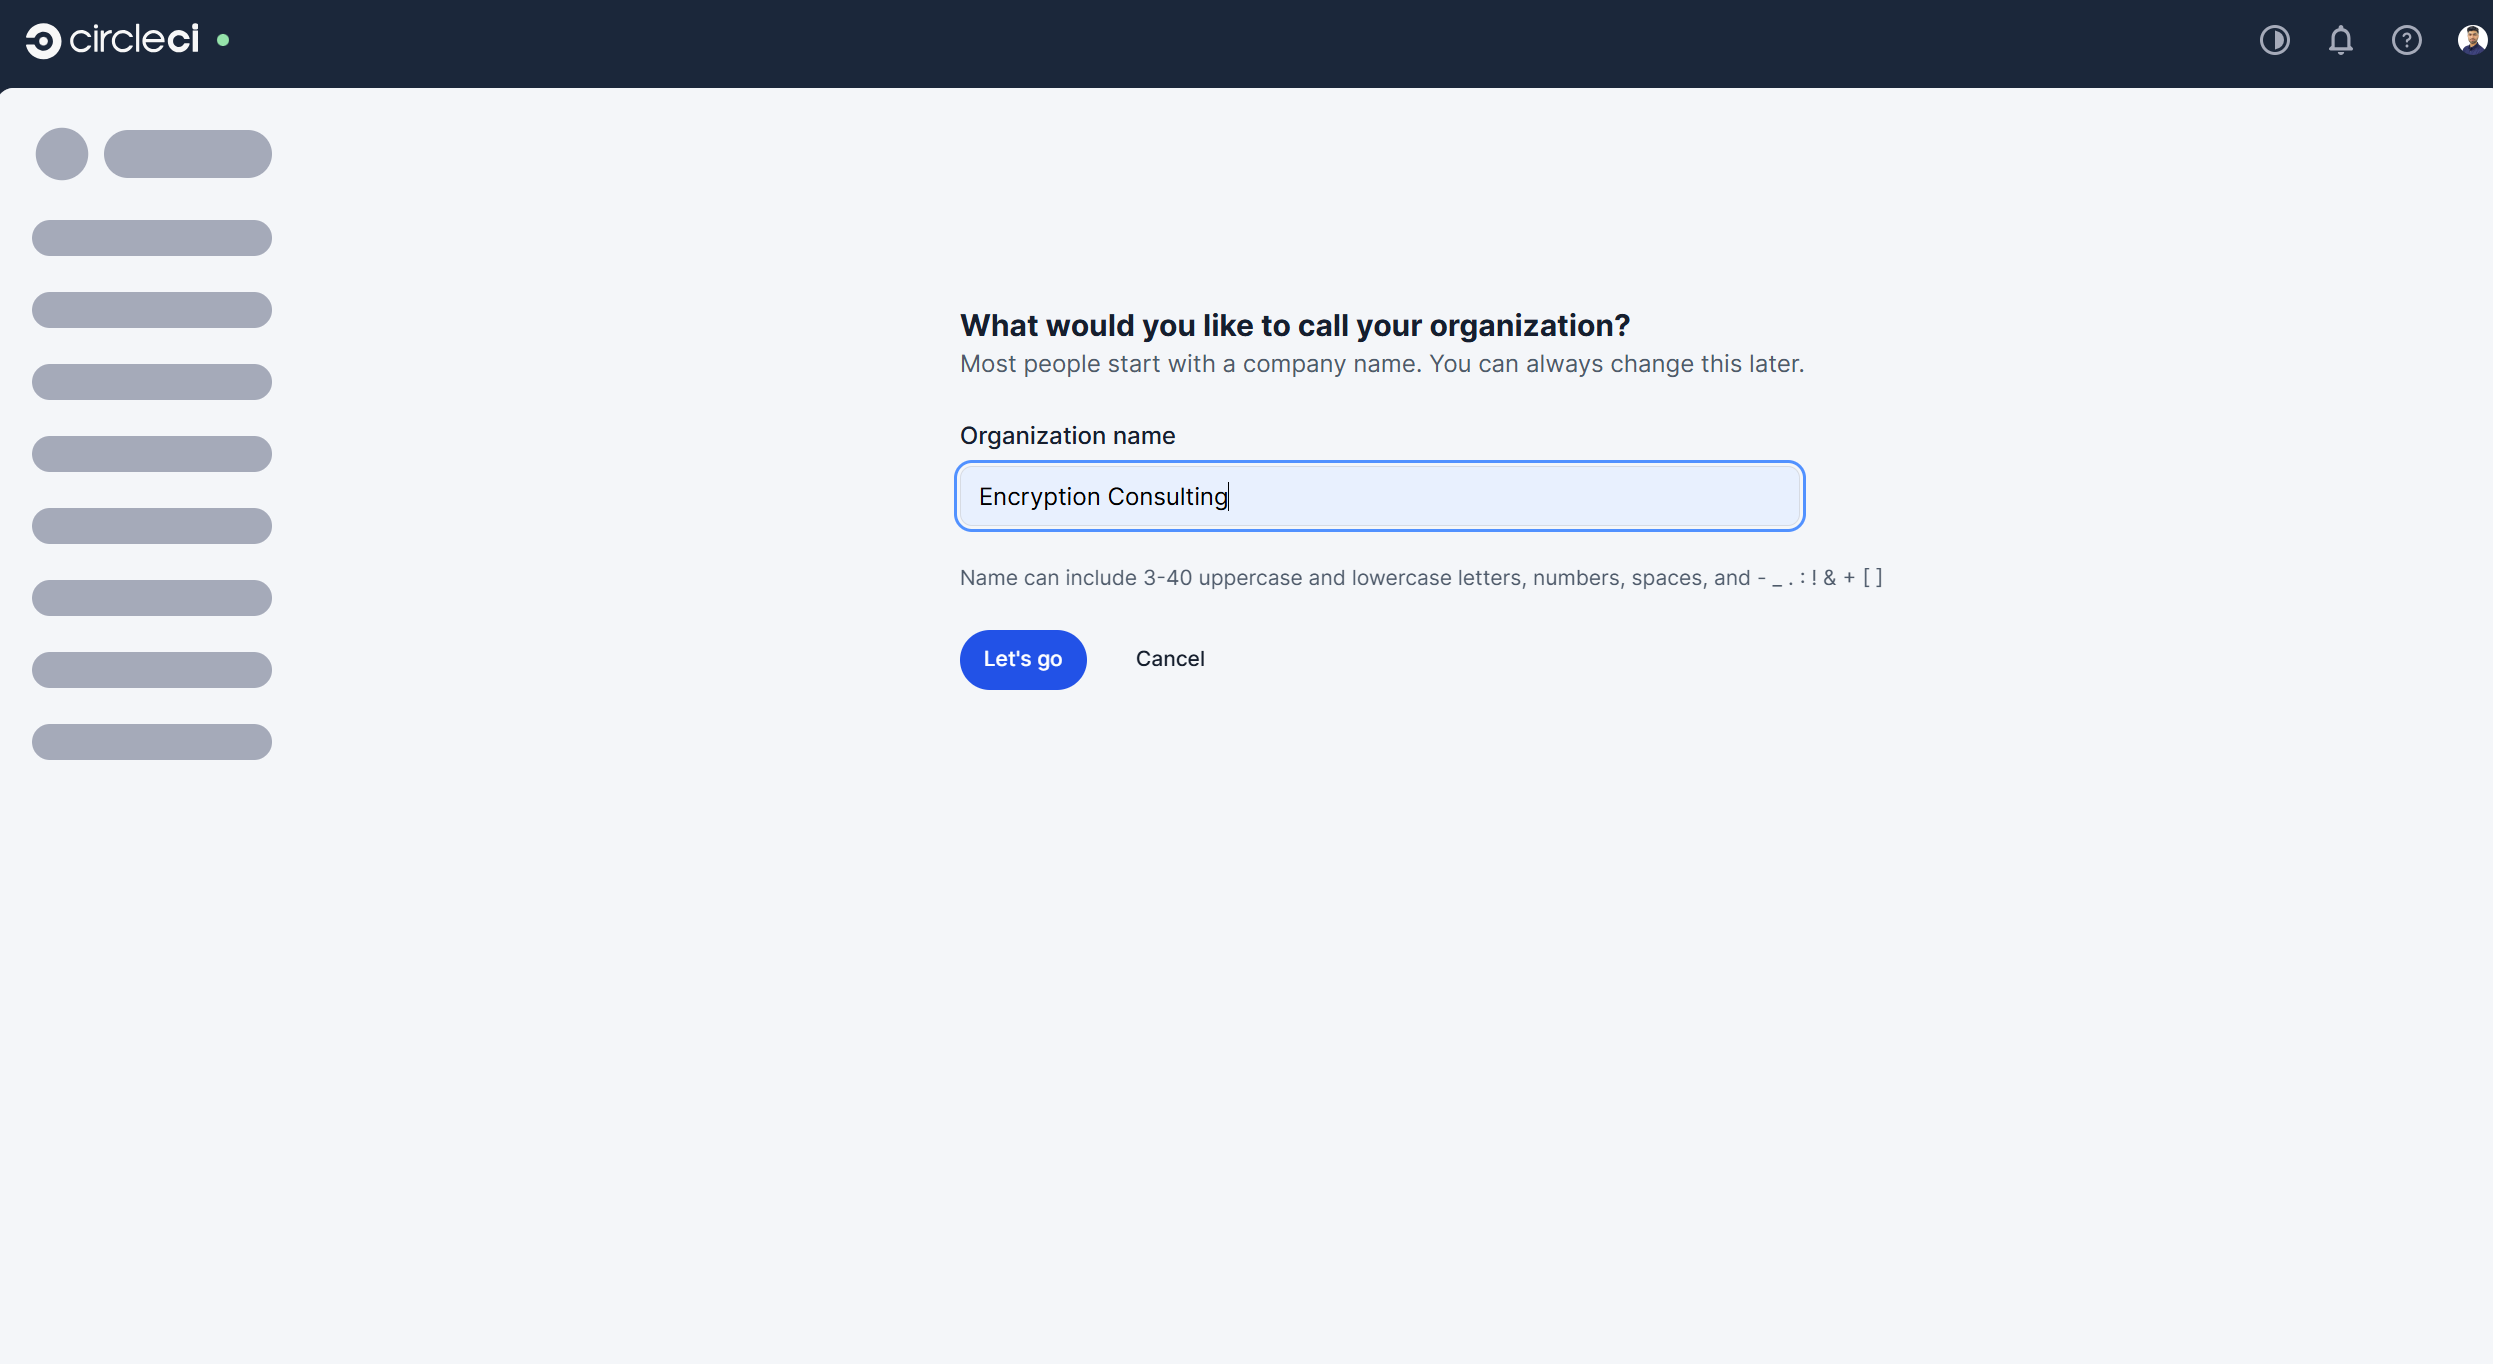
Enter the unique name of the organization.
-
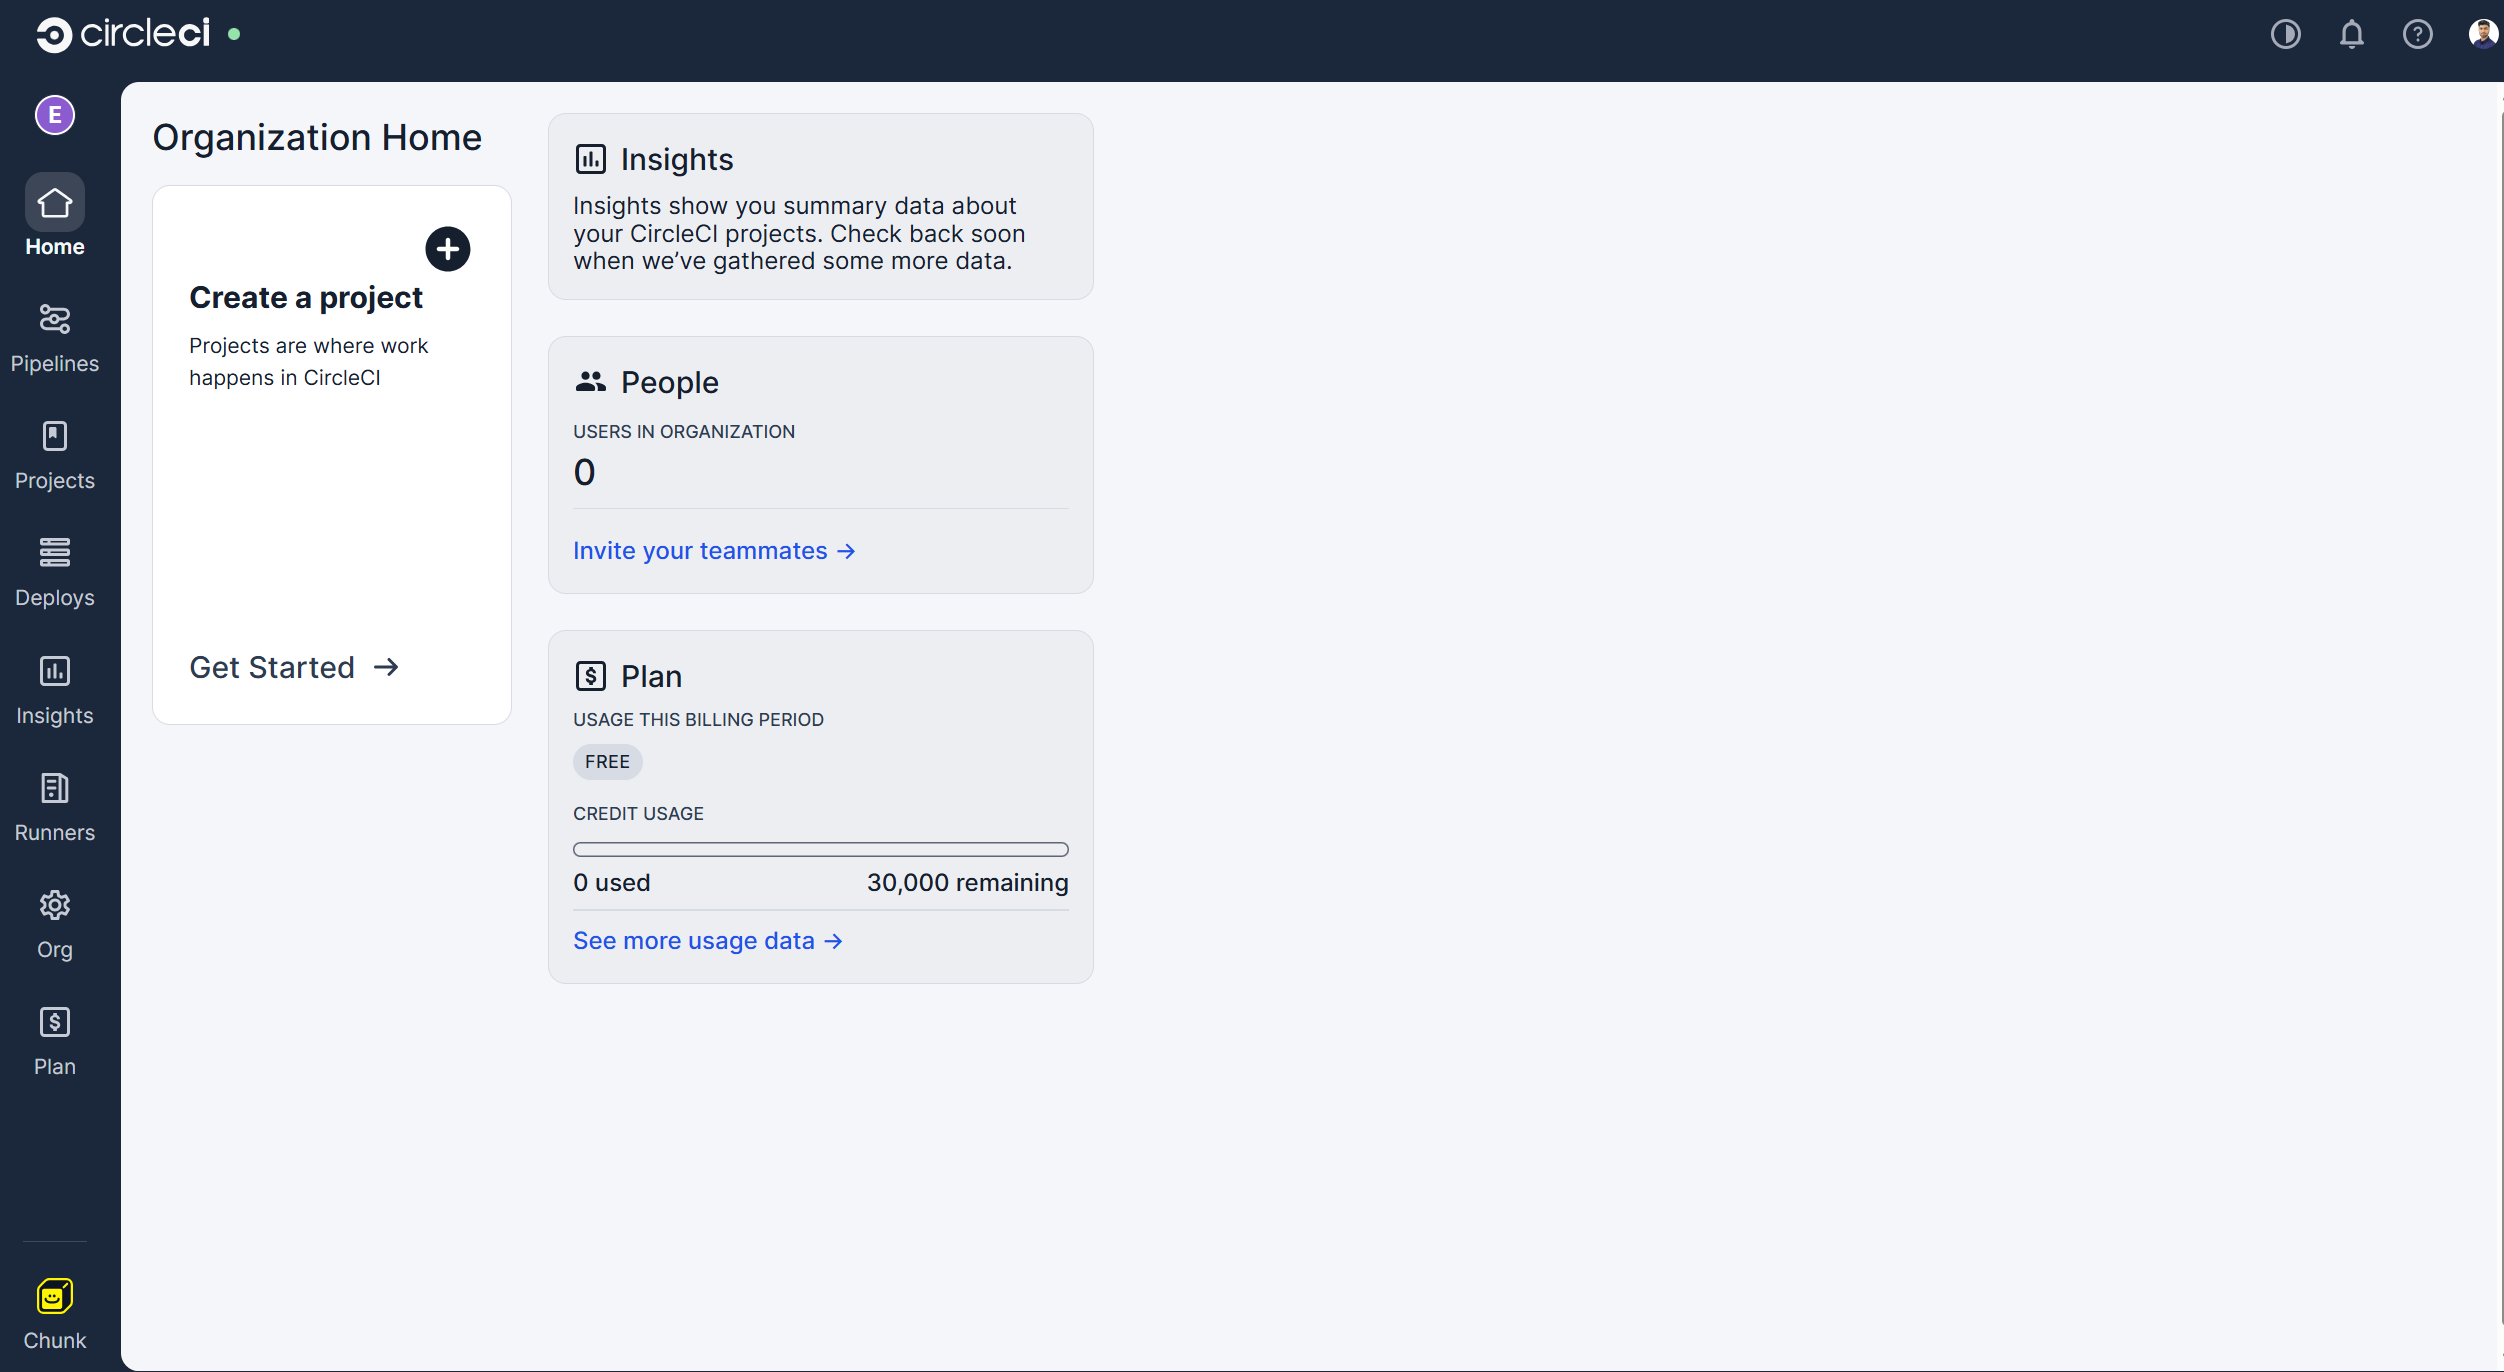
It will then take you to the Home page of you organization in the CircleCI account.
2. Create a Resource Class for a Self-Hosted Runner
-
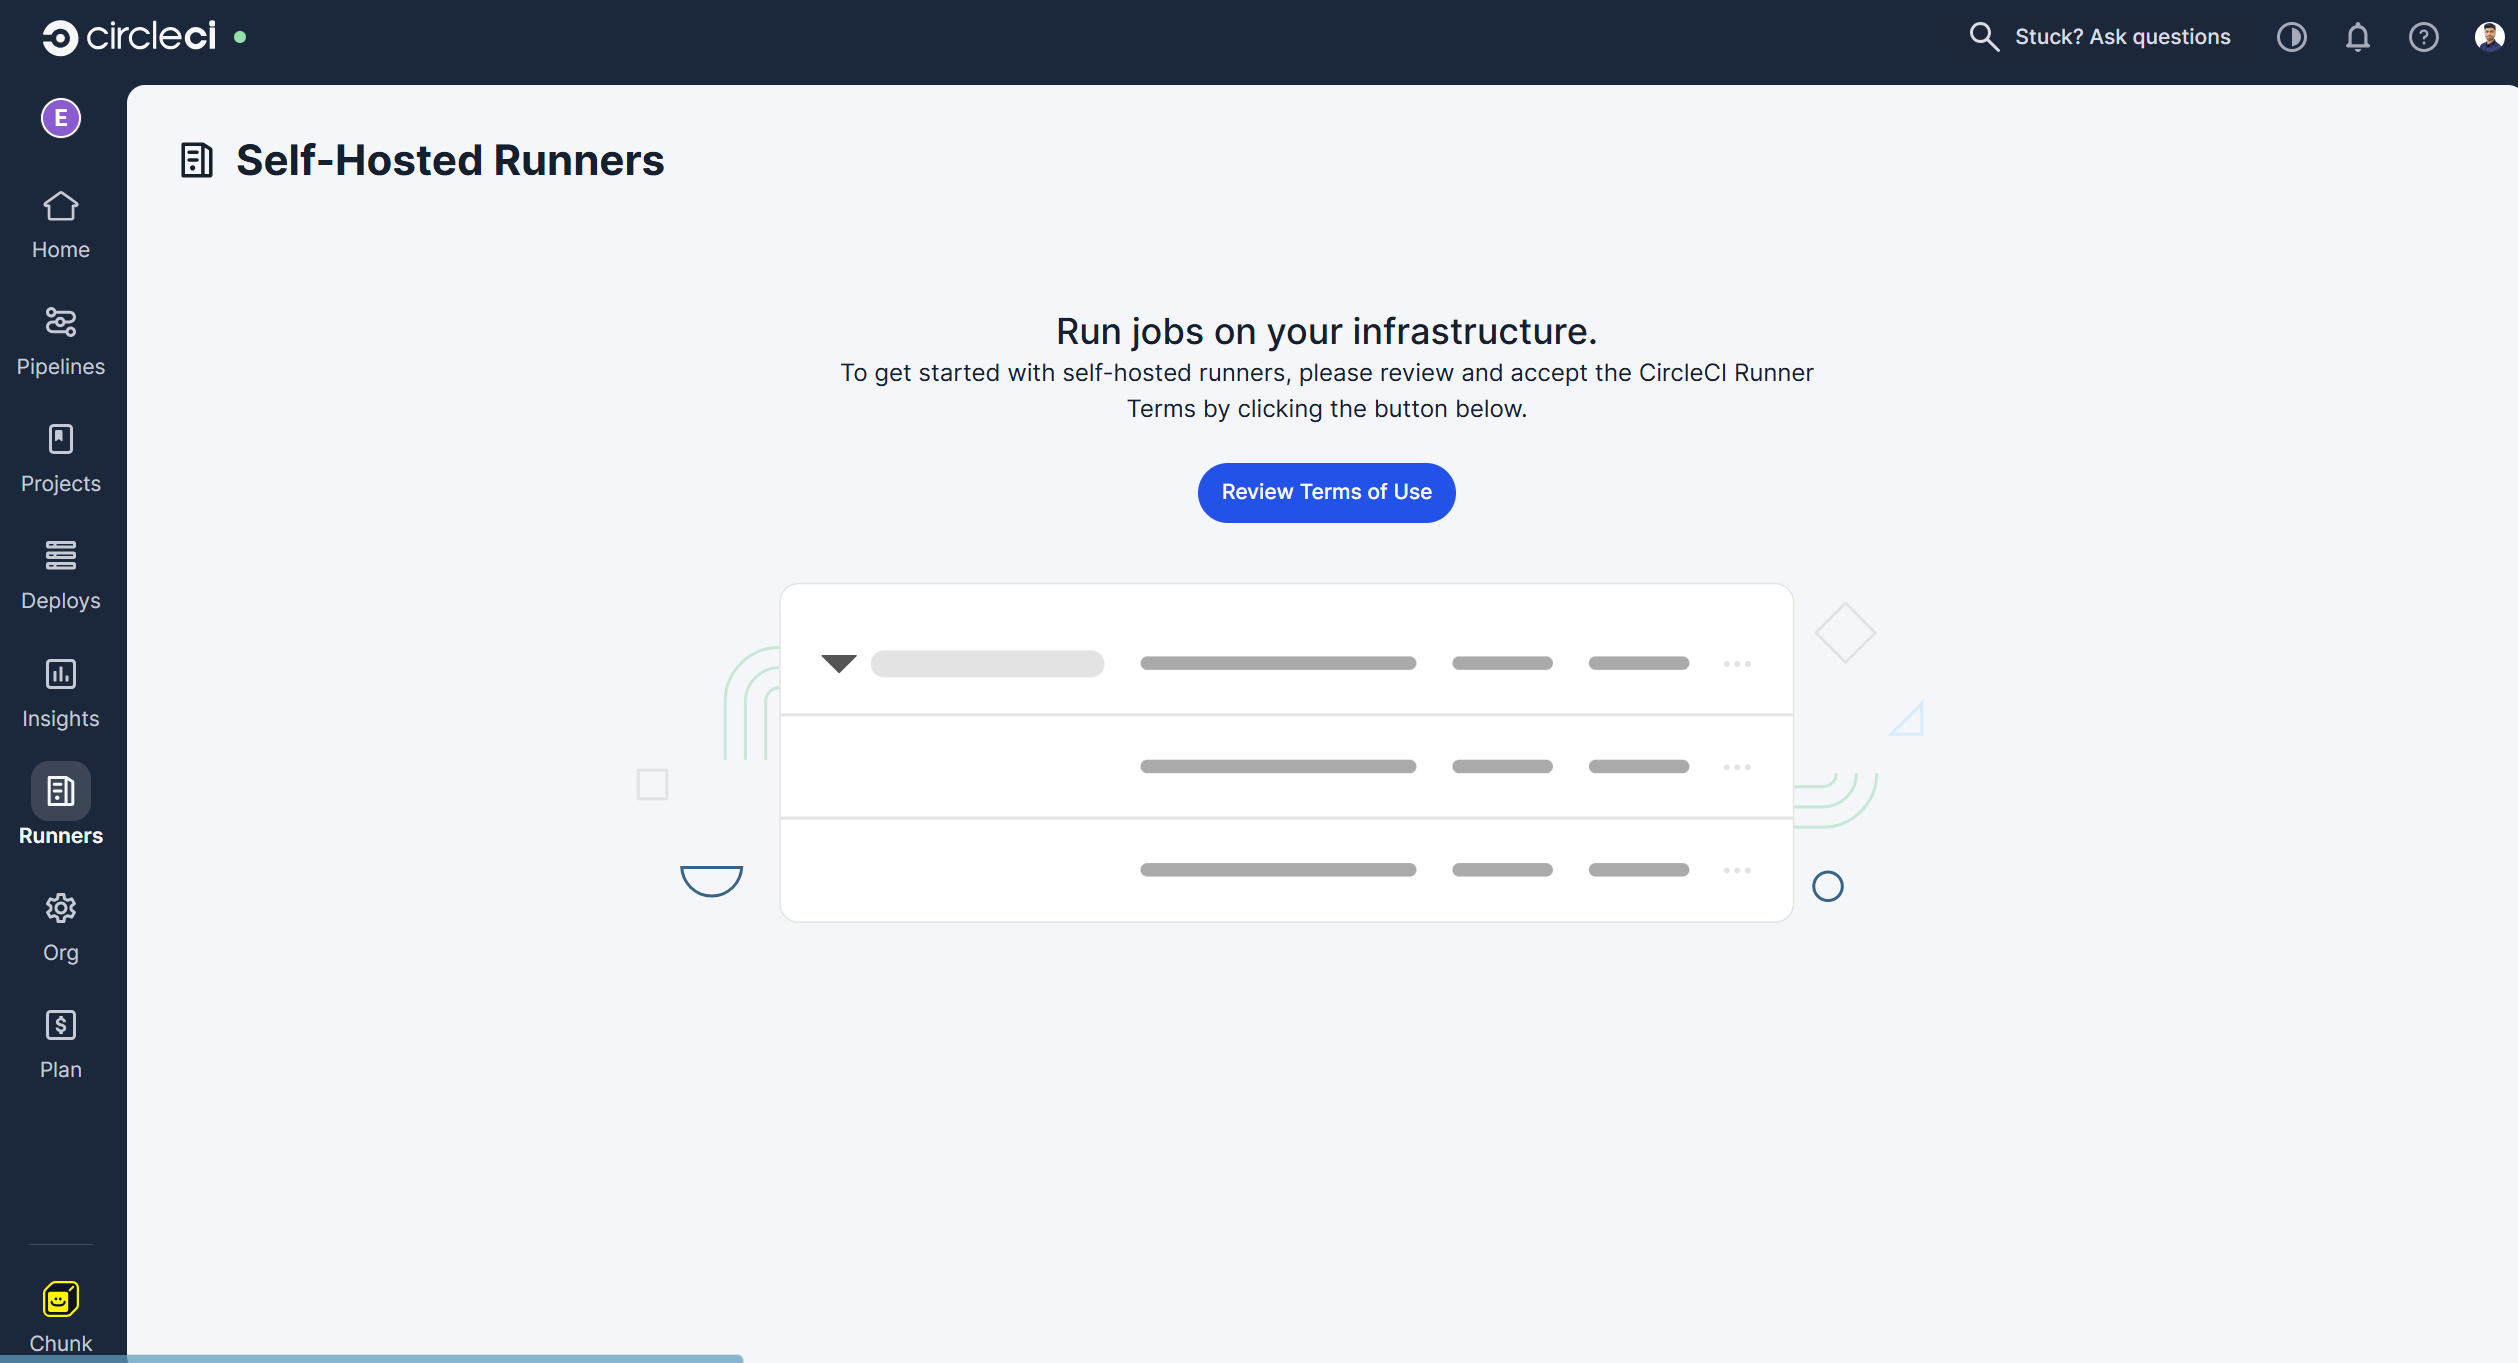
Select the “Runners” section from the left sidebar.
-
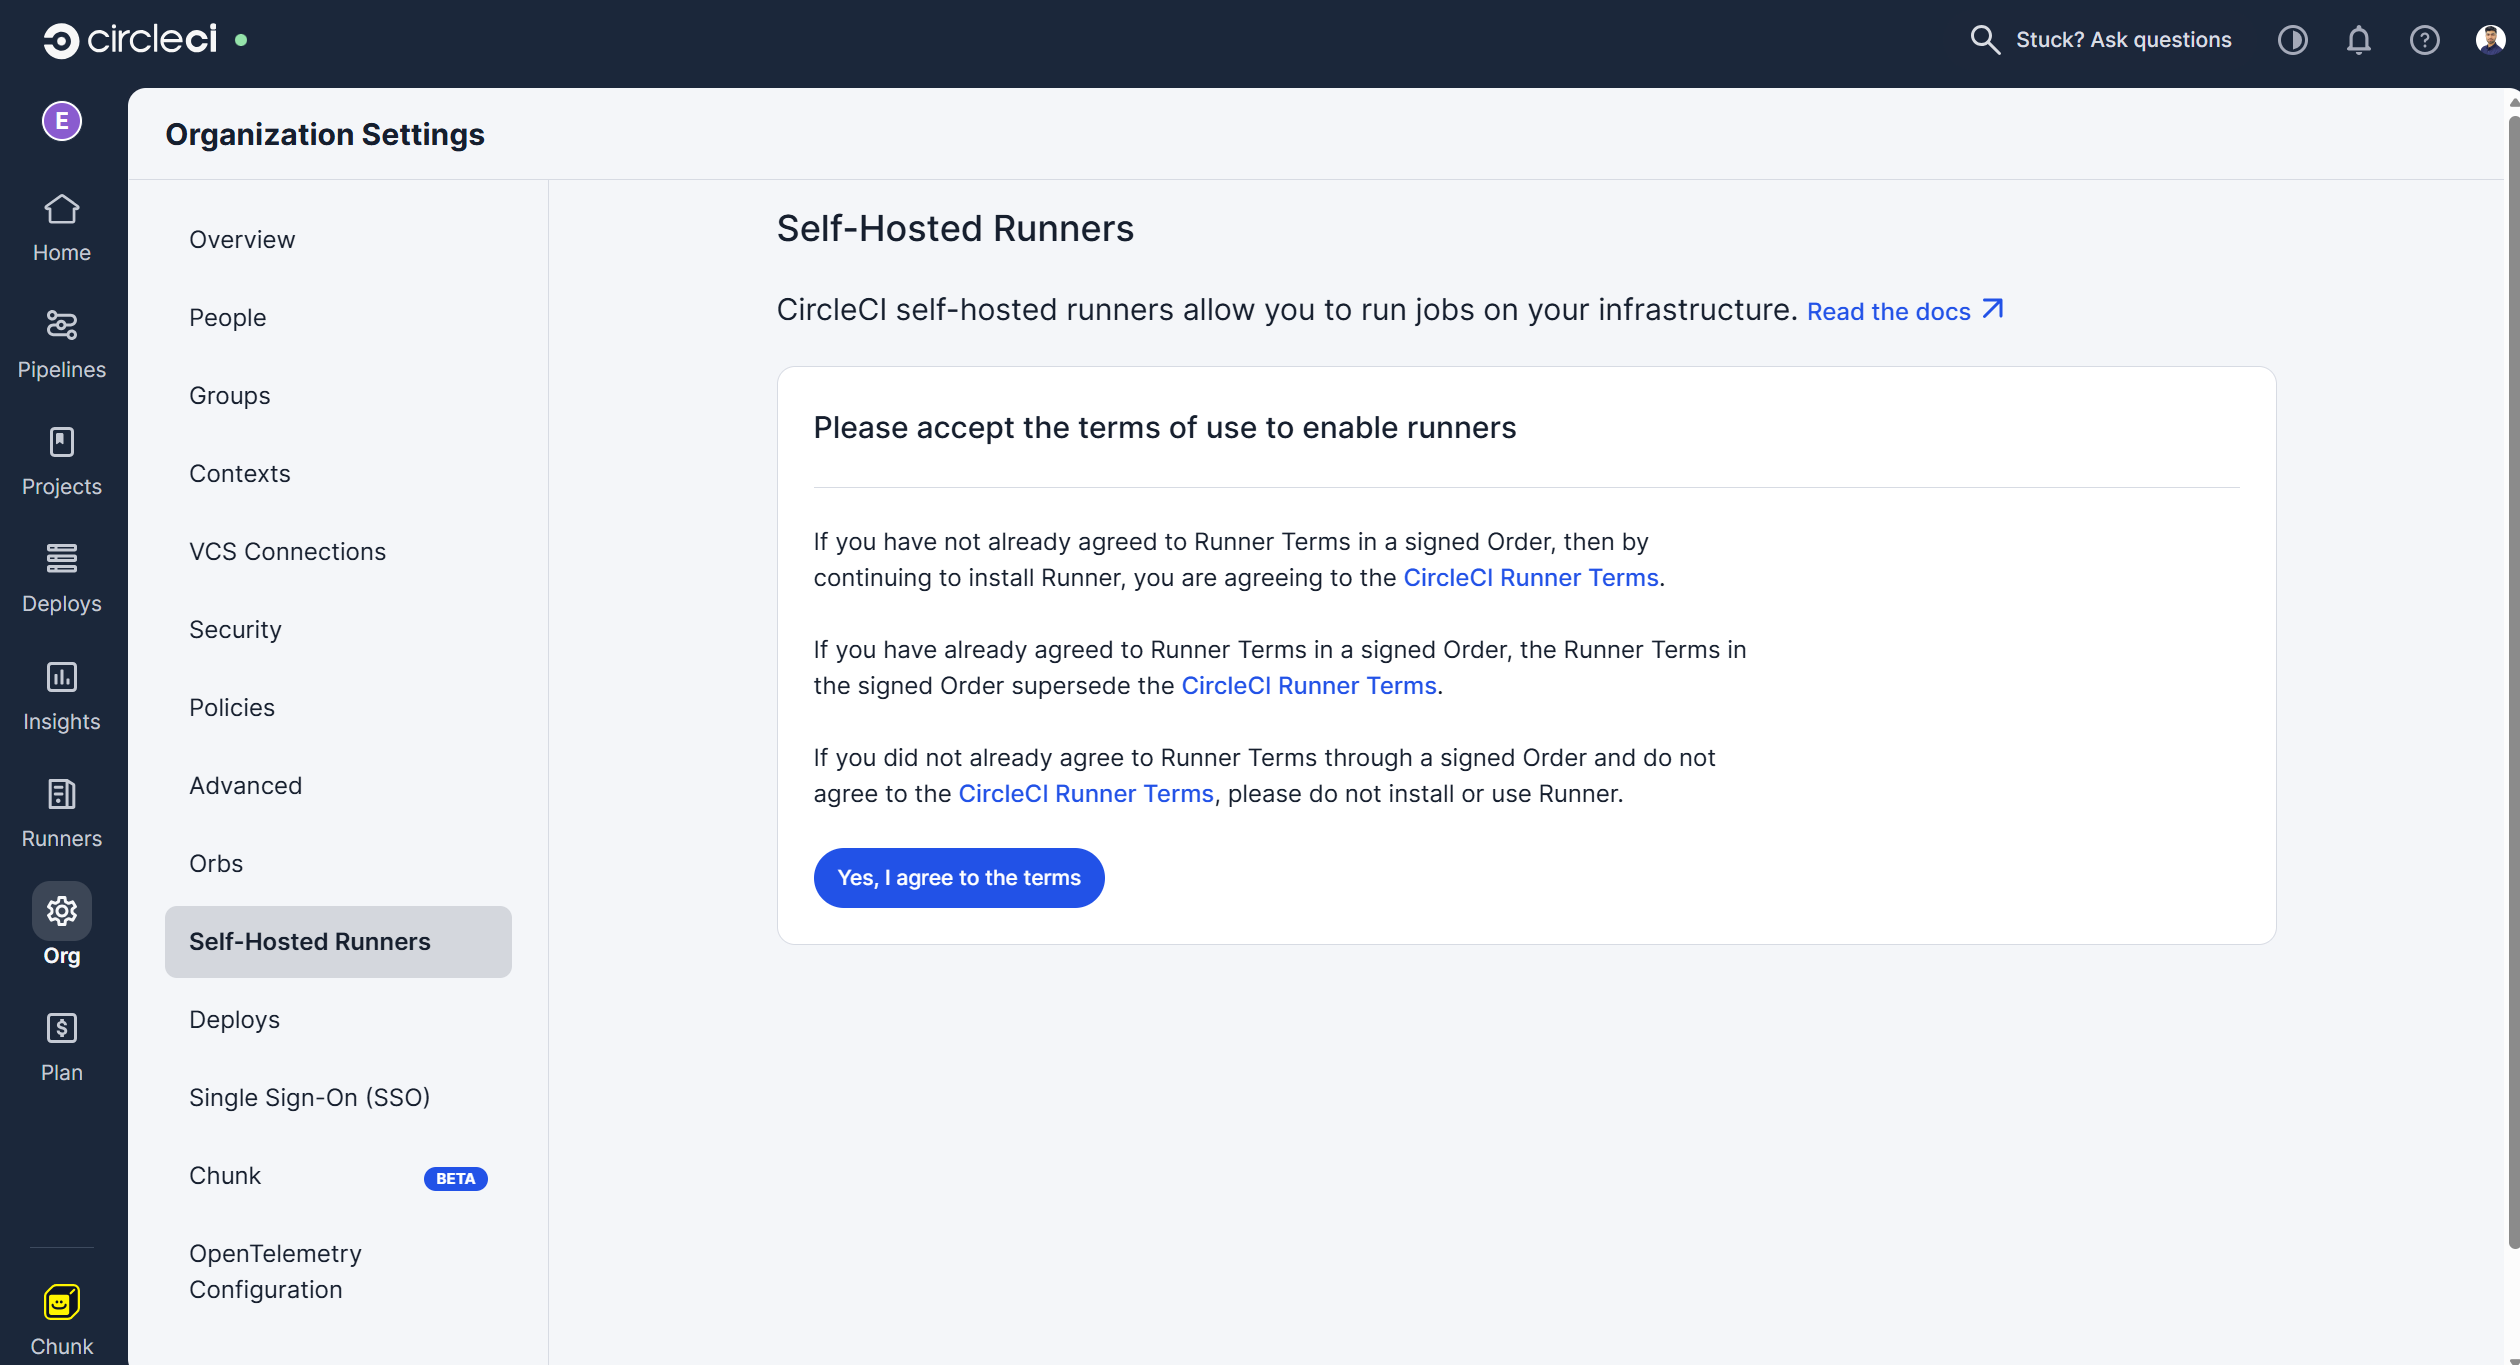
It will first ask you to review and confirm the terms and conditions, after which you will be able to create a resource class for the runner.
-
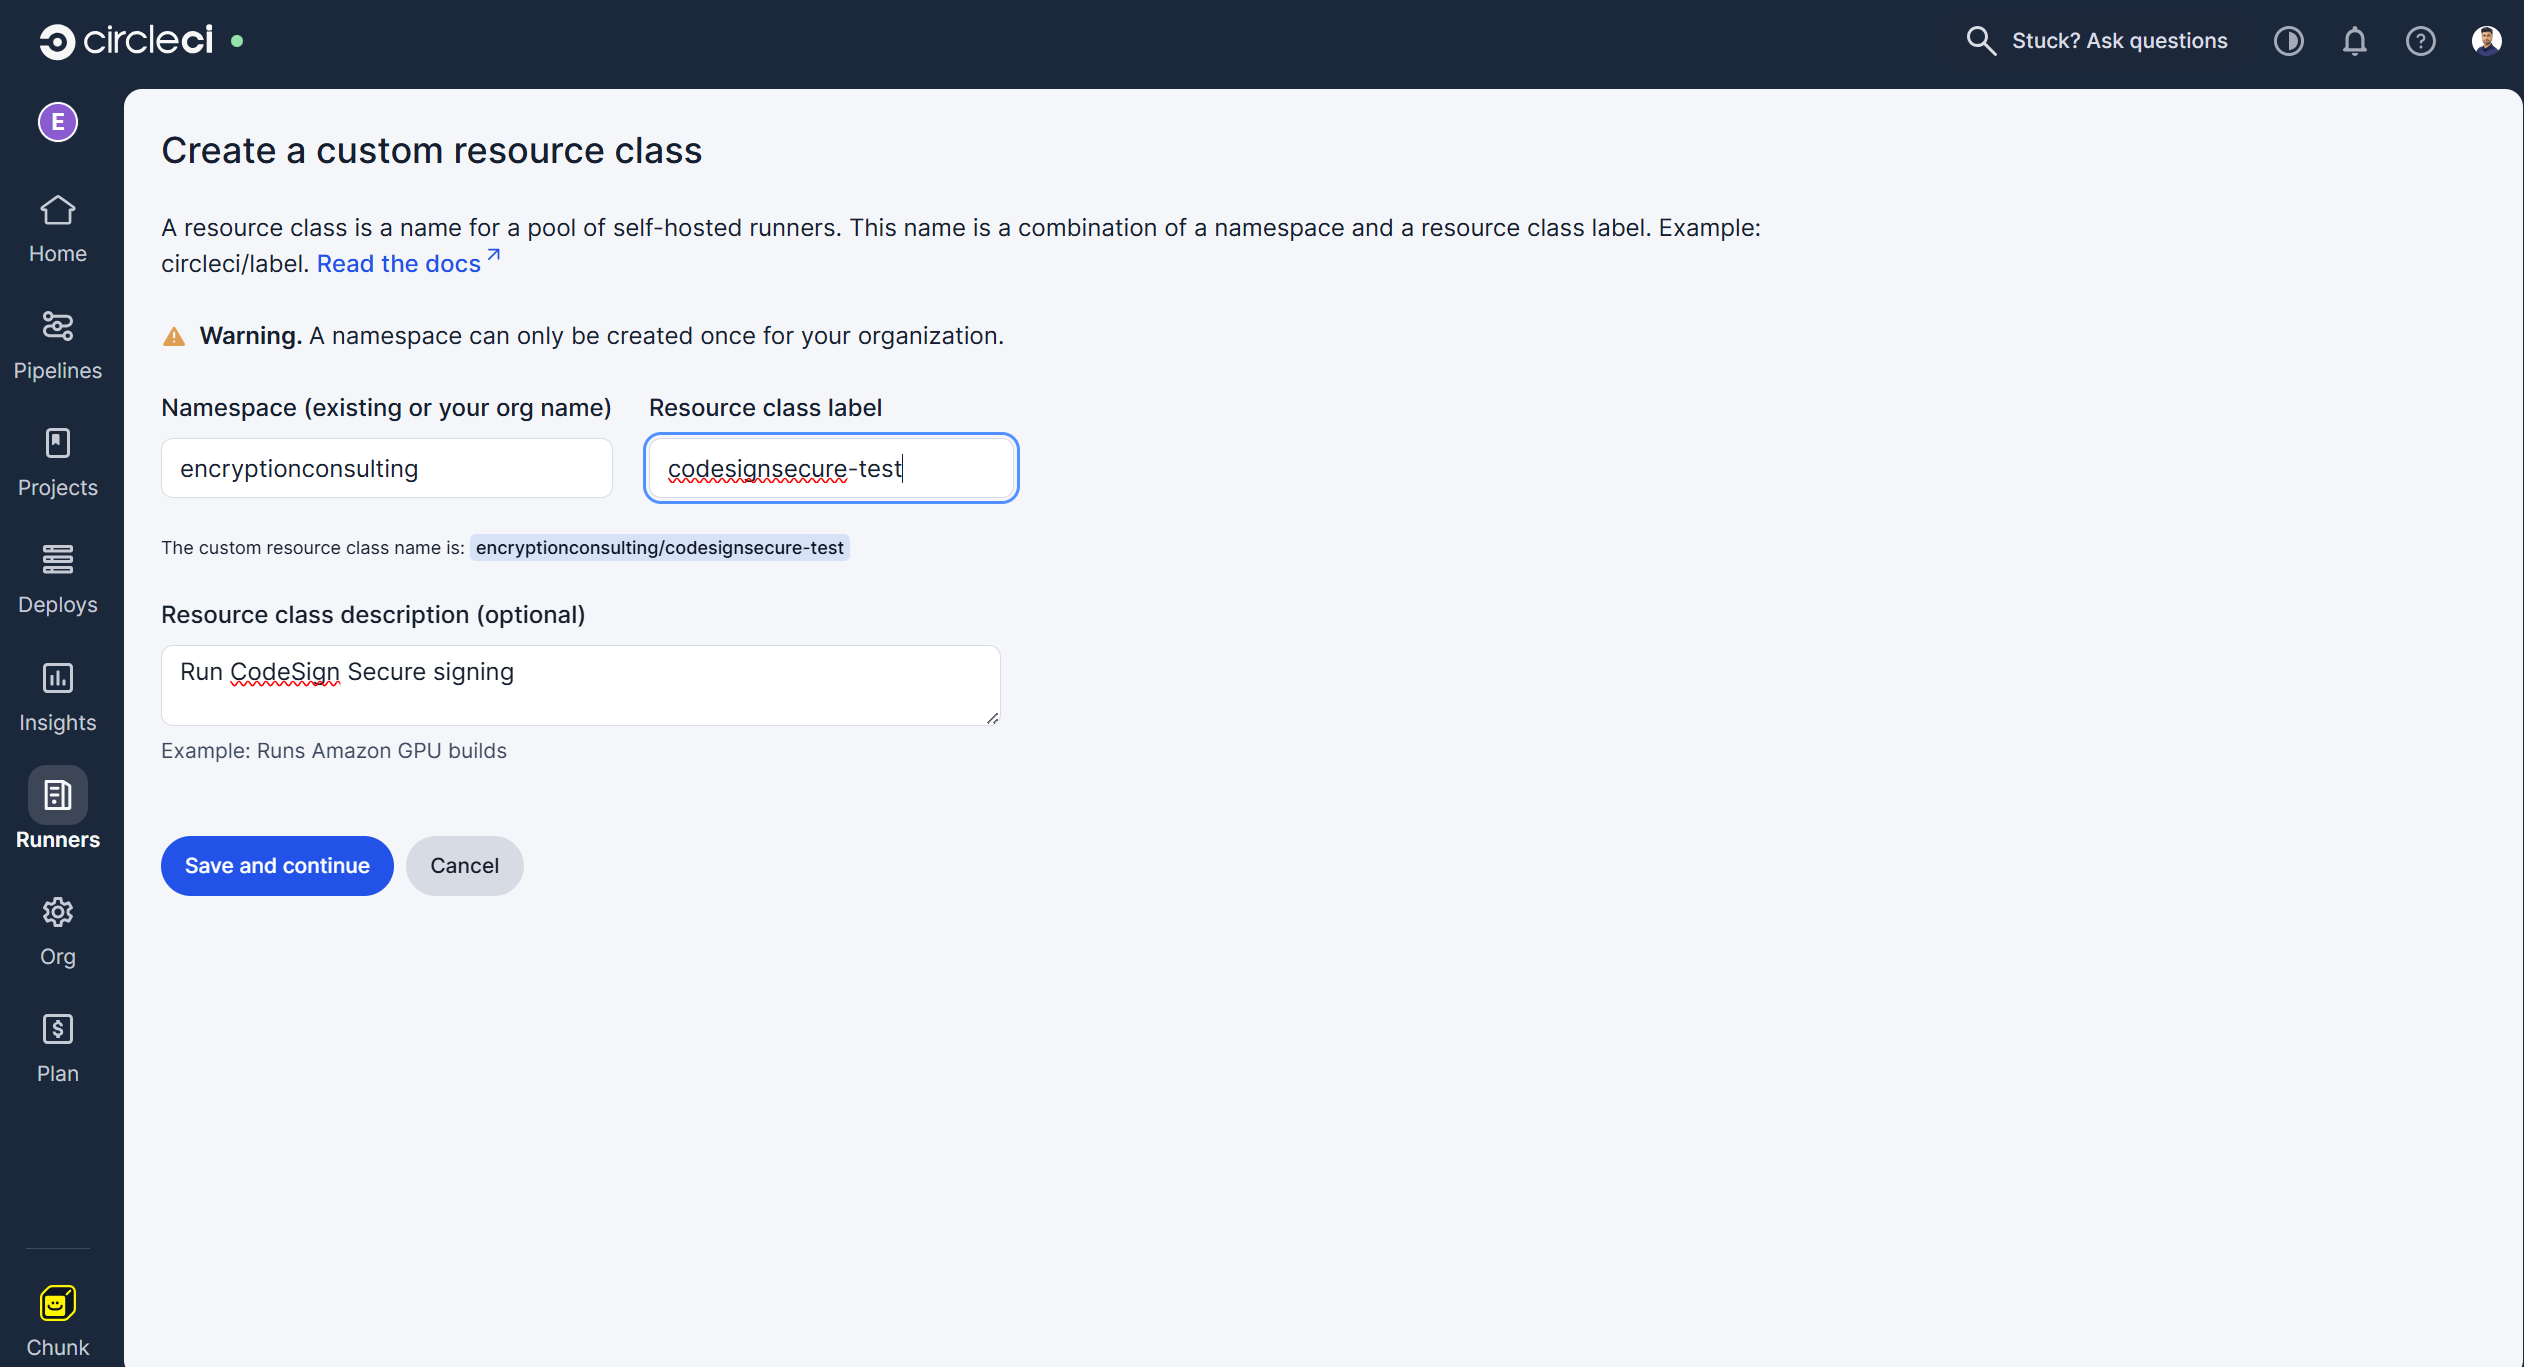
It will then redirect you back to the Runners section to create a resource class.
-
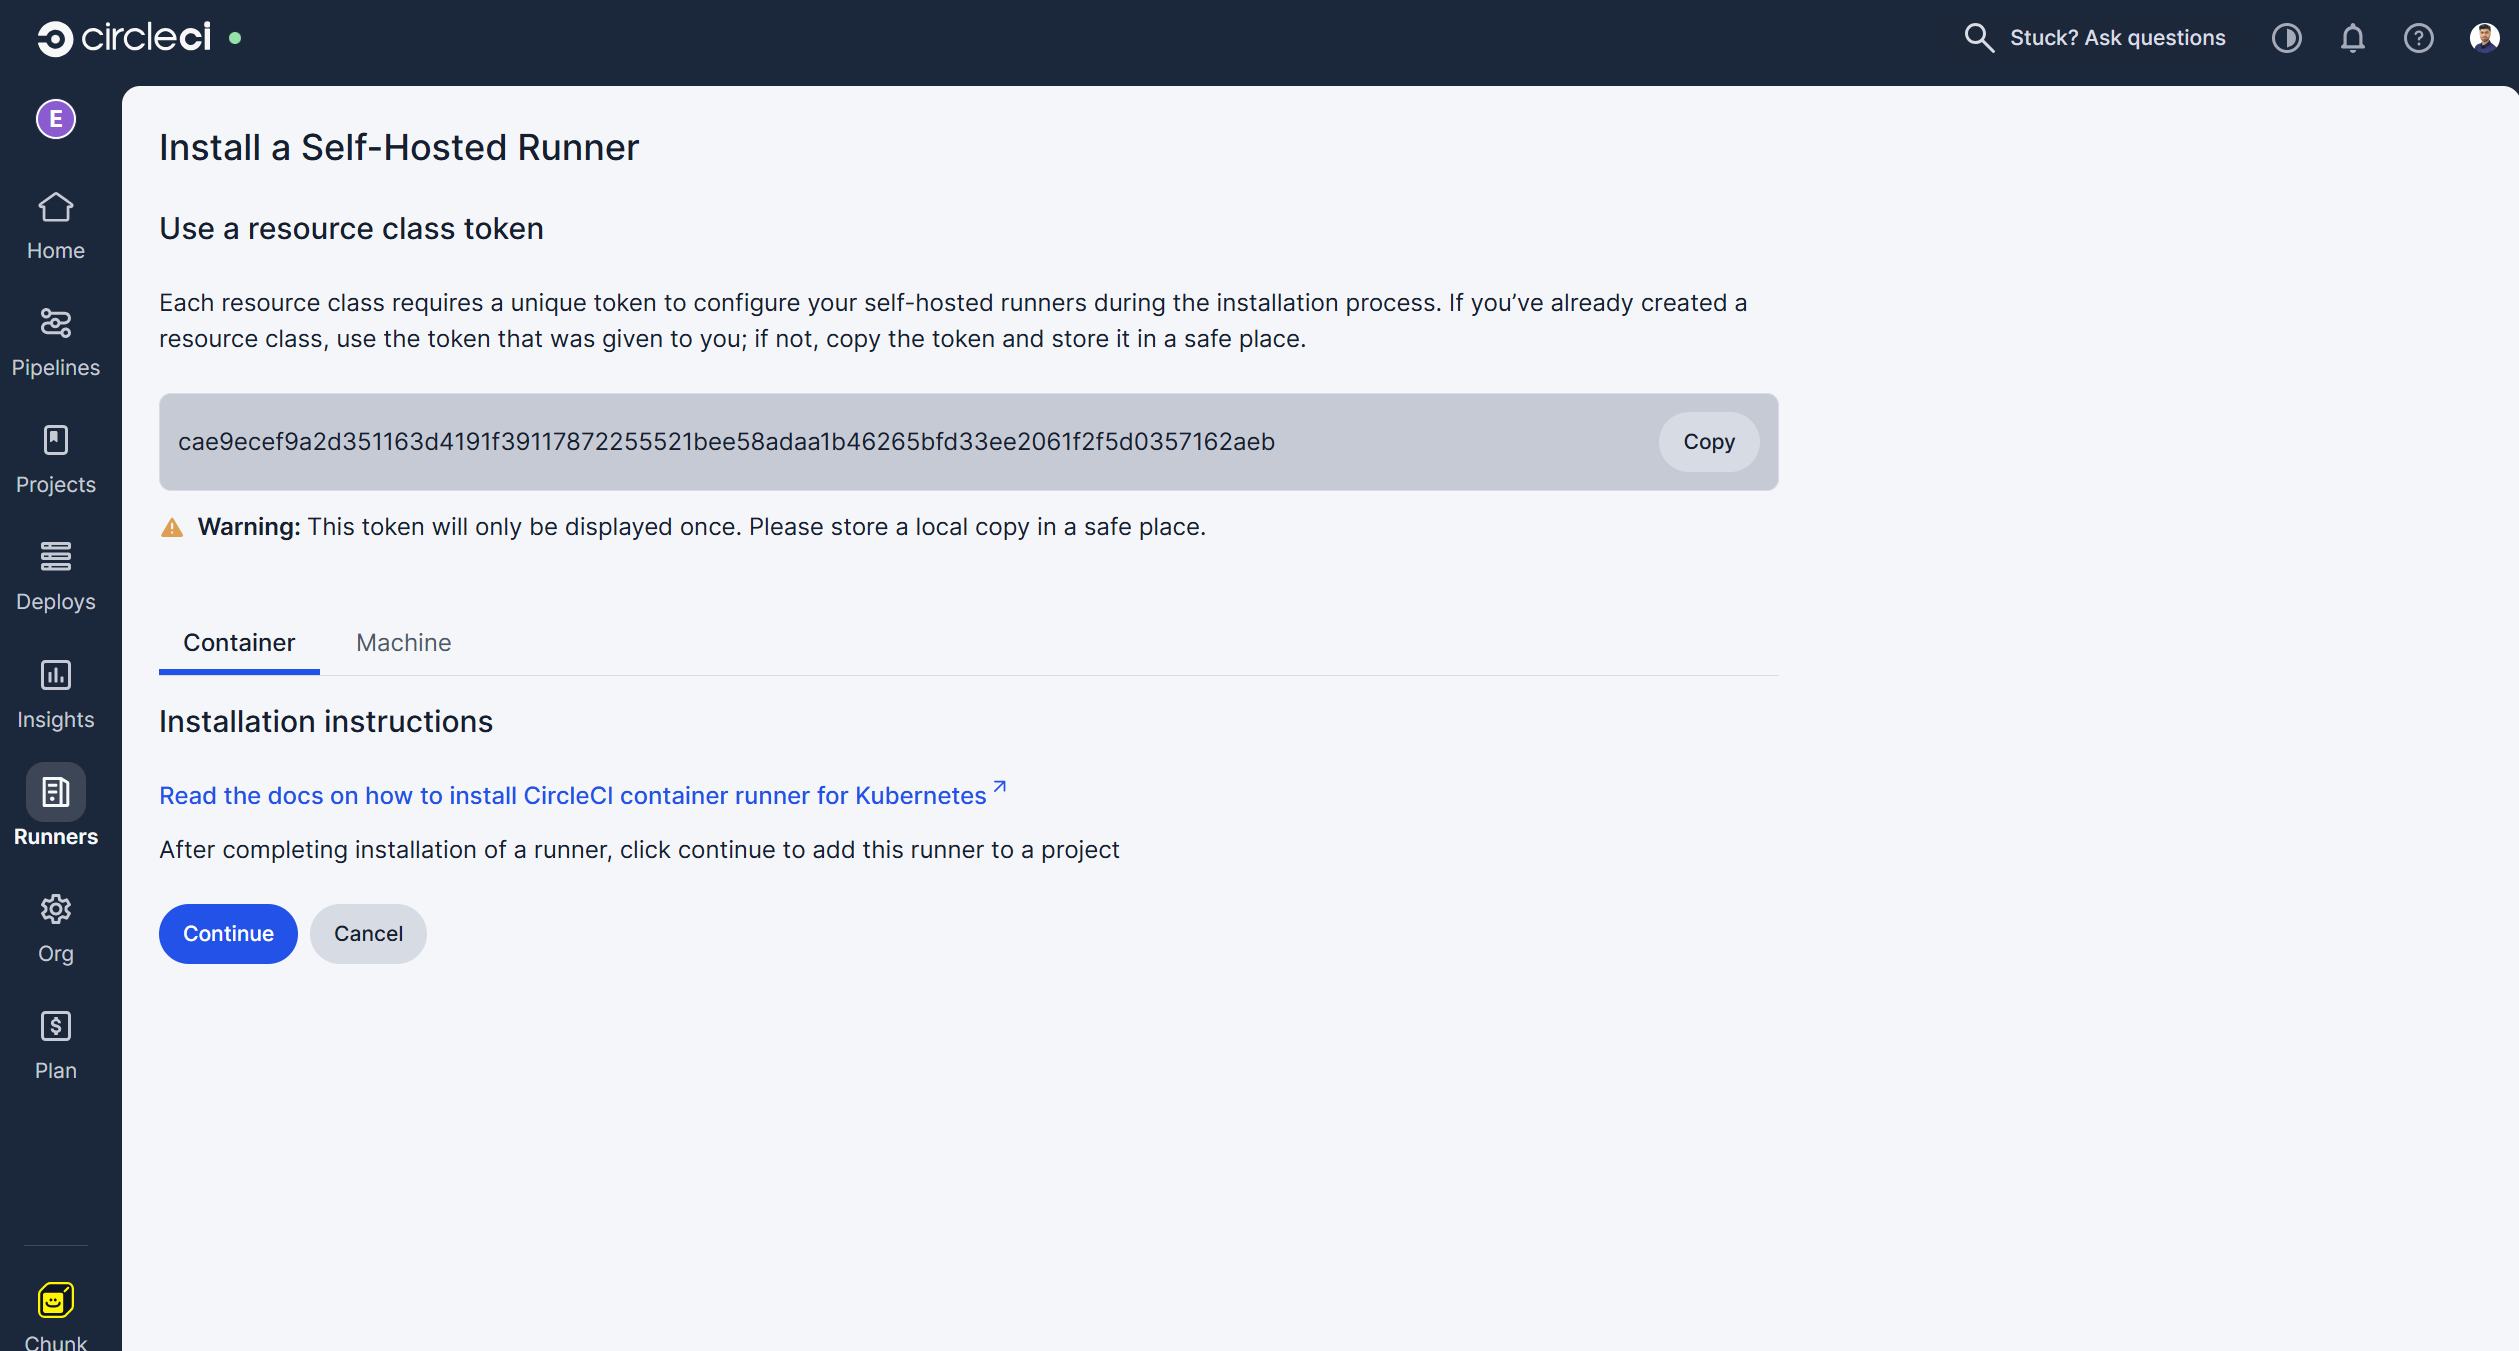
Click “Save and Continue,” and it will then provide you with the authentication token.
NOTE: Copy and store this token safely as we will be needing it in the next steps to authenticate the runner with CircleCI pipeline
-
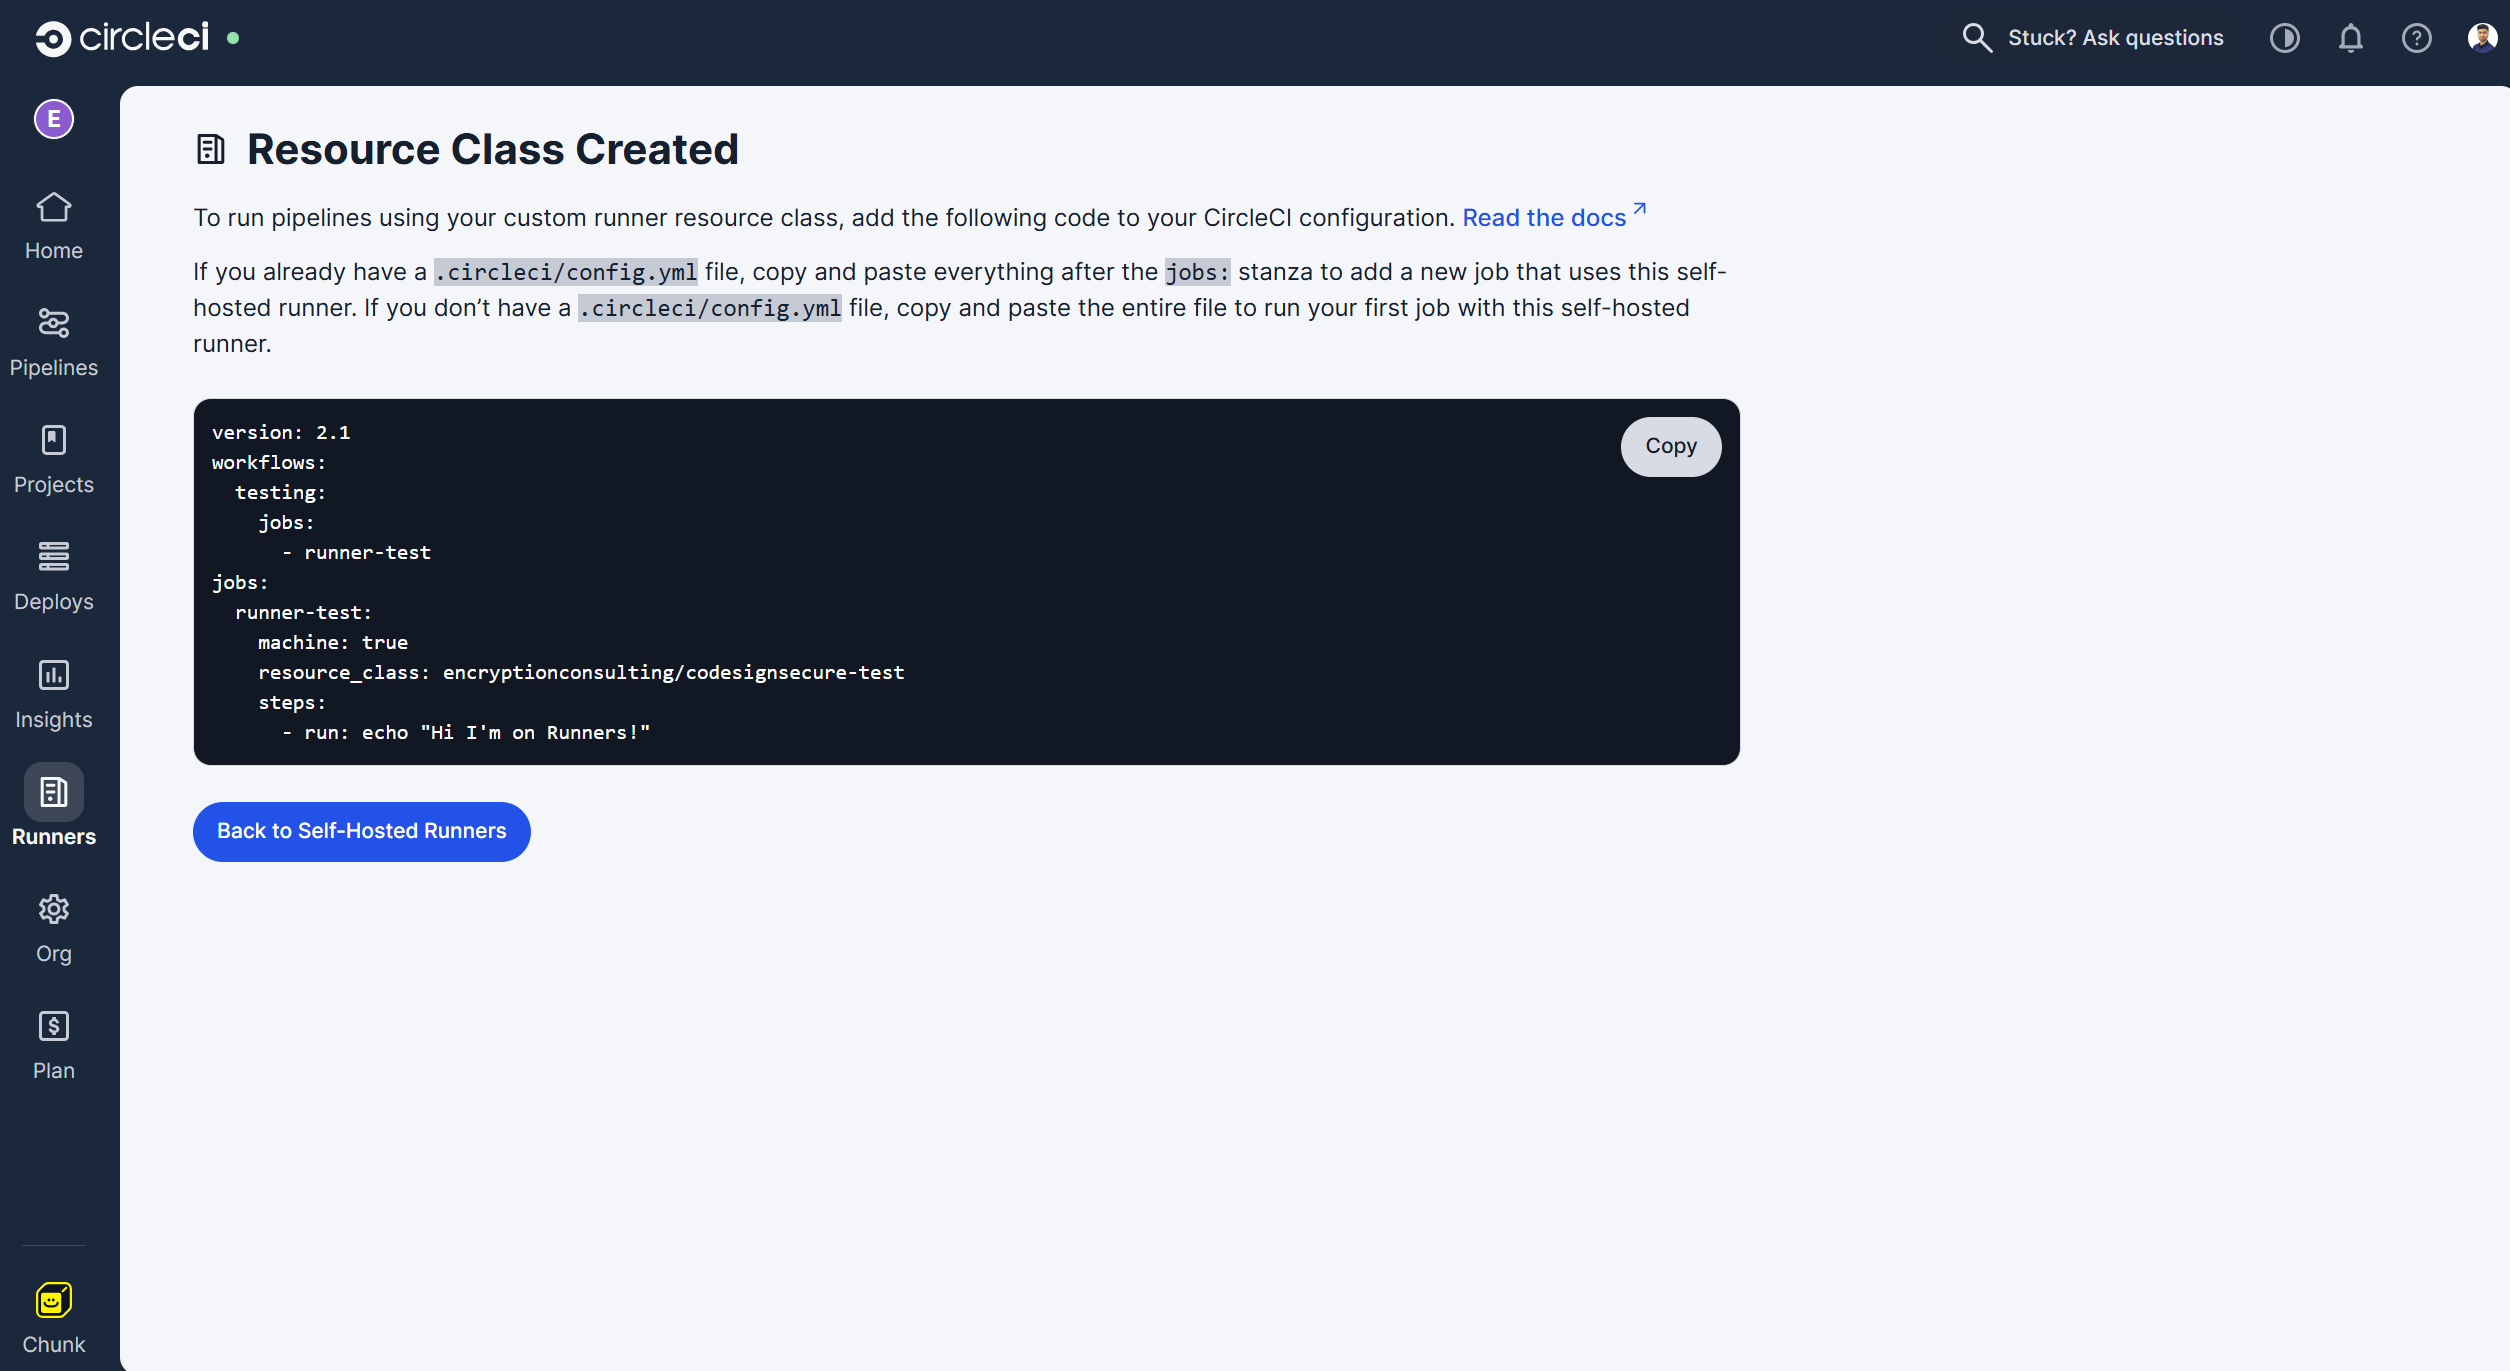
Click “Continue” to add this runner to your organization.
3. Install the Runner on your Windows Machine
- After we are done getting a token, we need to install a self-hosted runner on our machine. This is the machine where Signtool and ECSigningKSP are installed and configured.
-
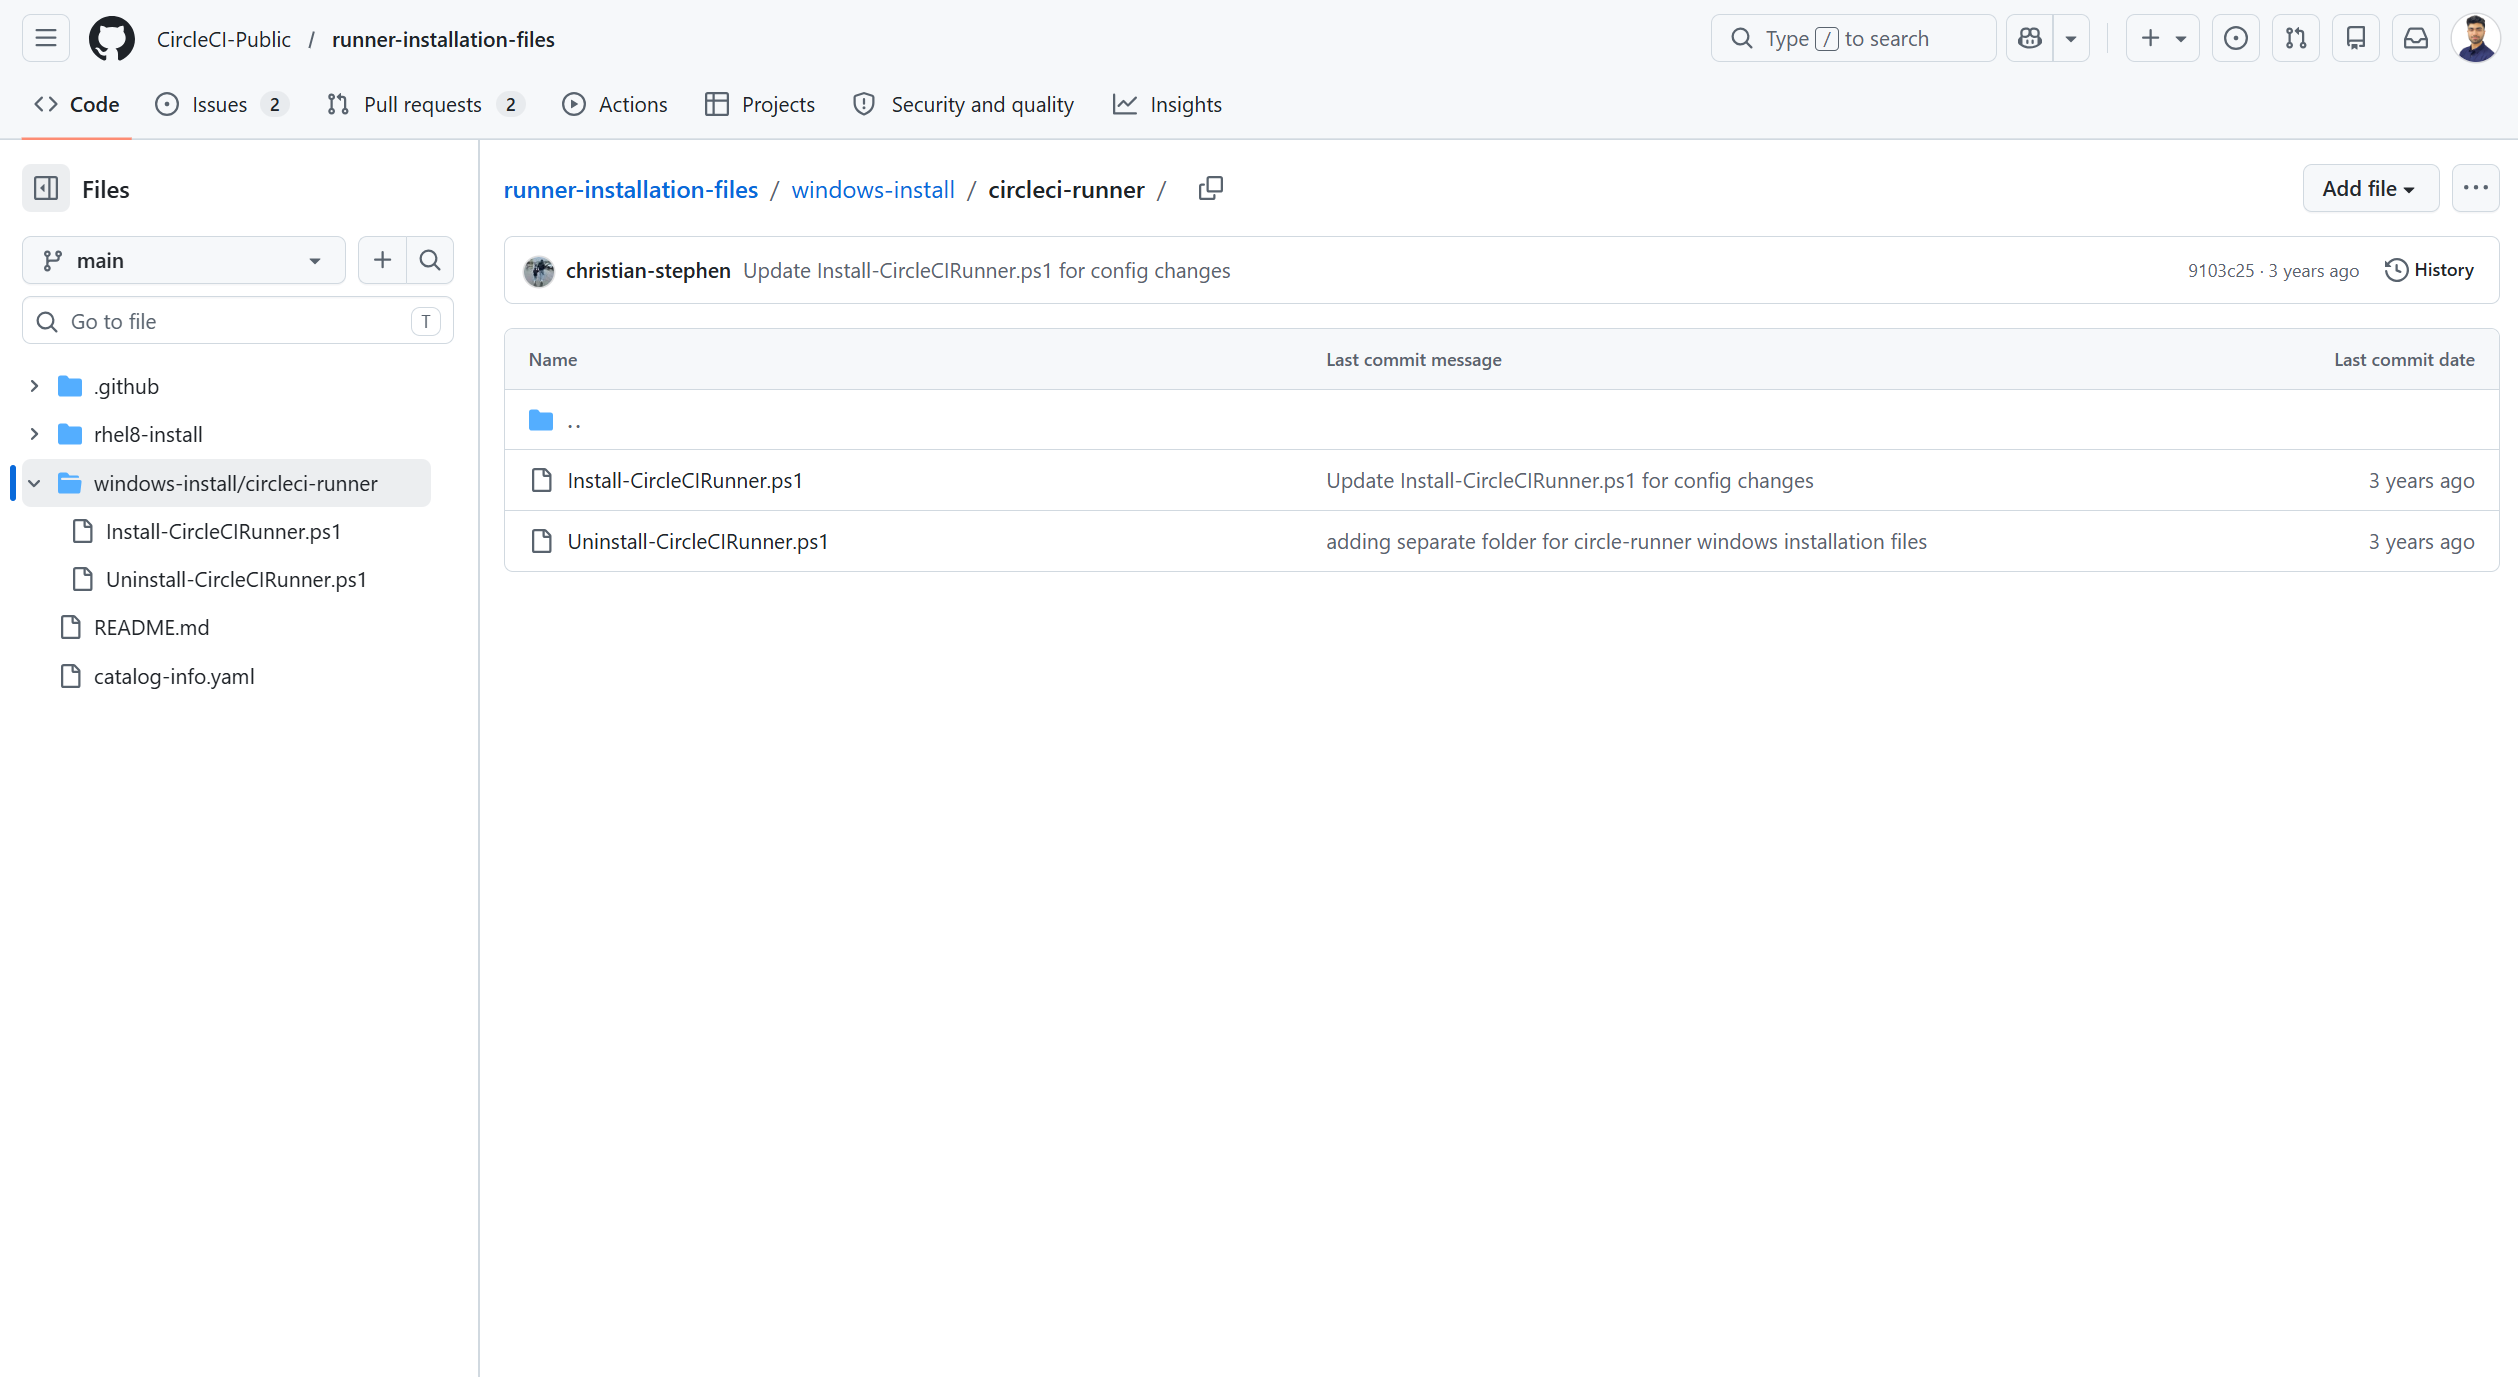
Download the “Install-CircleCIRunner.ps1” script from GitHub on this machine.
- Open PowerShell as an administrator and navigate to the directory where you placed the script file.
-
Run the following command:
-
Set-ExecutionPolicy Bypass -Scope Process -Force; [System.Net.ServicePointManager]::SecurityProtocol = [System.Net.ServicePointManager]::SecurityProtocol -bor 3072;
-
./Install-CircleCIRunner.ps1;
-
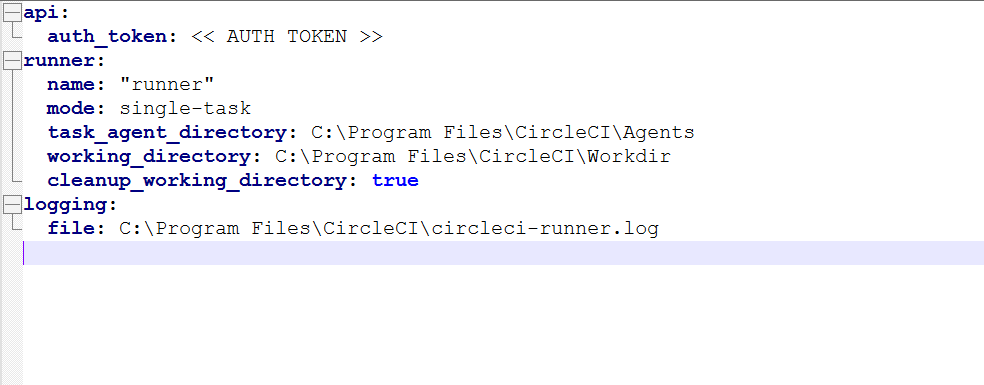
- As part of the installation, the configuration file for the machine runner (runner-agent-config.yaml) will open in Notepad. Fill in the requested information. The configuration file is located in the installation directory, C:\Program Files\CircleCI, by default.
-
Enter the authentication token that we created while creating the Resource class
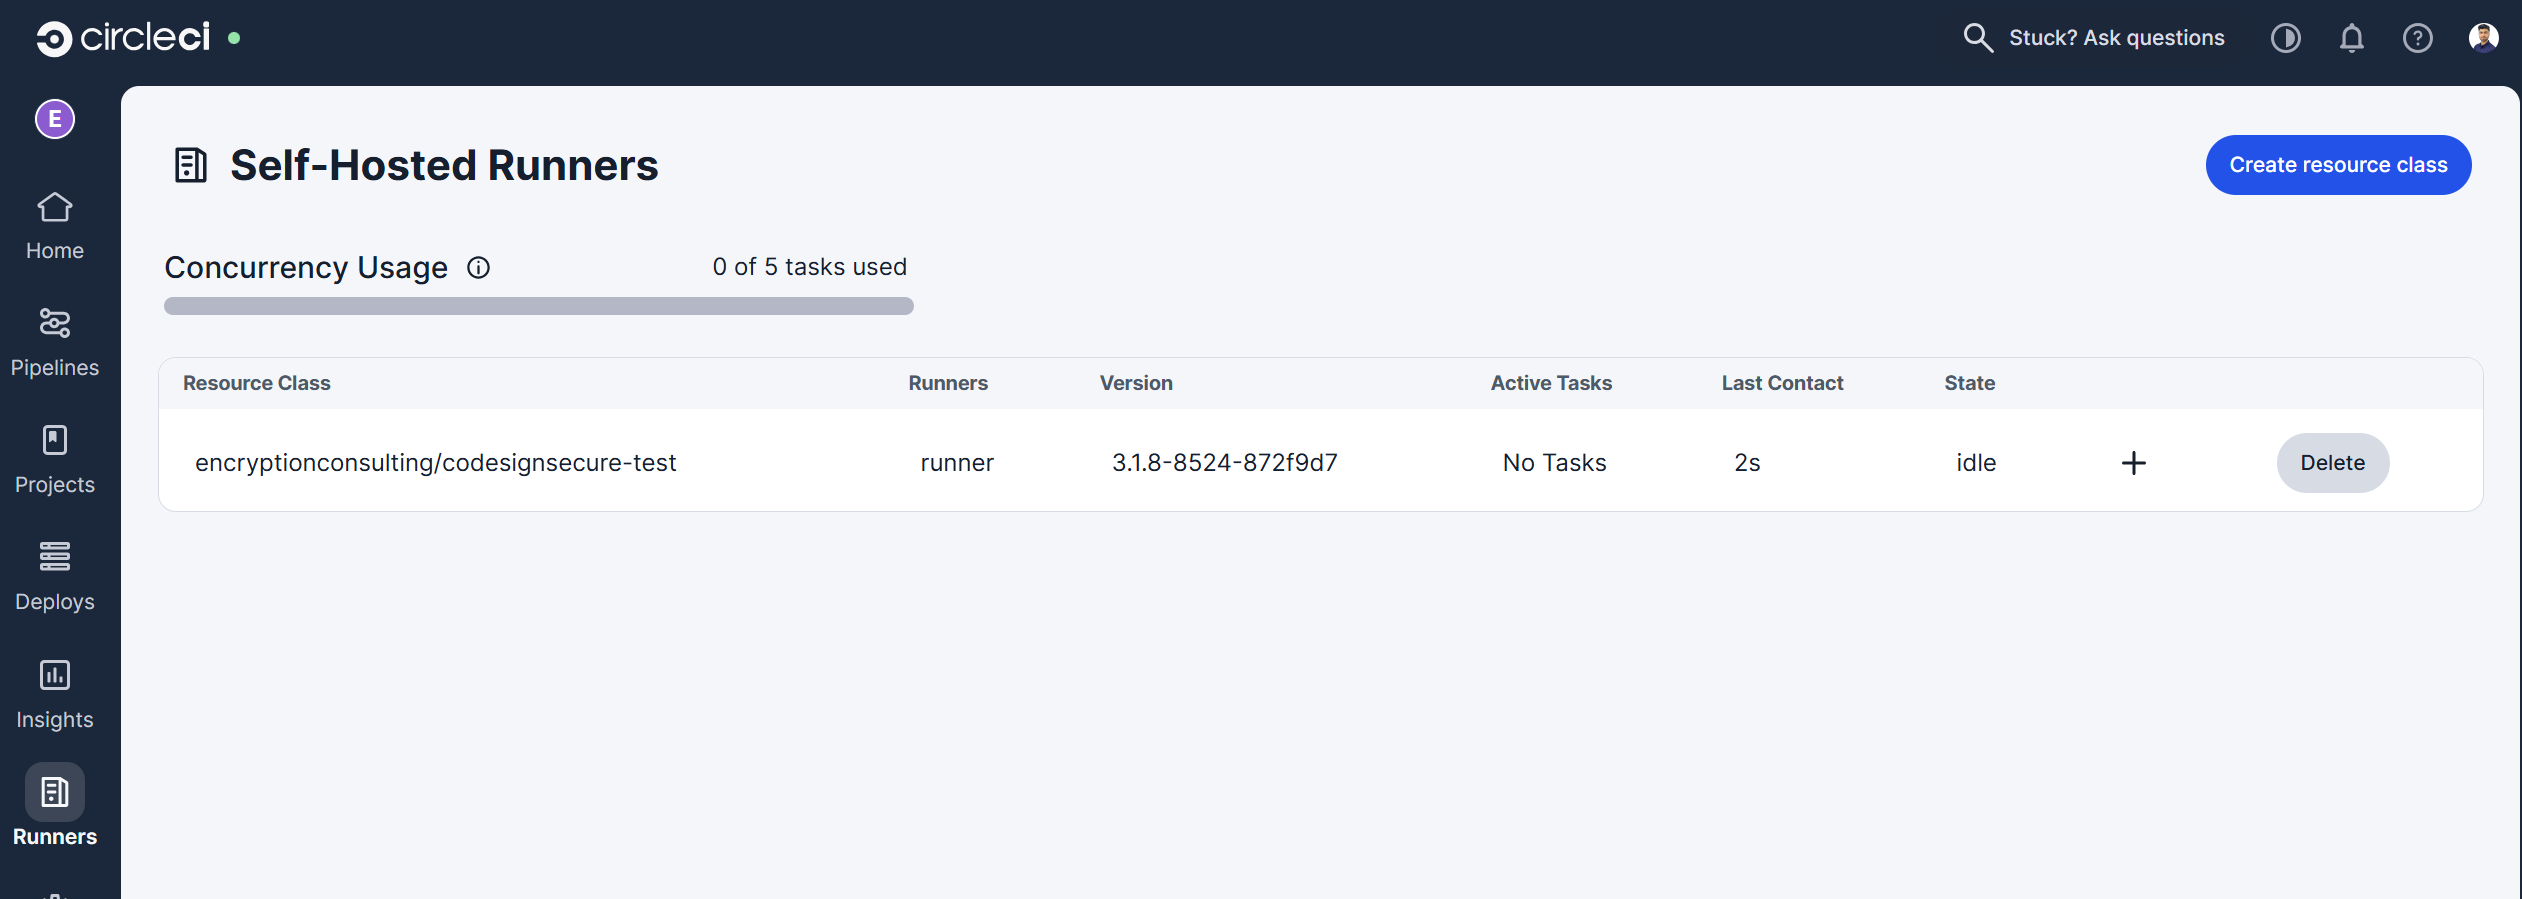
- After completing the runner setup, it will automatically start and start looking for jobs.
-
You will be able to see a runner in the CircleCI page.
4. Create a project and set up a Pipeline
-
Now we go back to the Organization Home page to create a project and initialize the pipeline.
-
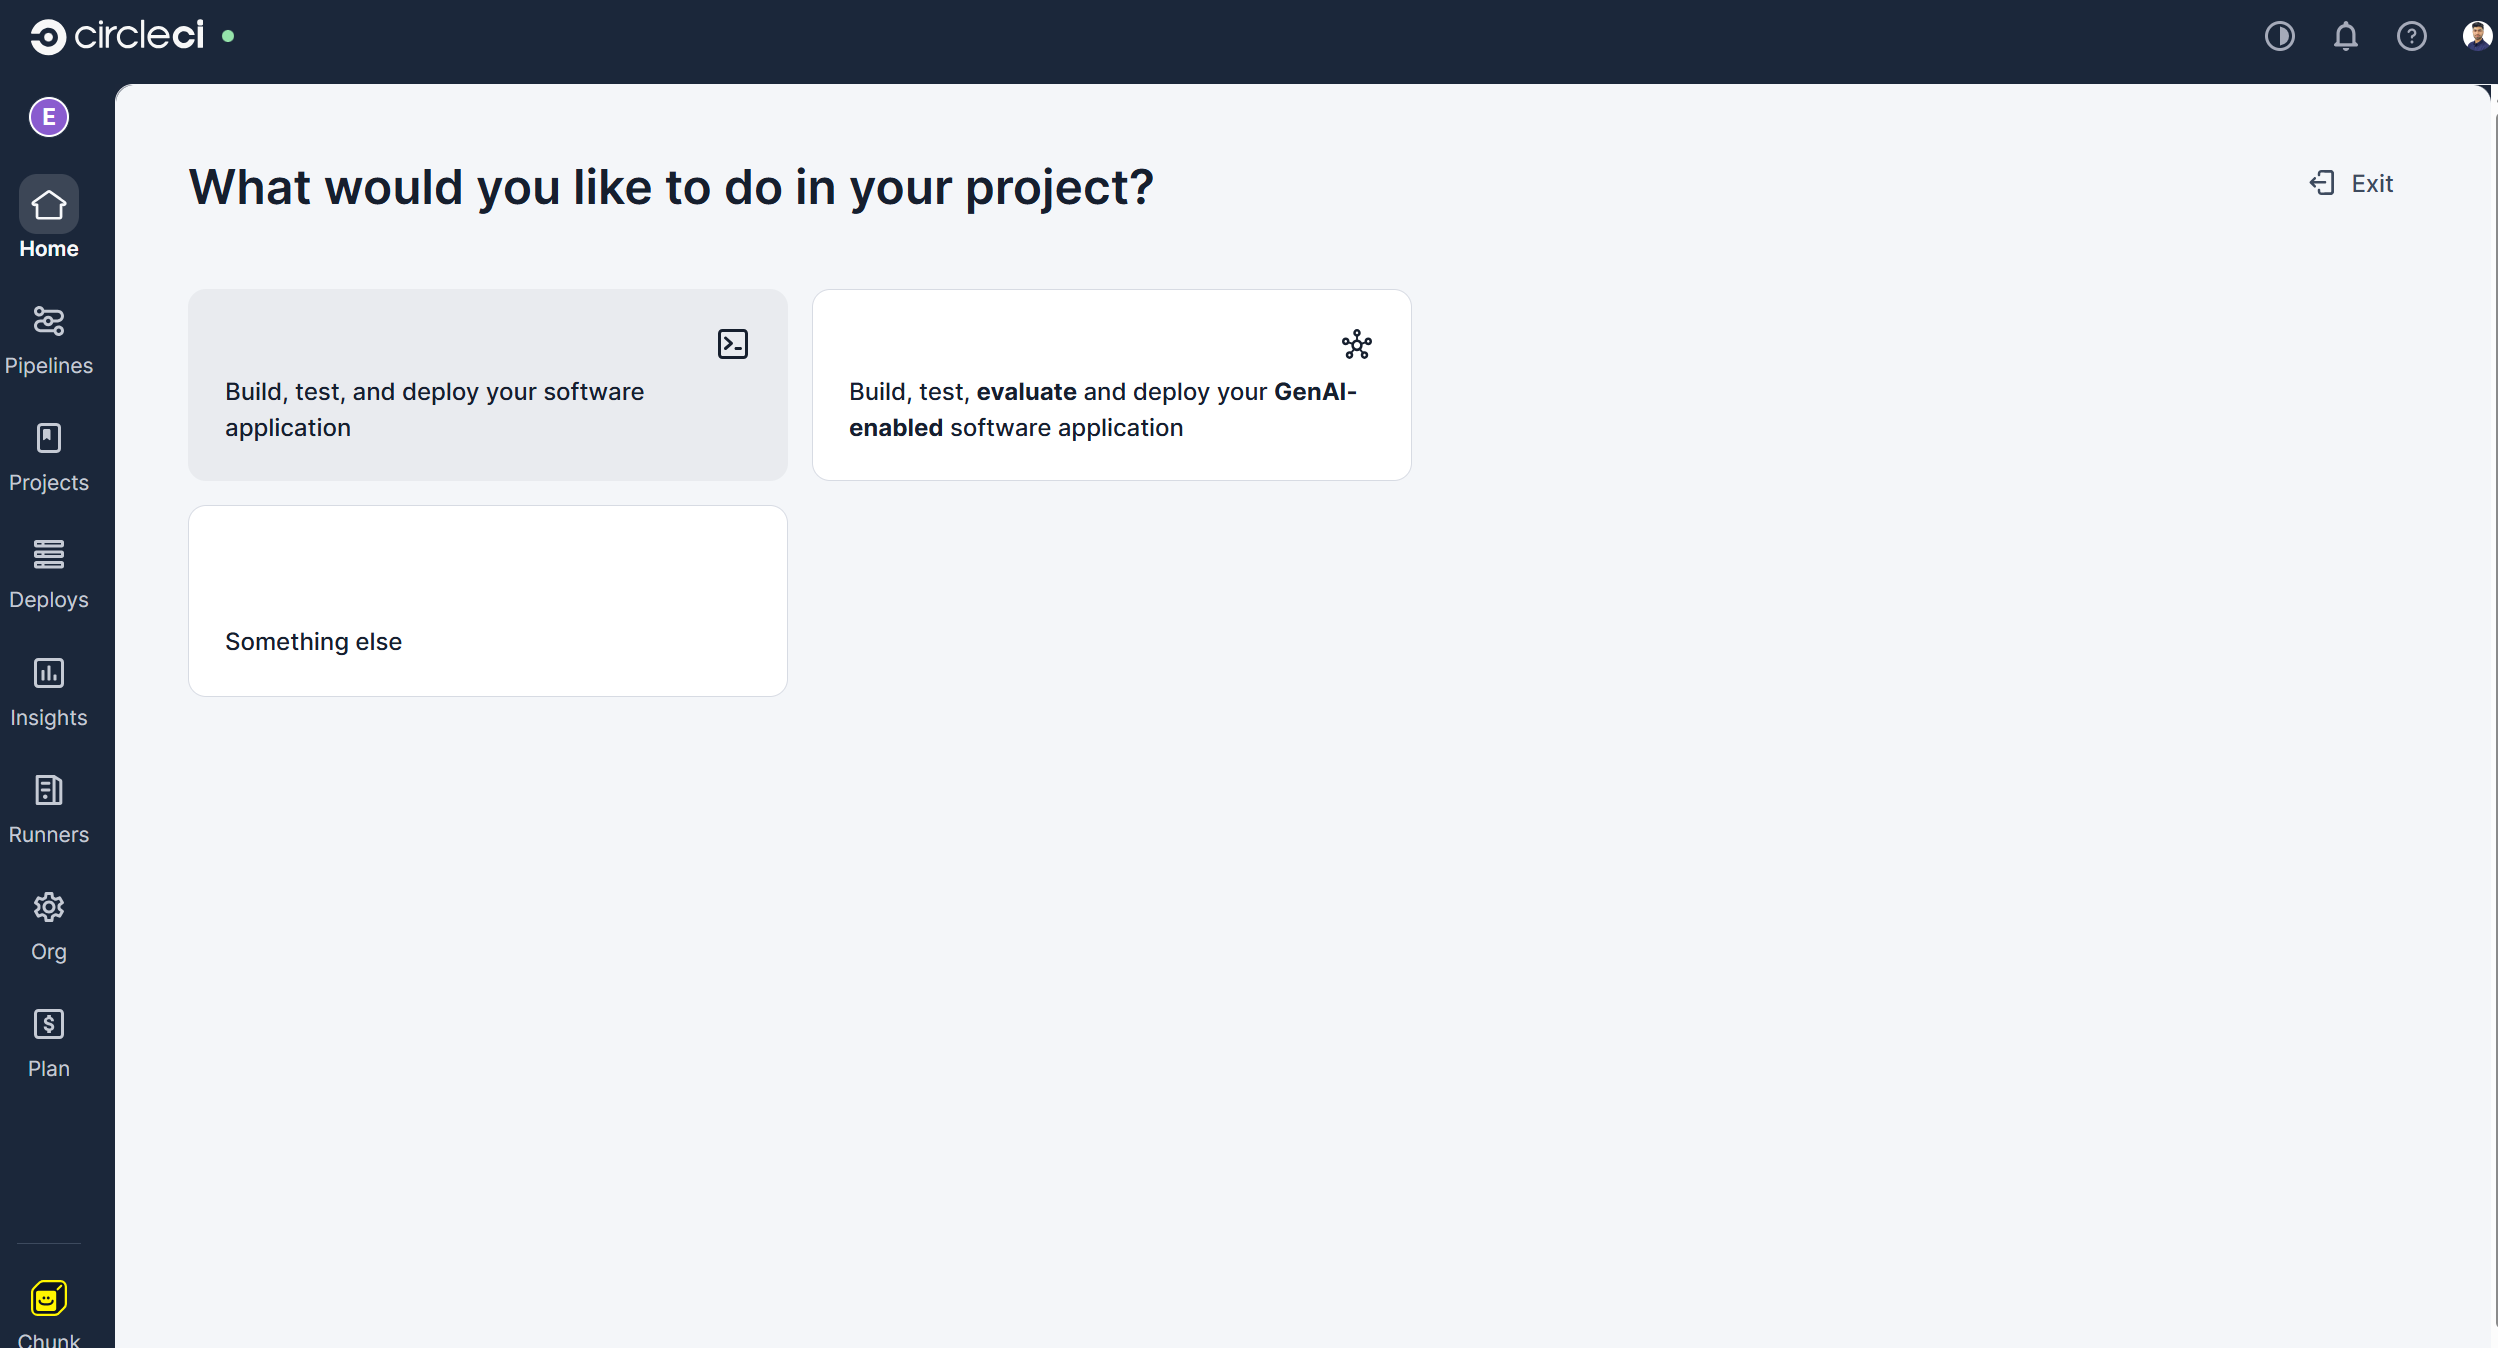
Click on "Create a project" and select the "Build, test, and deploy your software application" option.
-
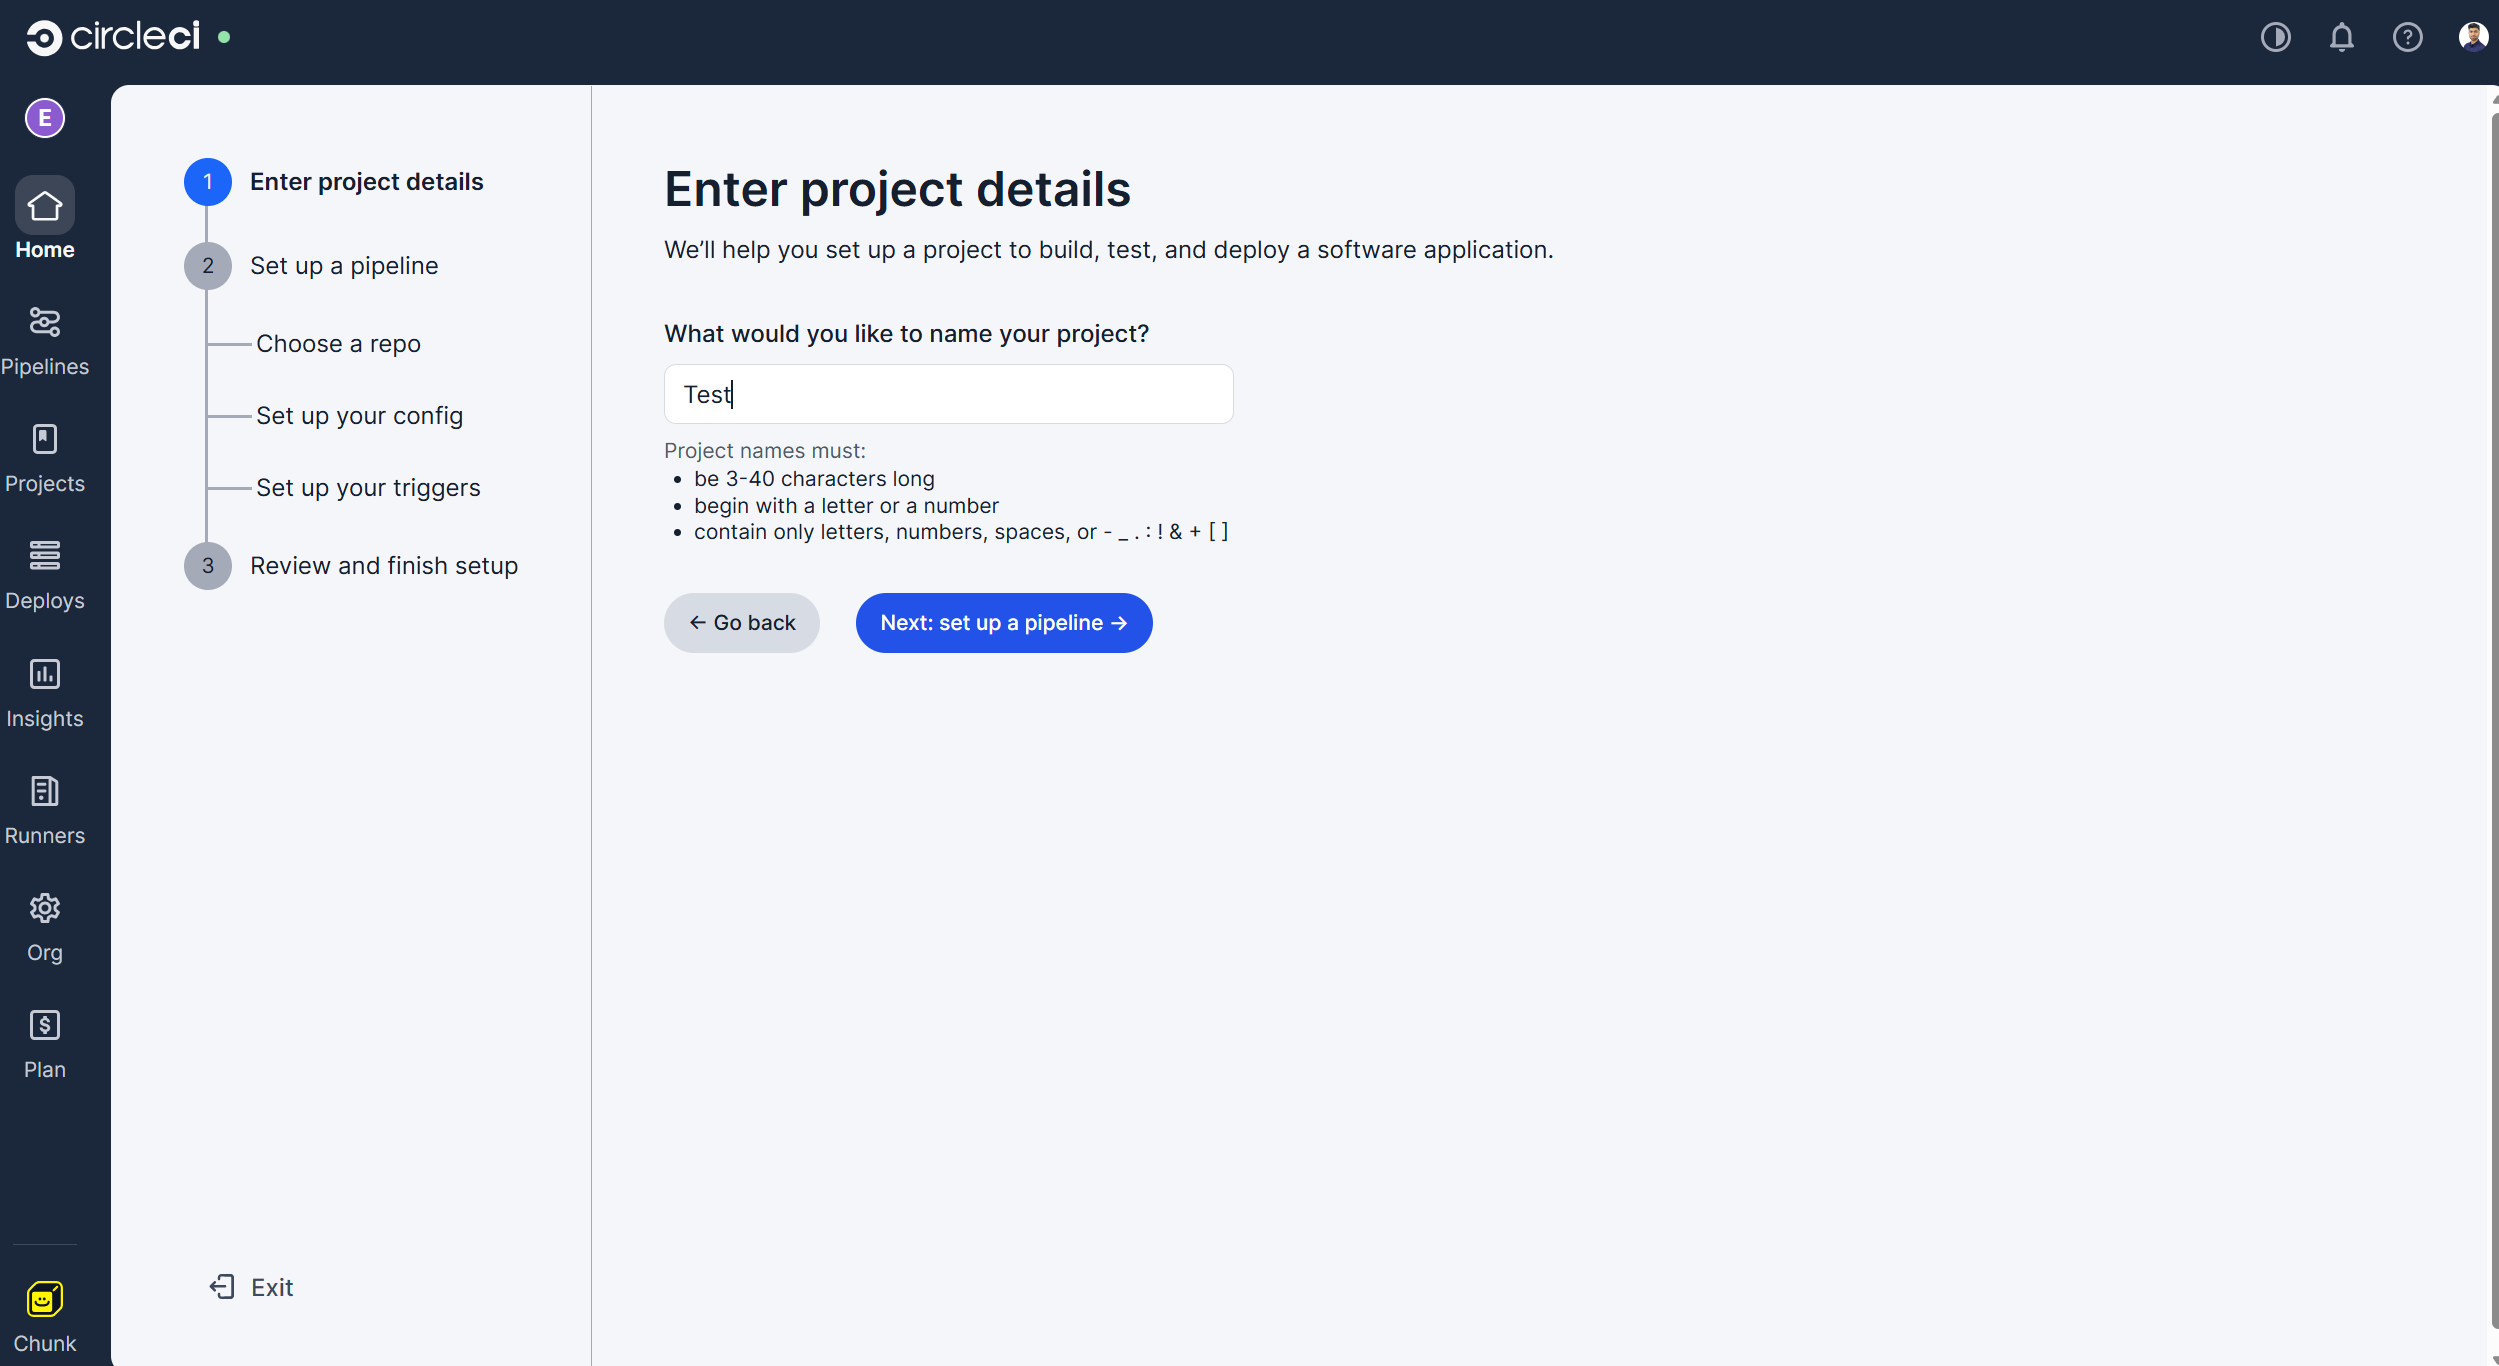
Enter the project name and click the "Next: set up a pipeline" option.
-
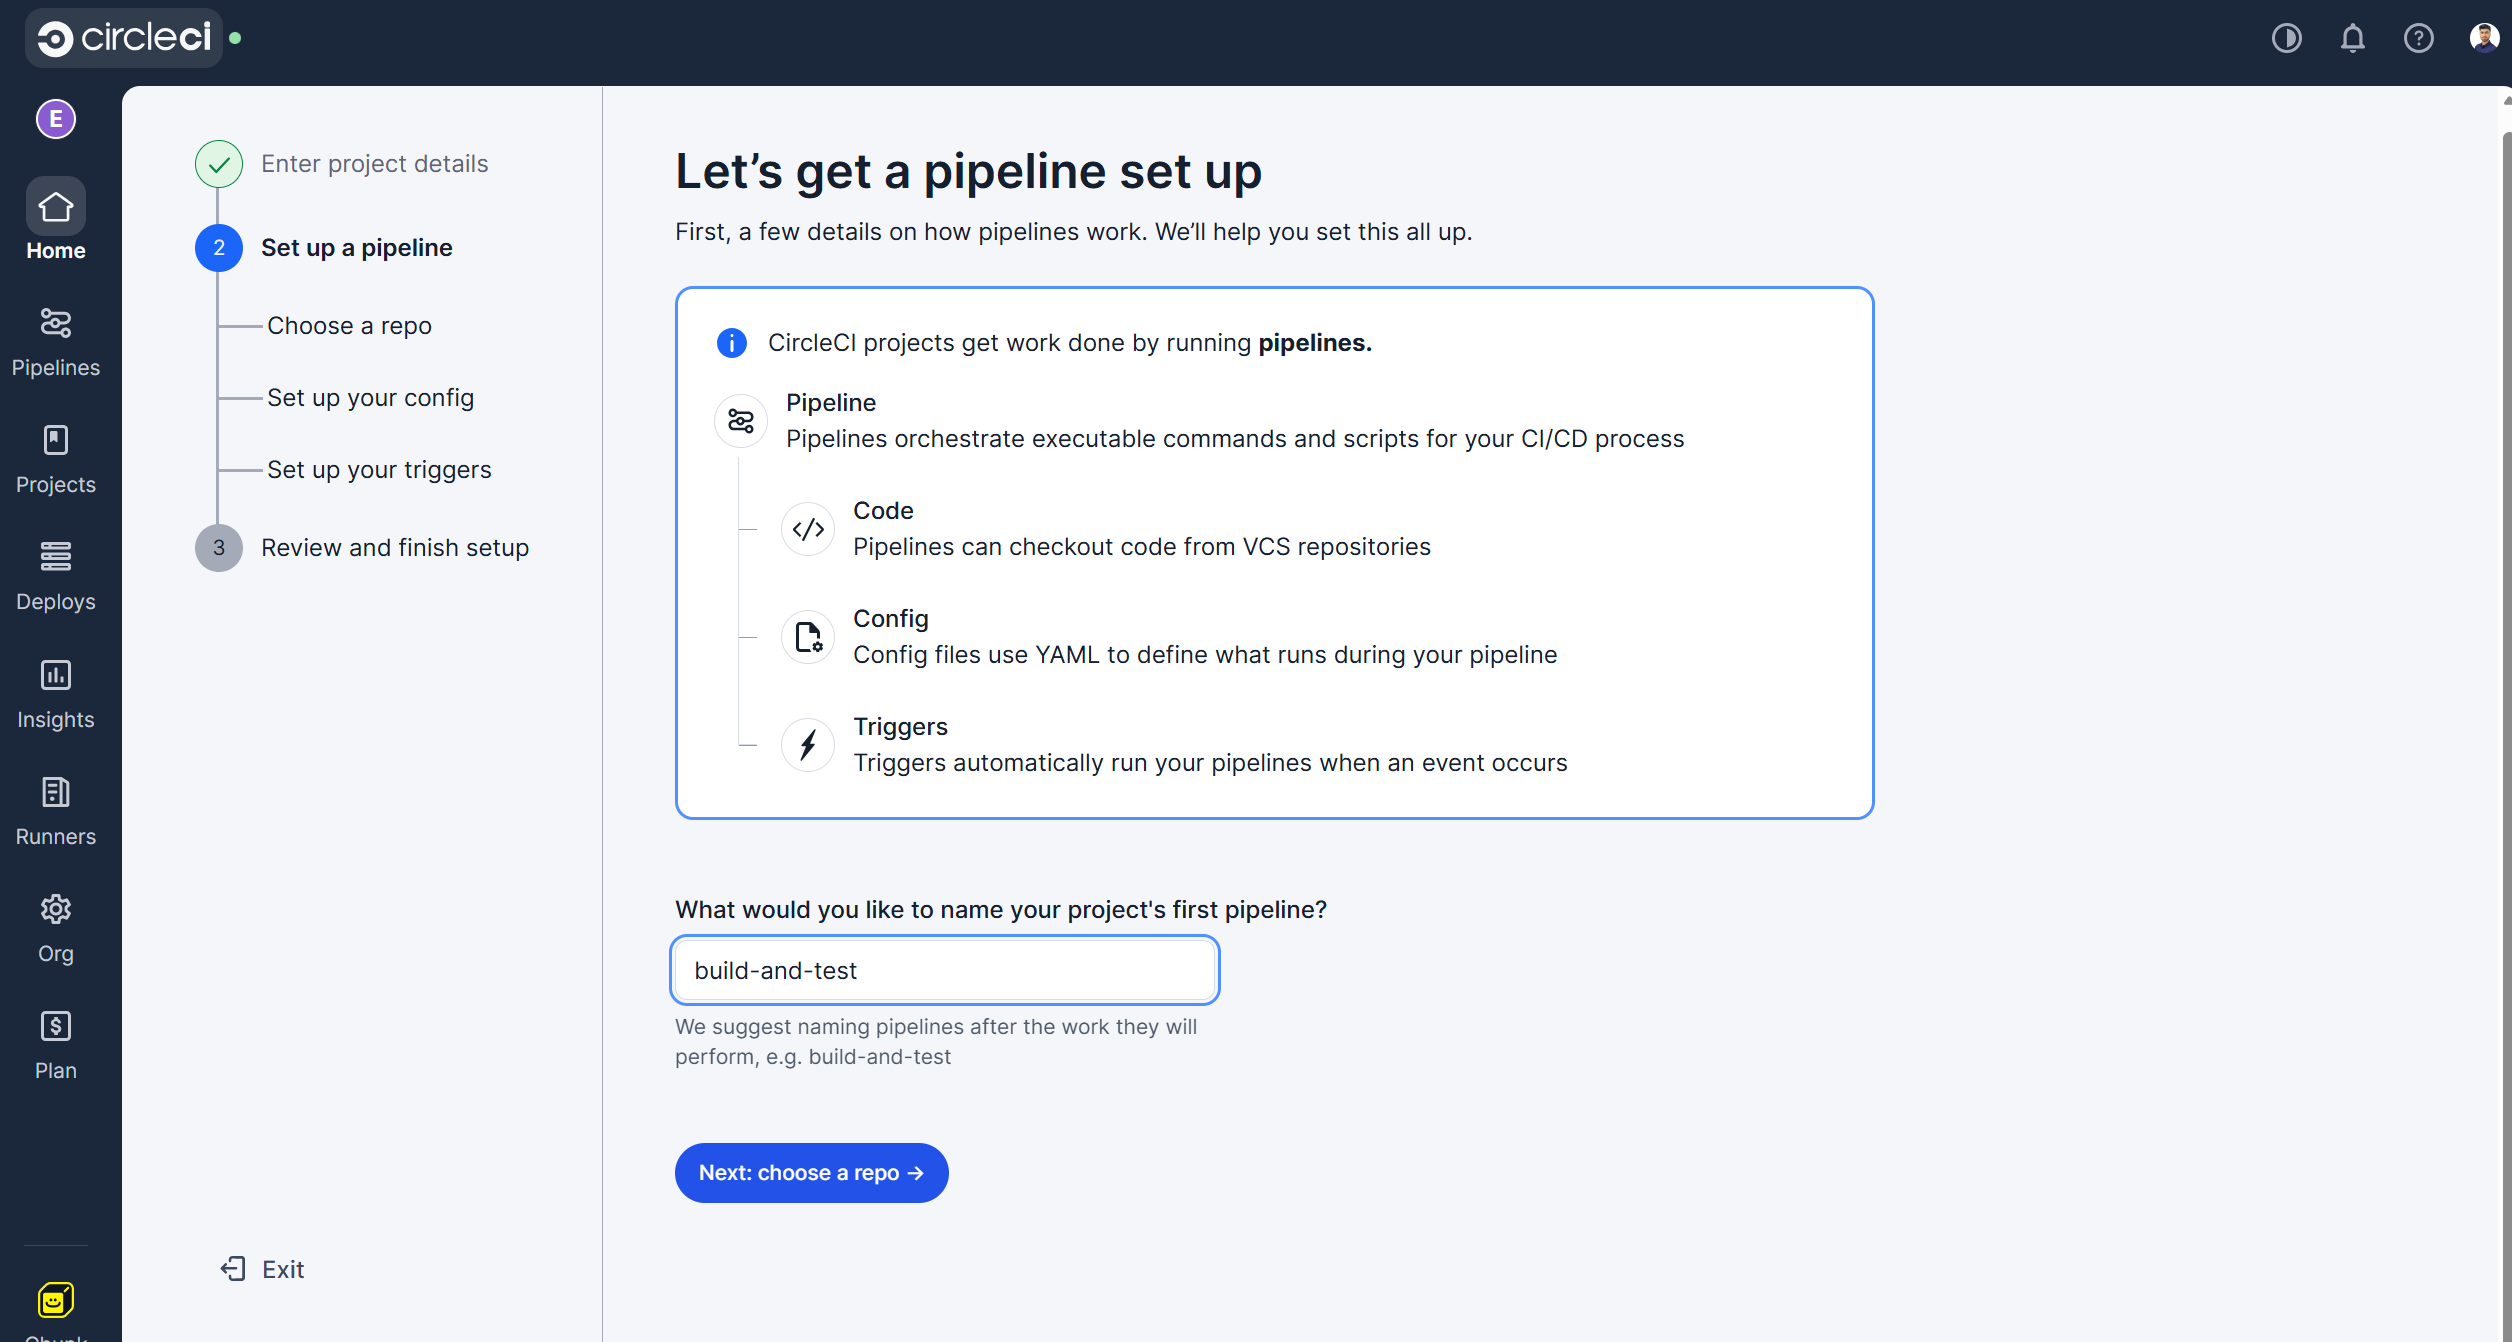
Provide the name of the pipeline and click the "Next: choose a repo" option.
-
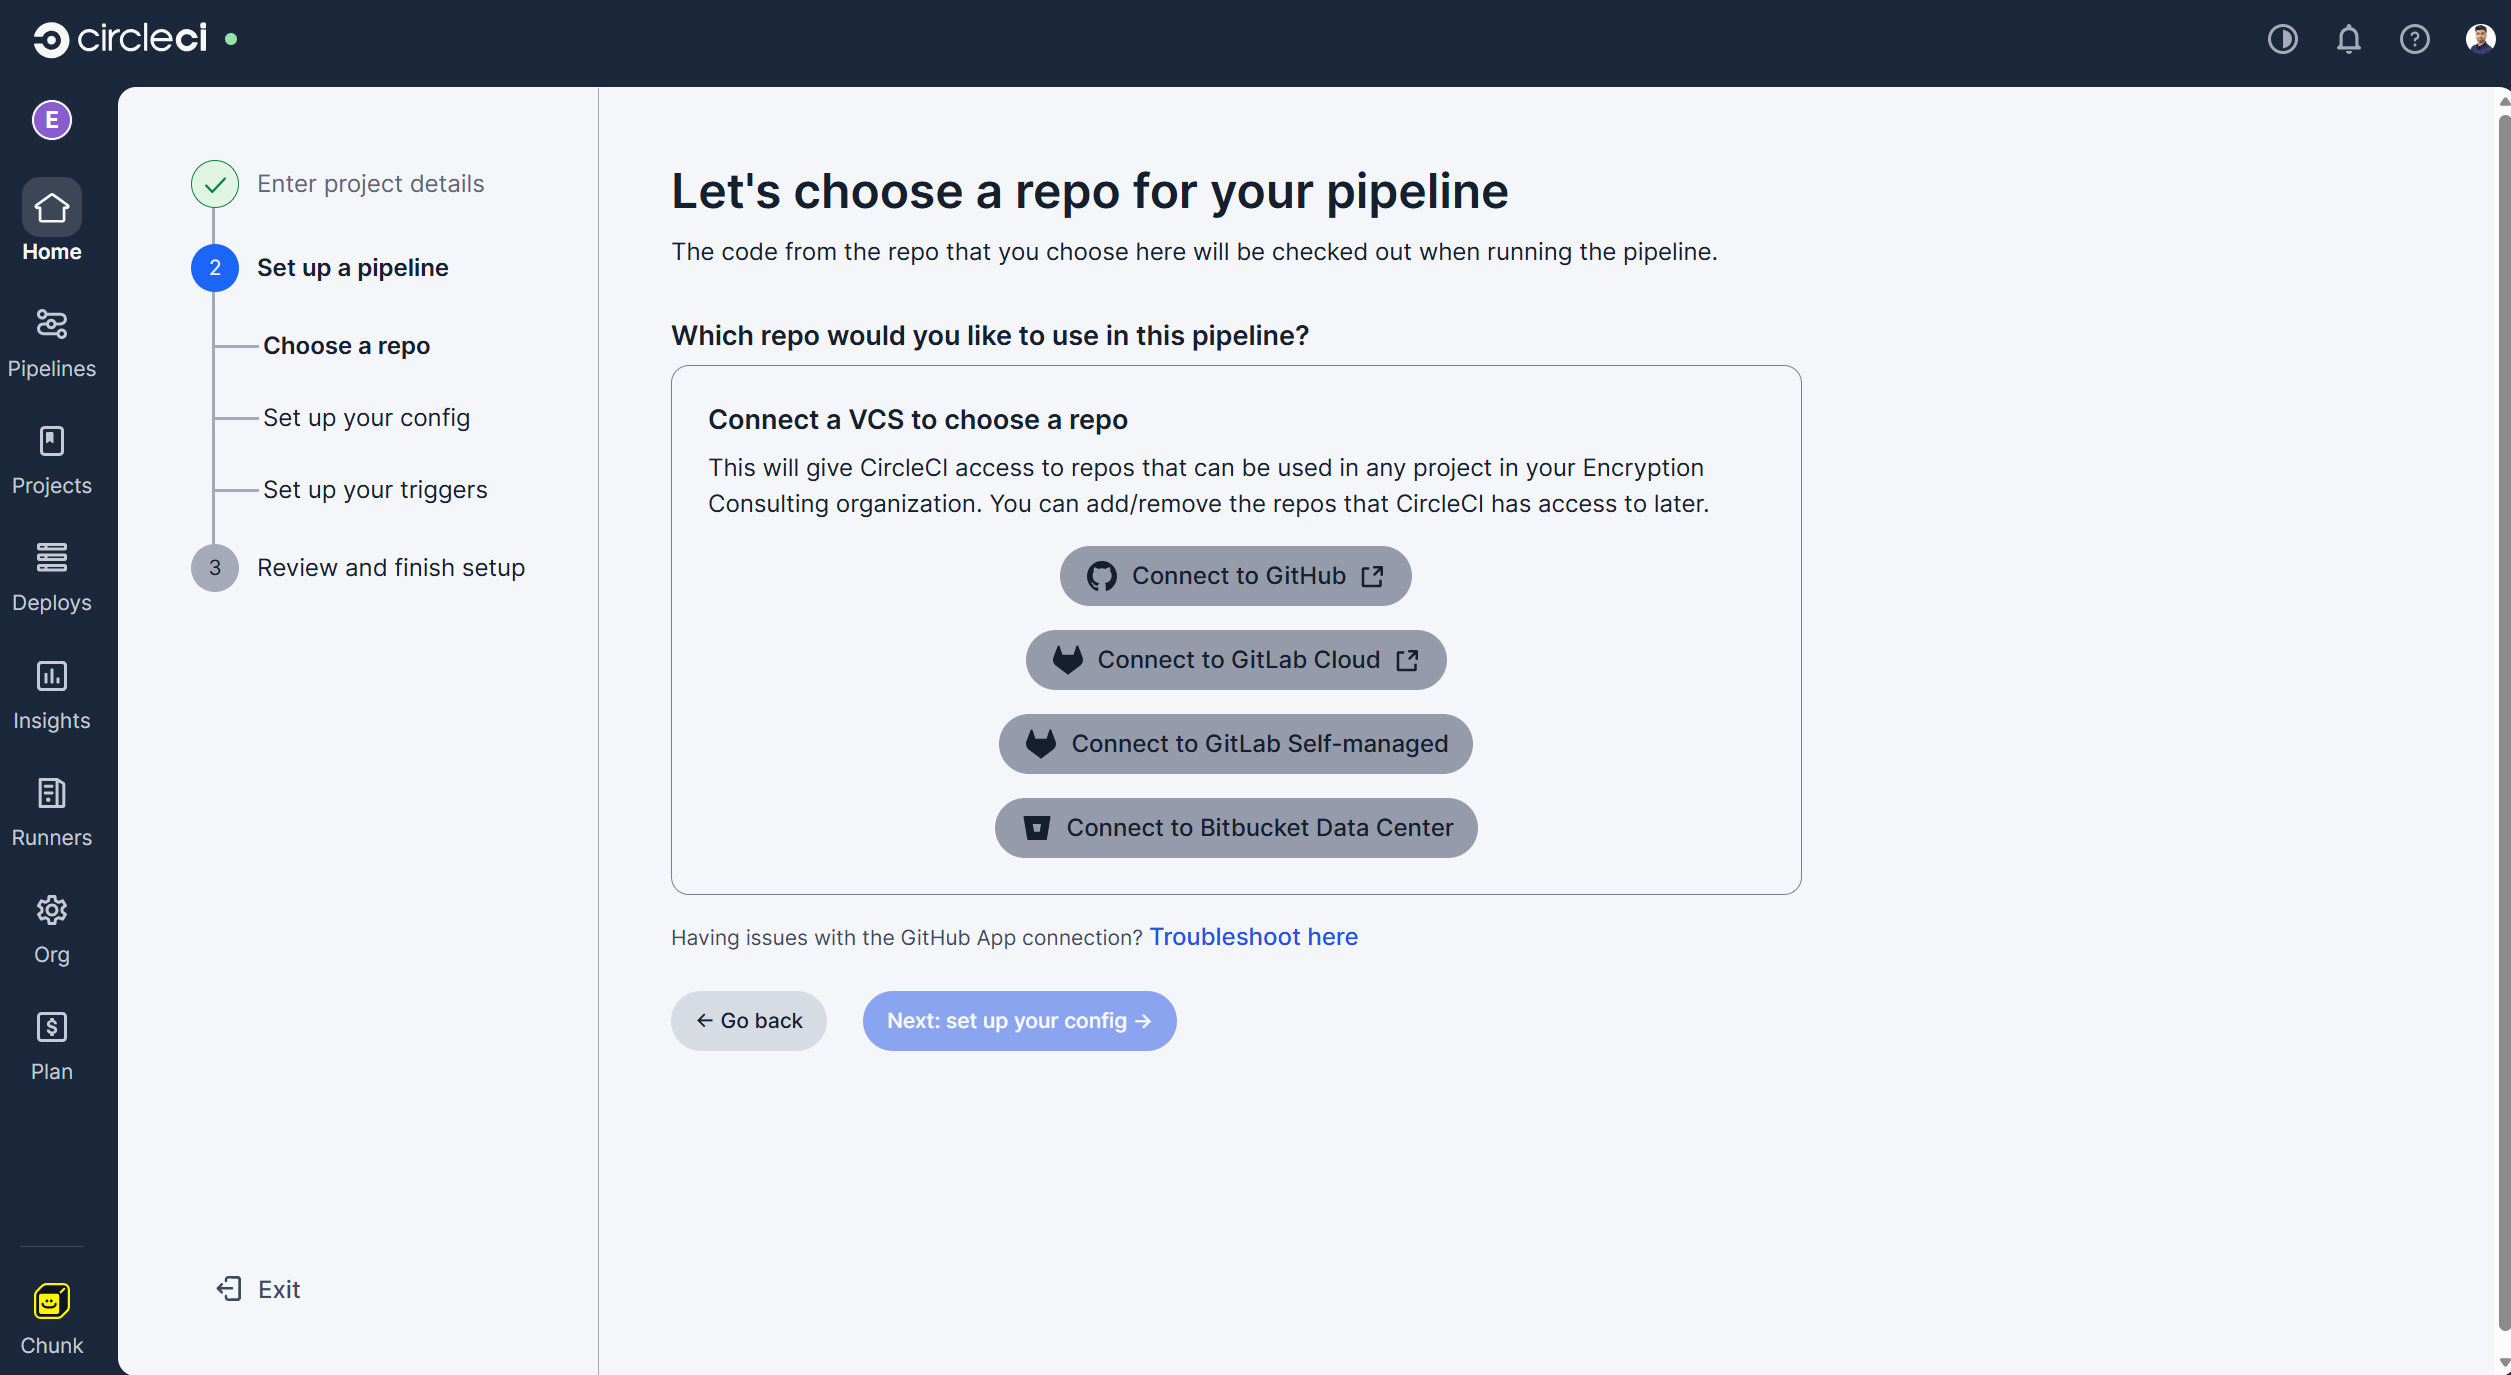
You can choose which repo to connect to your pipeline. We will be using a GitHub repo for this guide.
-
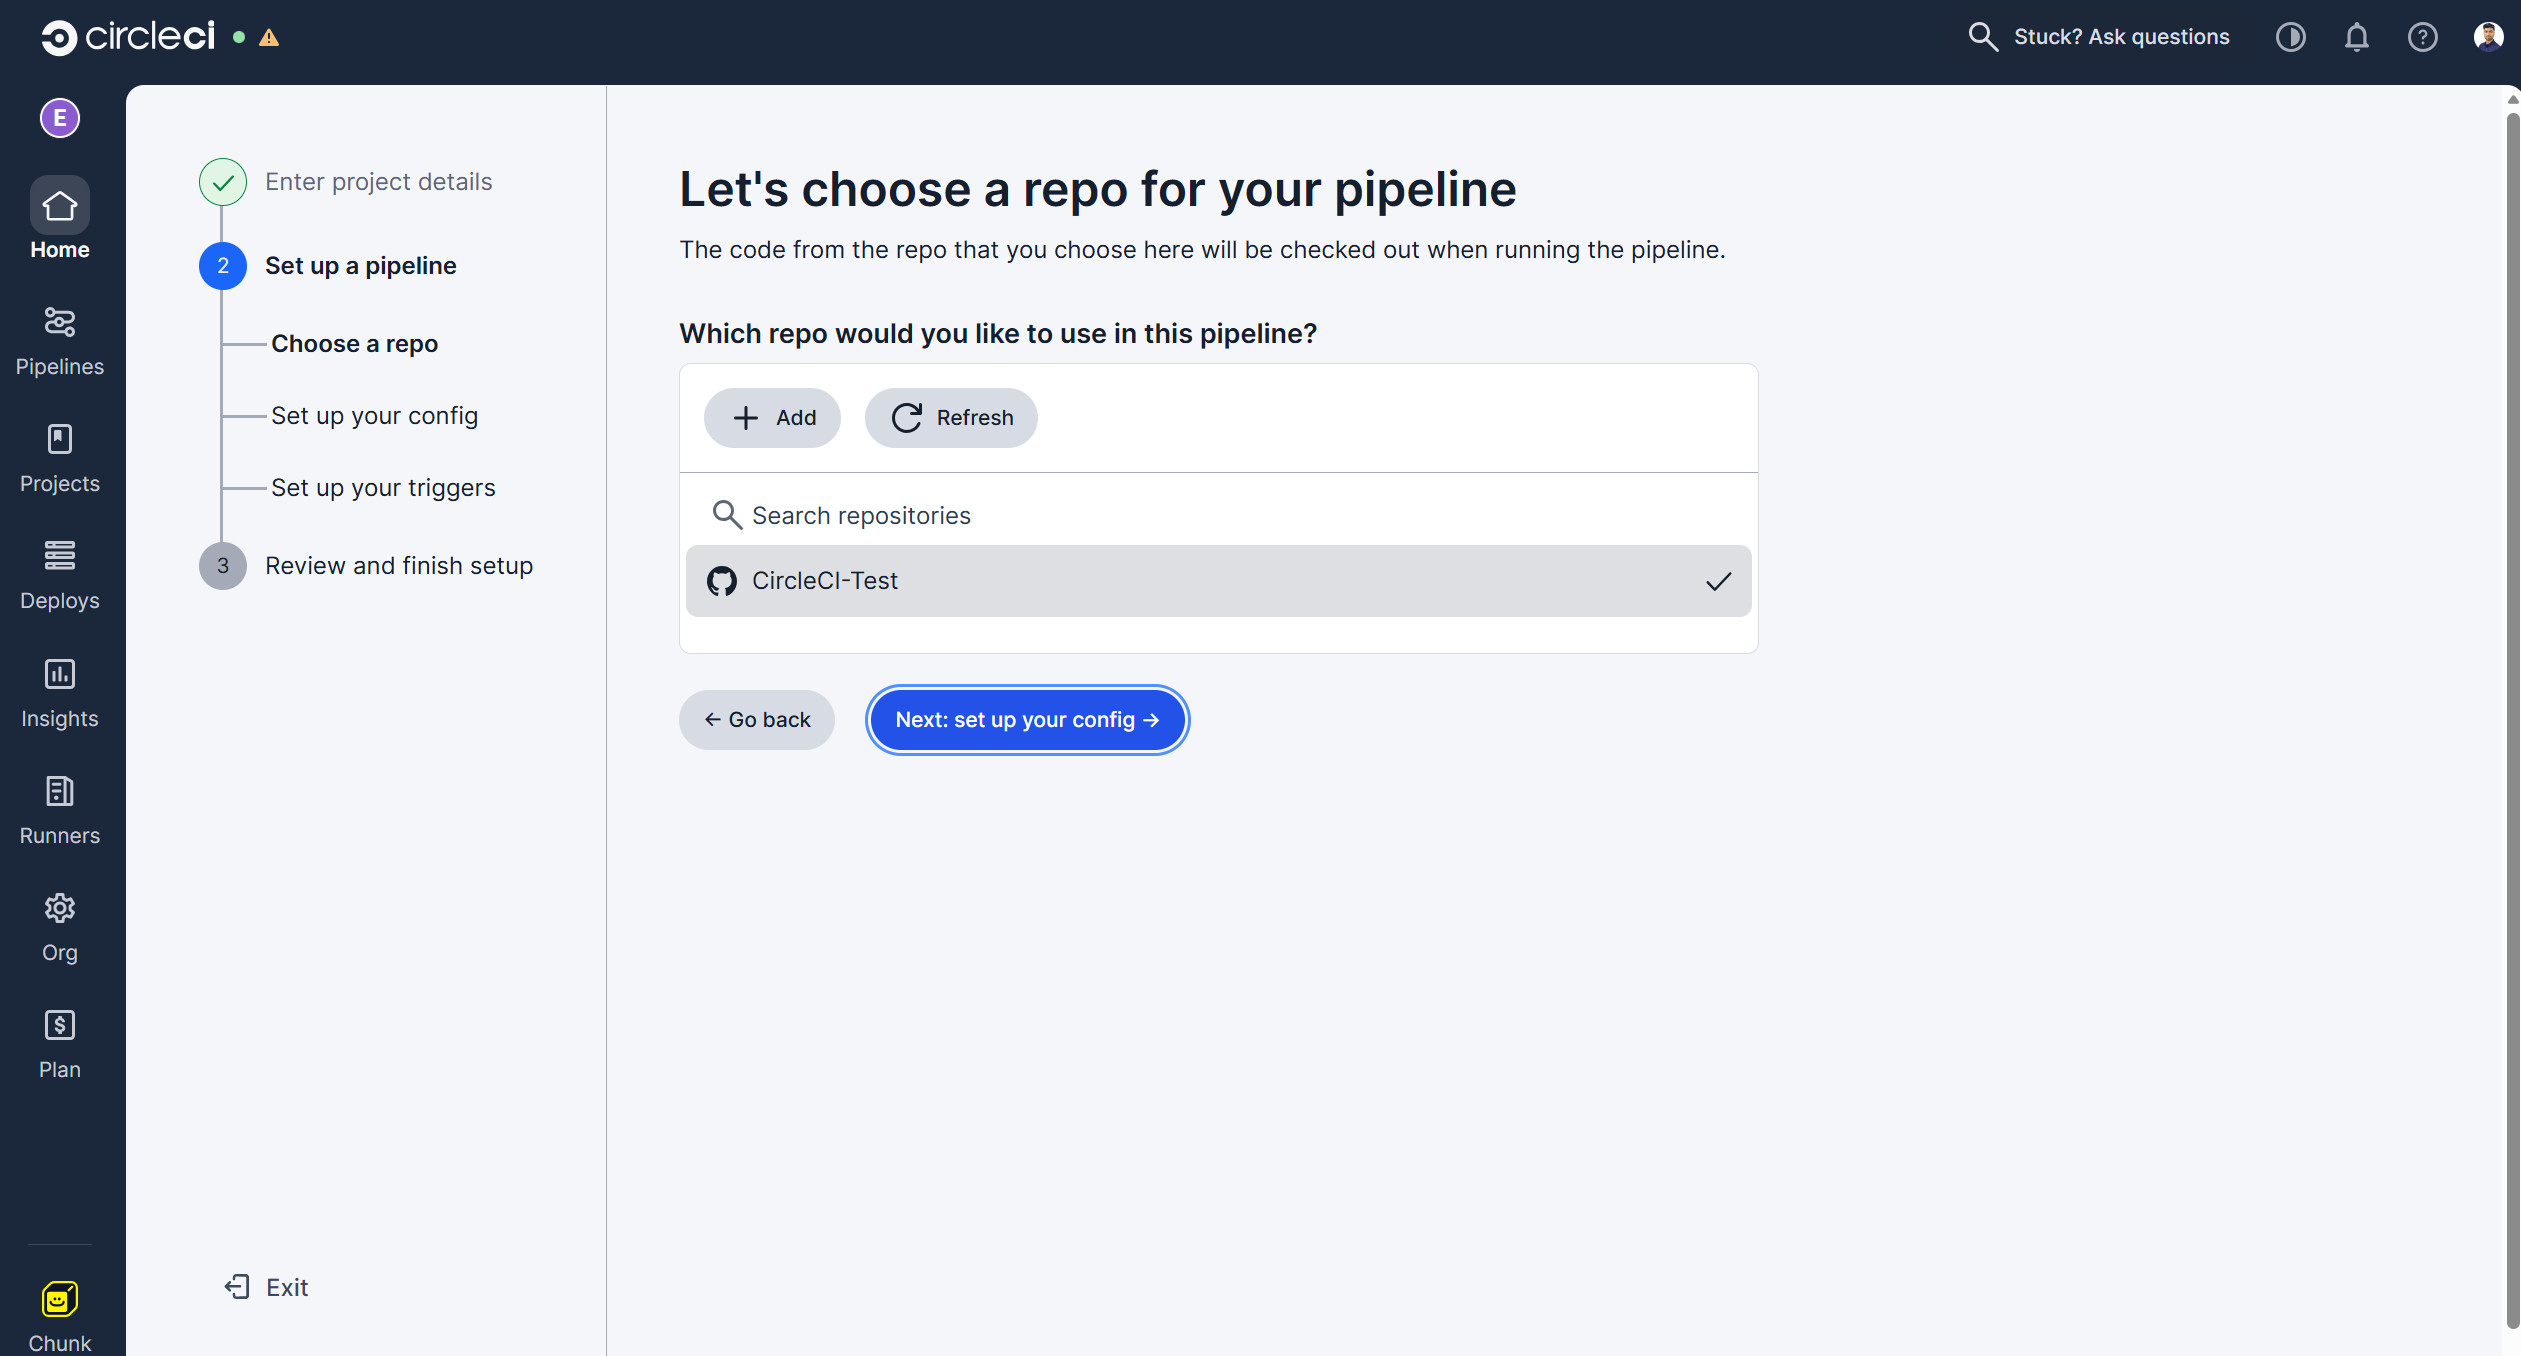
Select the repo after connecting your GitHub account with CircleCI Pipeline.
-
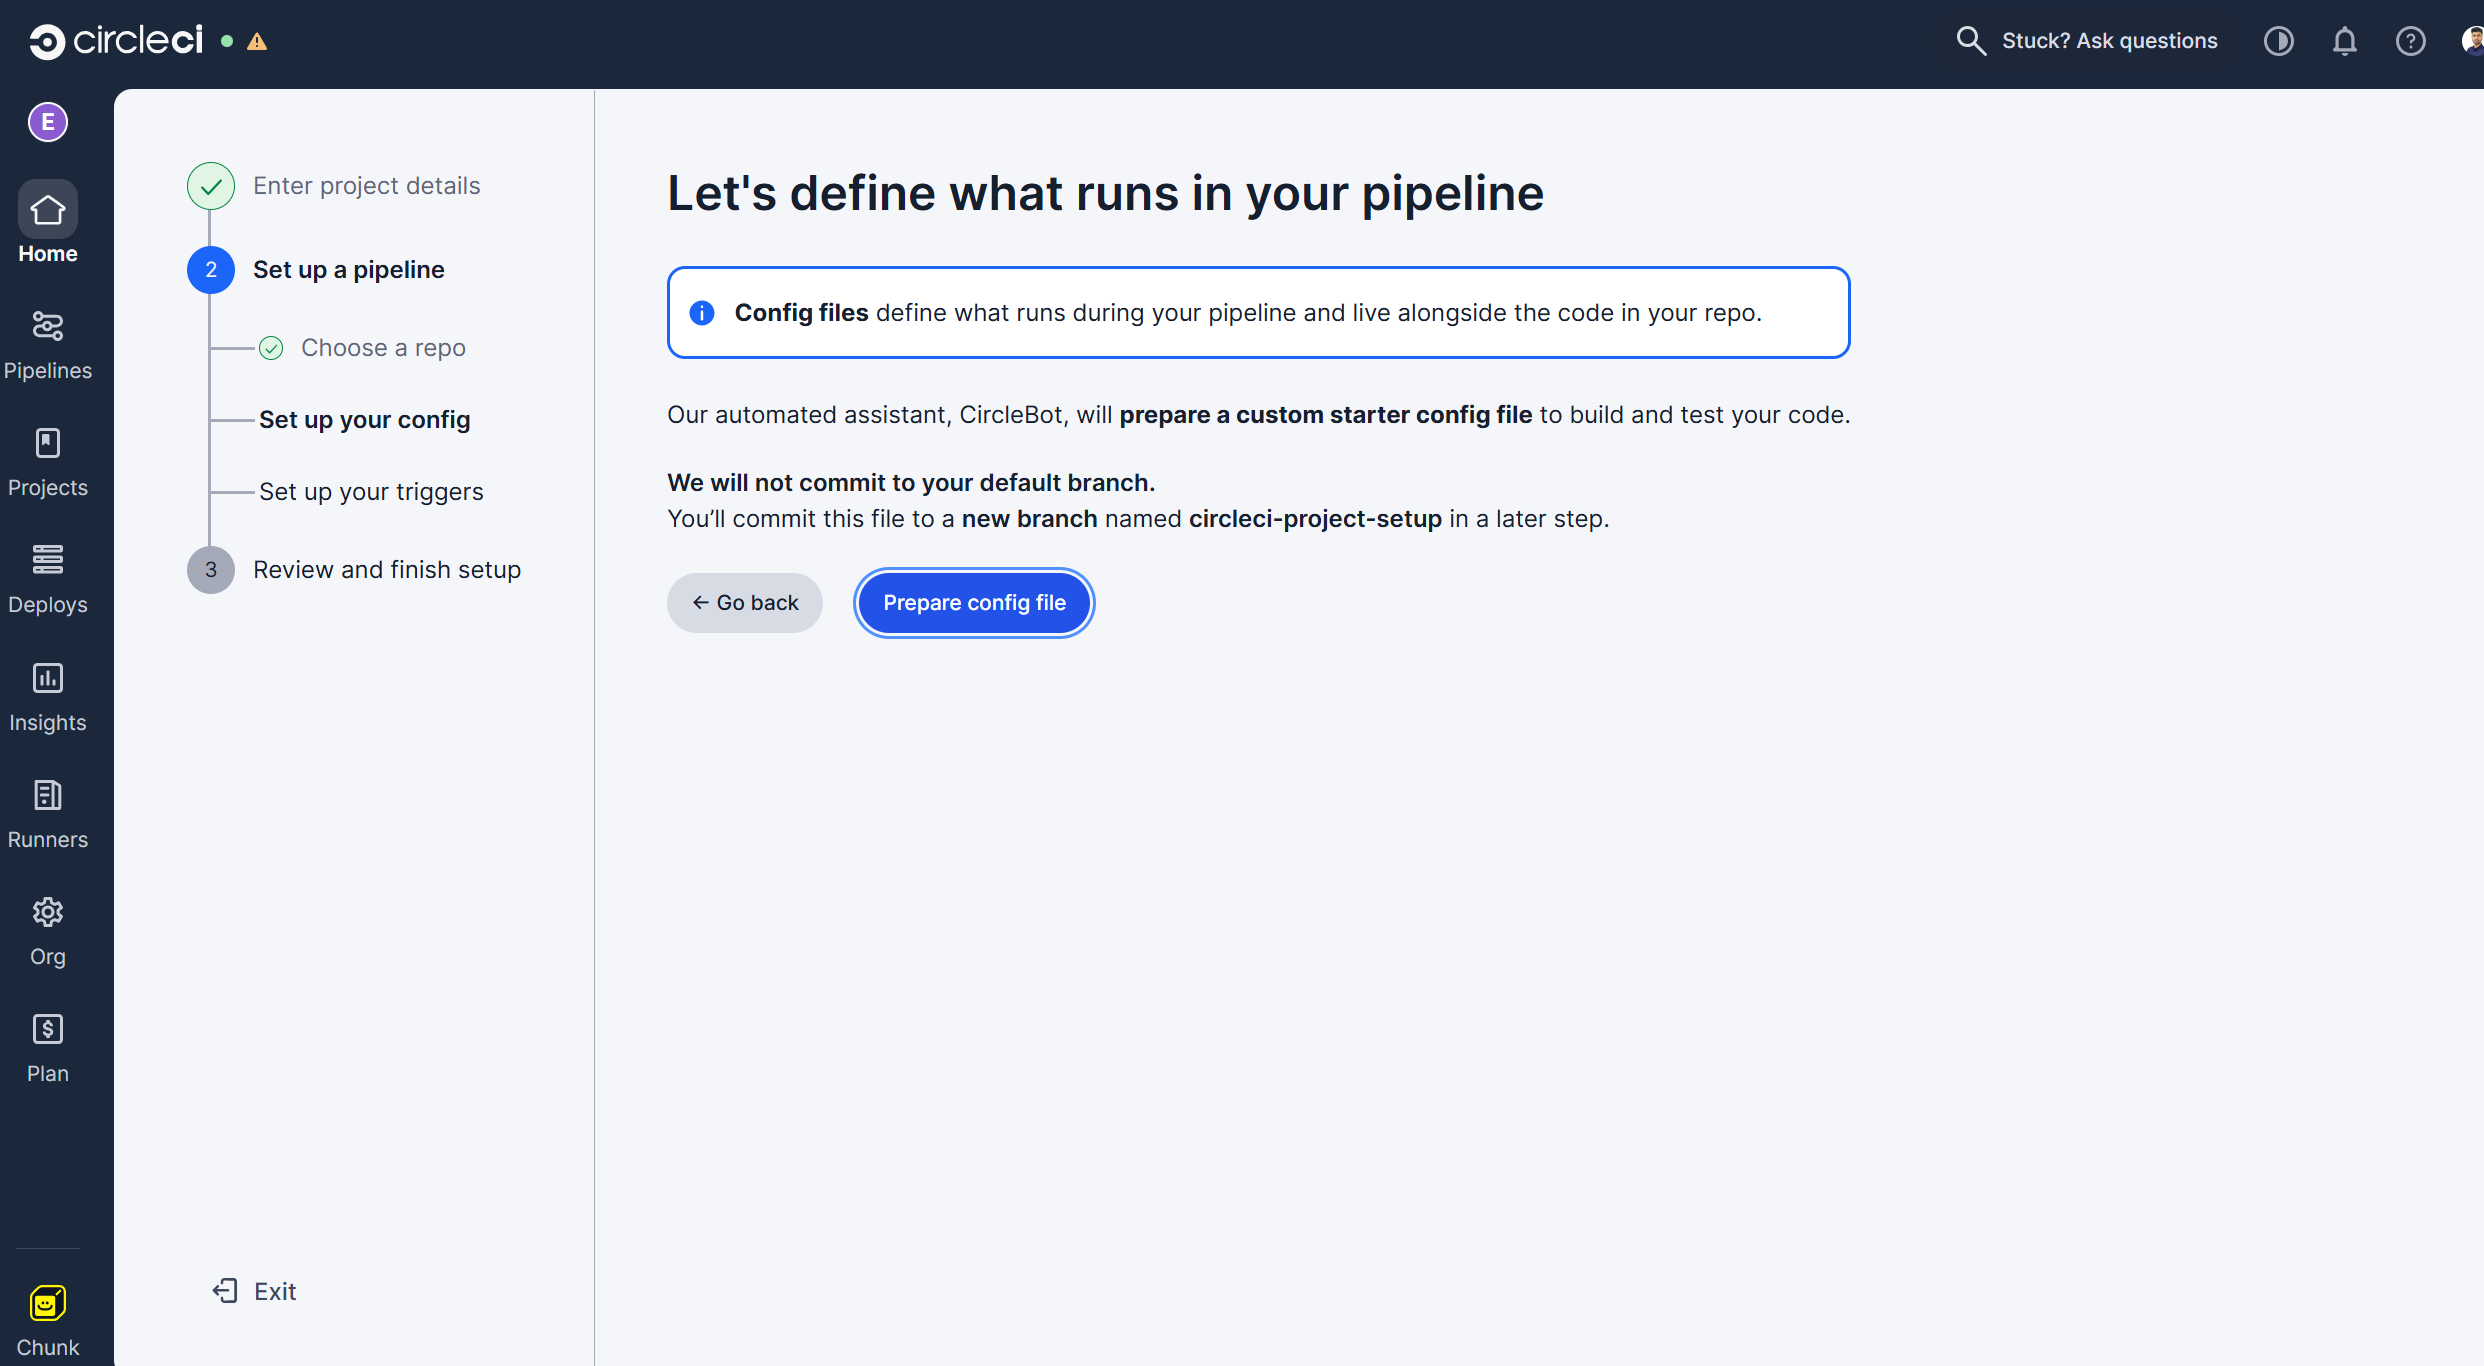
Click on the "Prepare config file" option to push a sample config yaml file to a new branch in your connected repository.
-
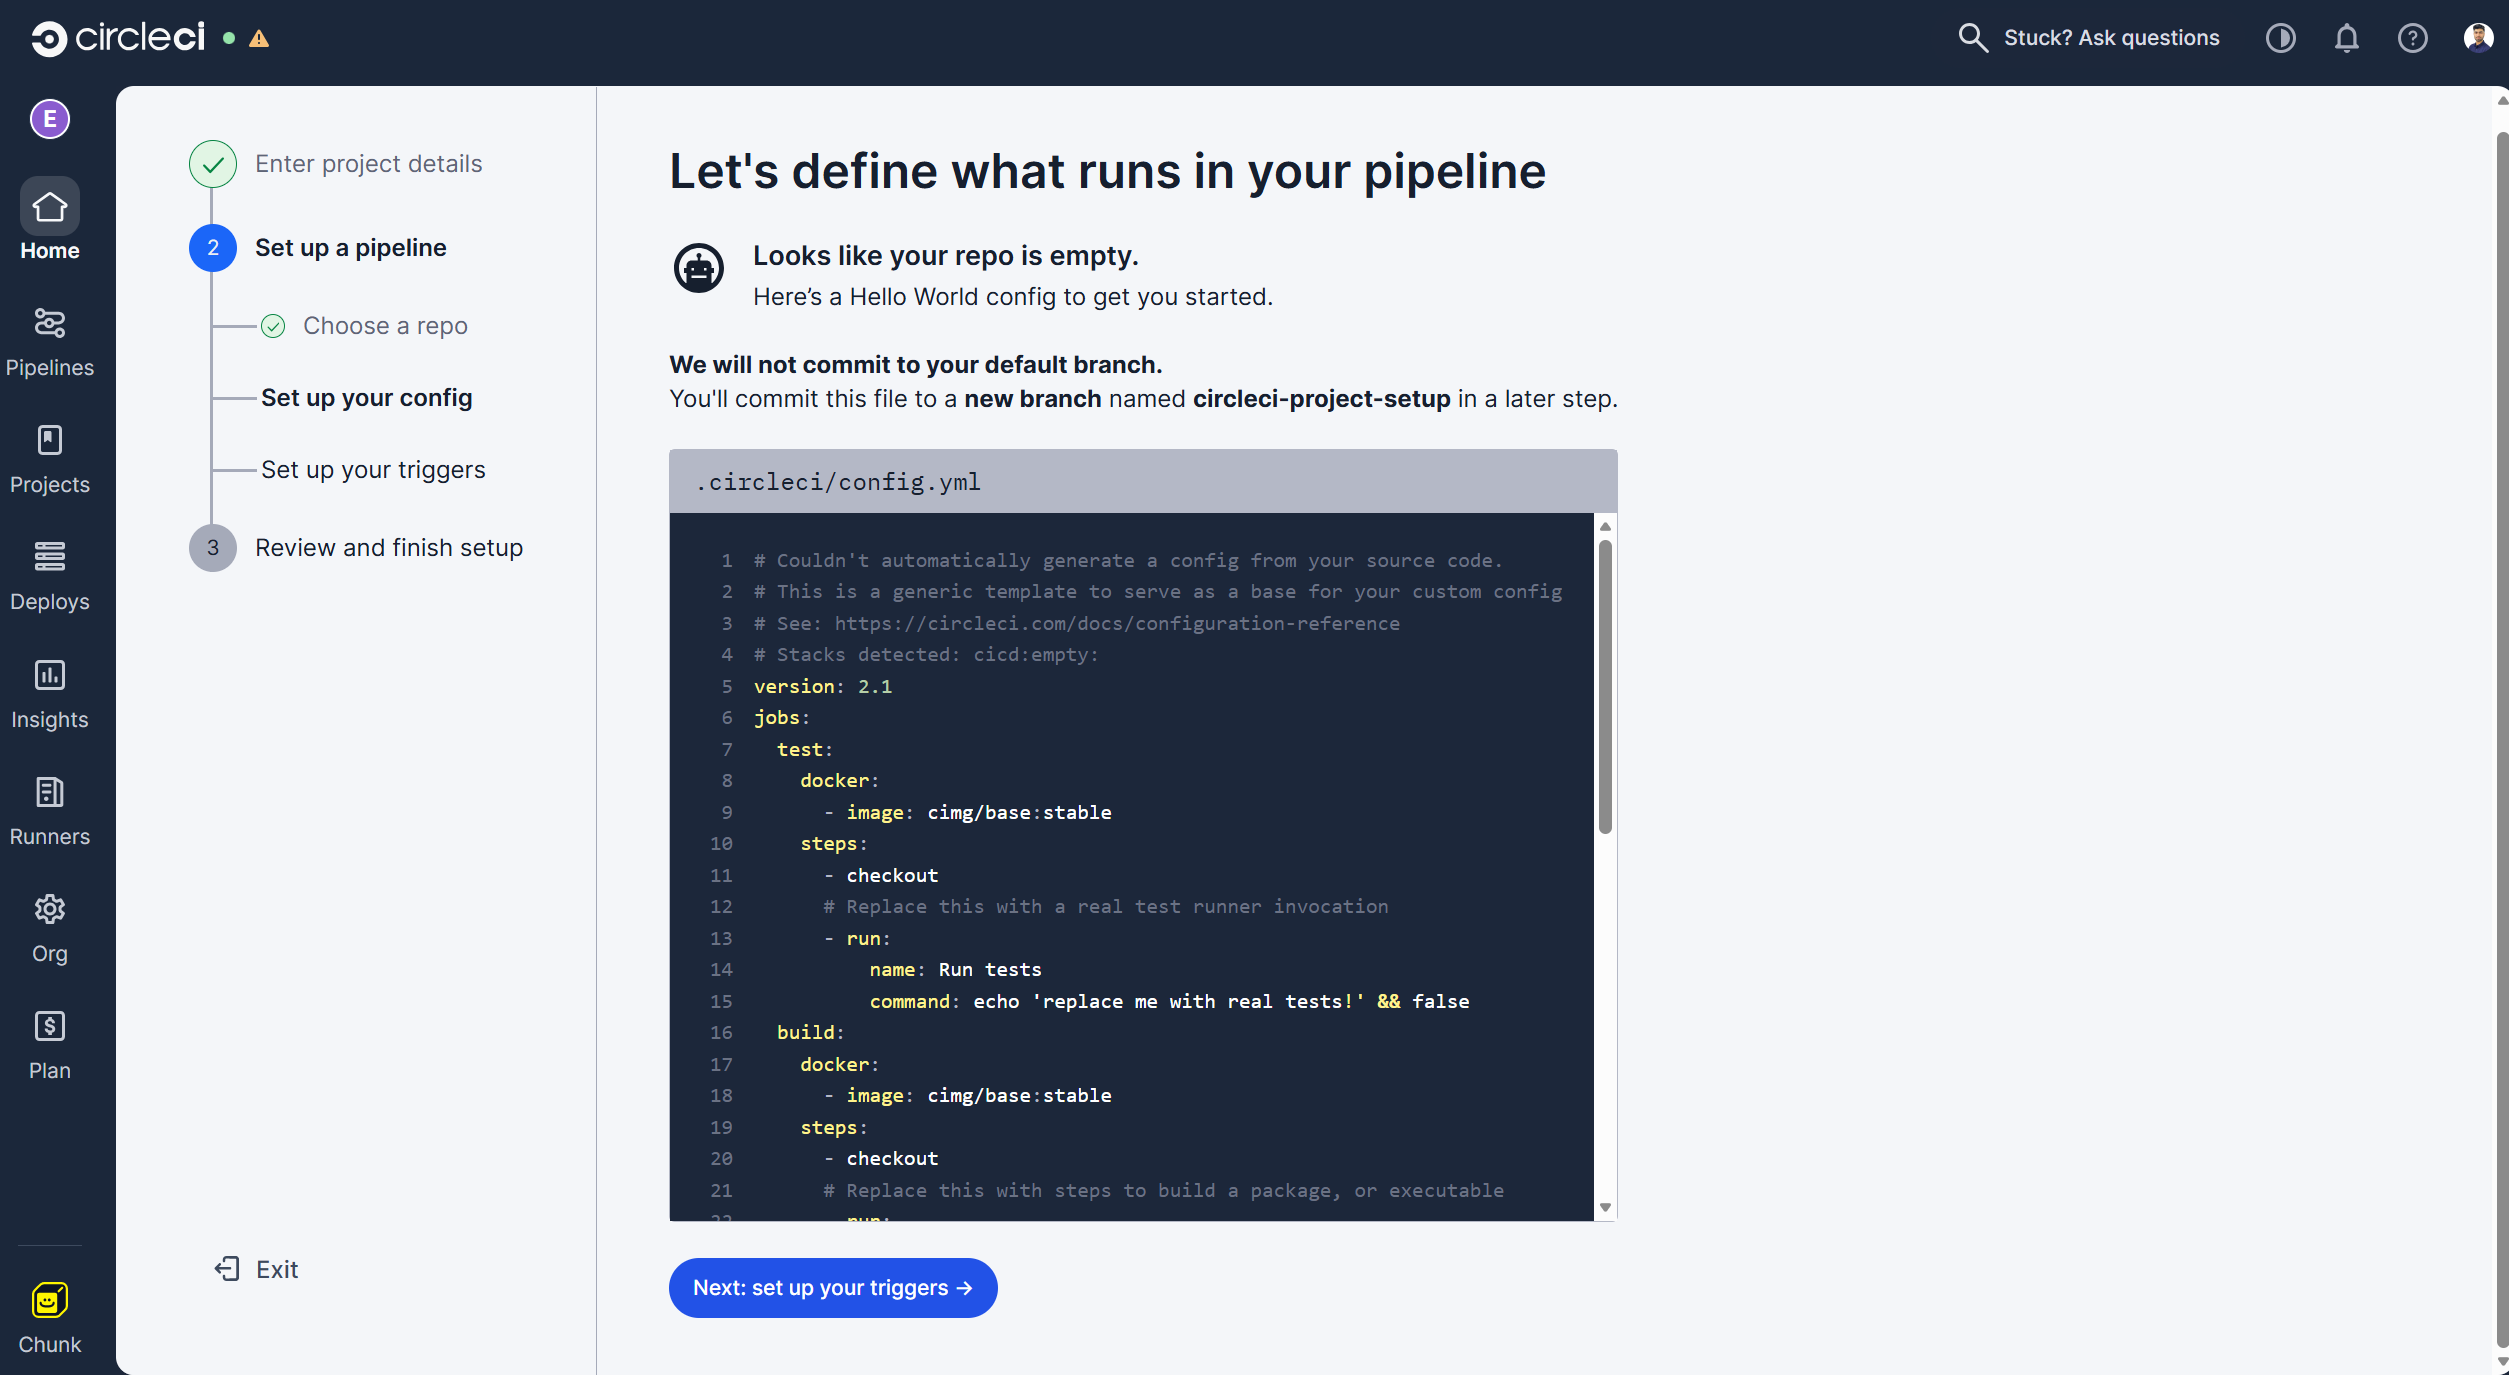
It will then show you a sample repo. Click on the "Next: set up your triggers" option.
-
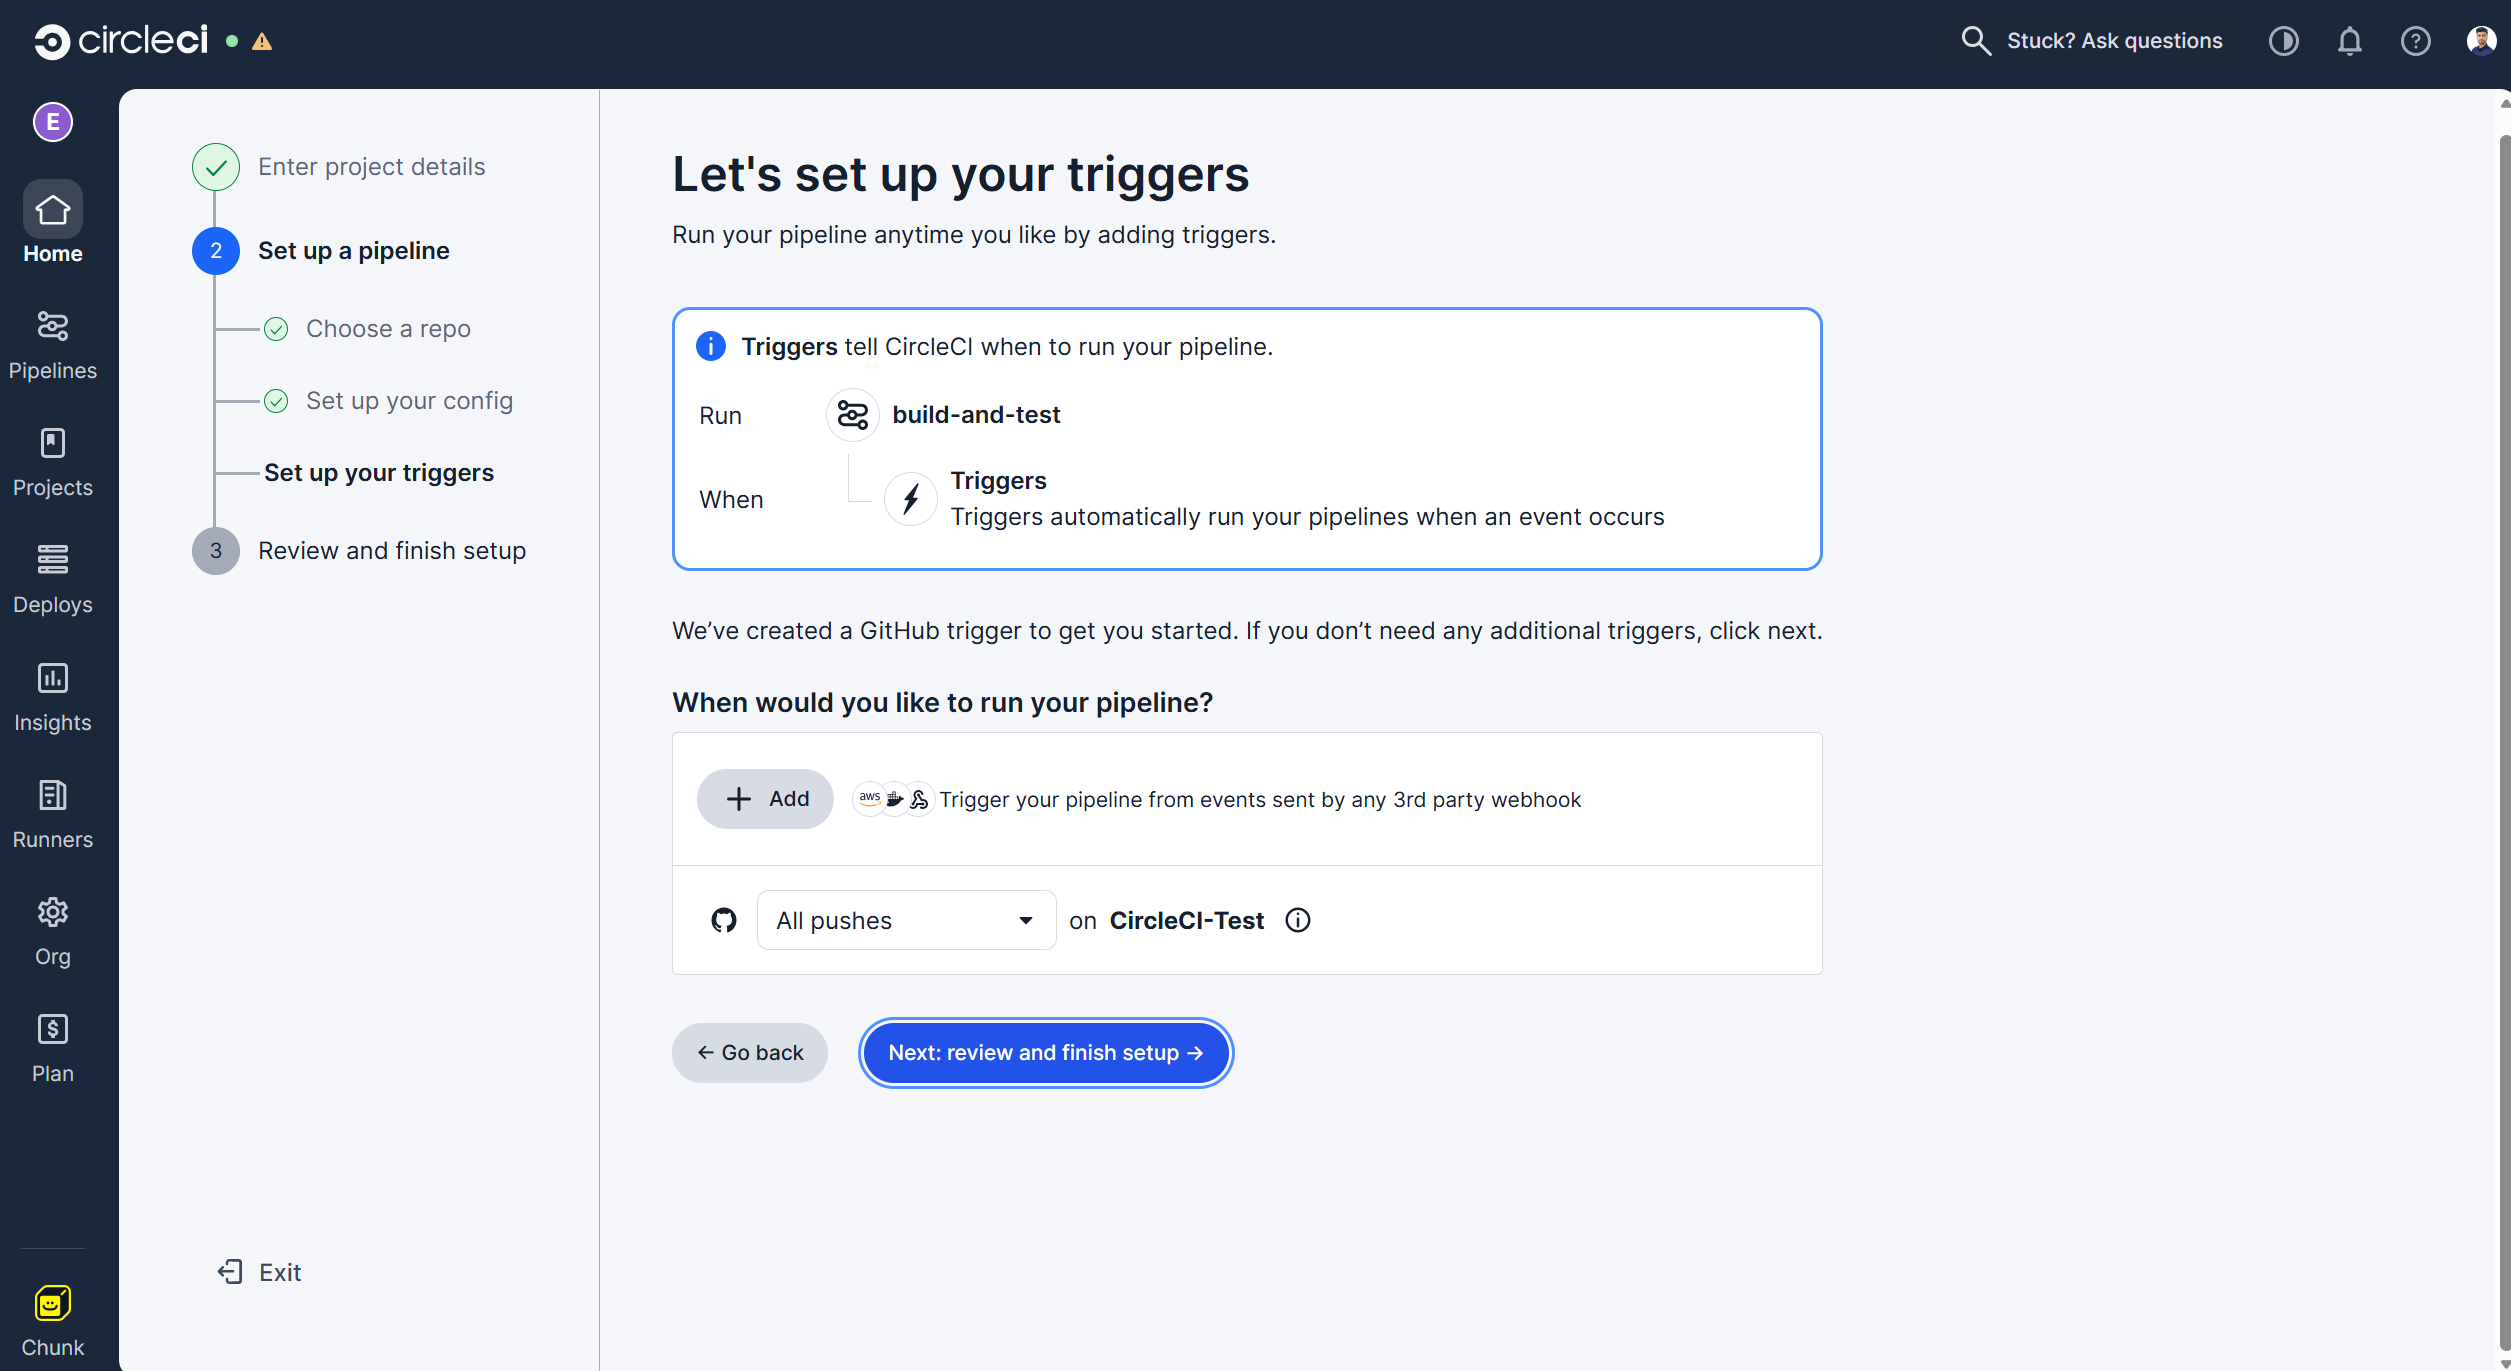
You can set the triggers as per your requirement. We will leave this as the default, with the pipeline running on every new commit. Click on the "Next: review and finish setup" option.
-
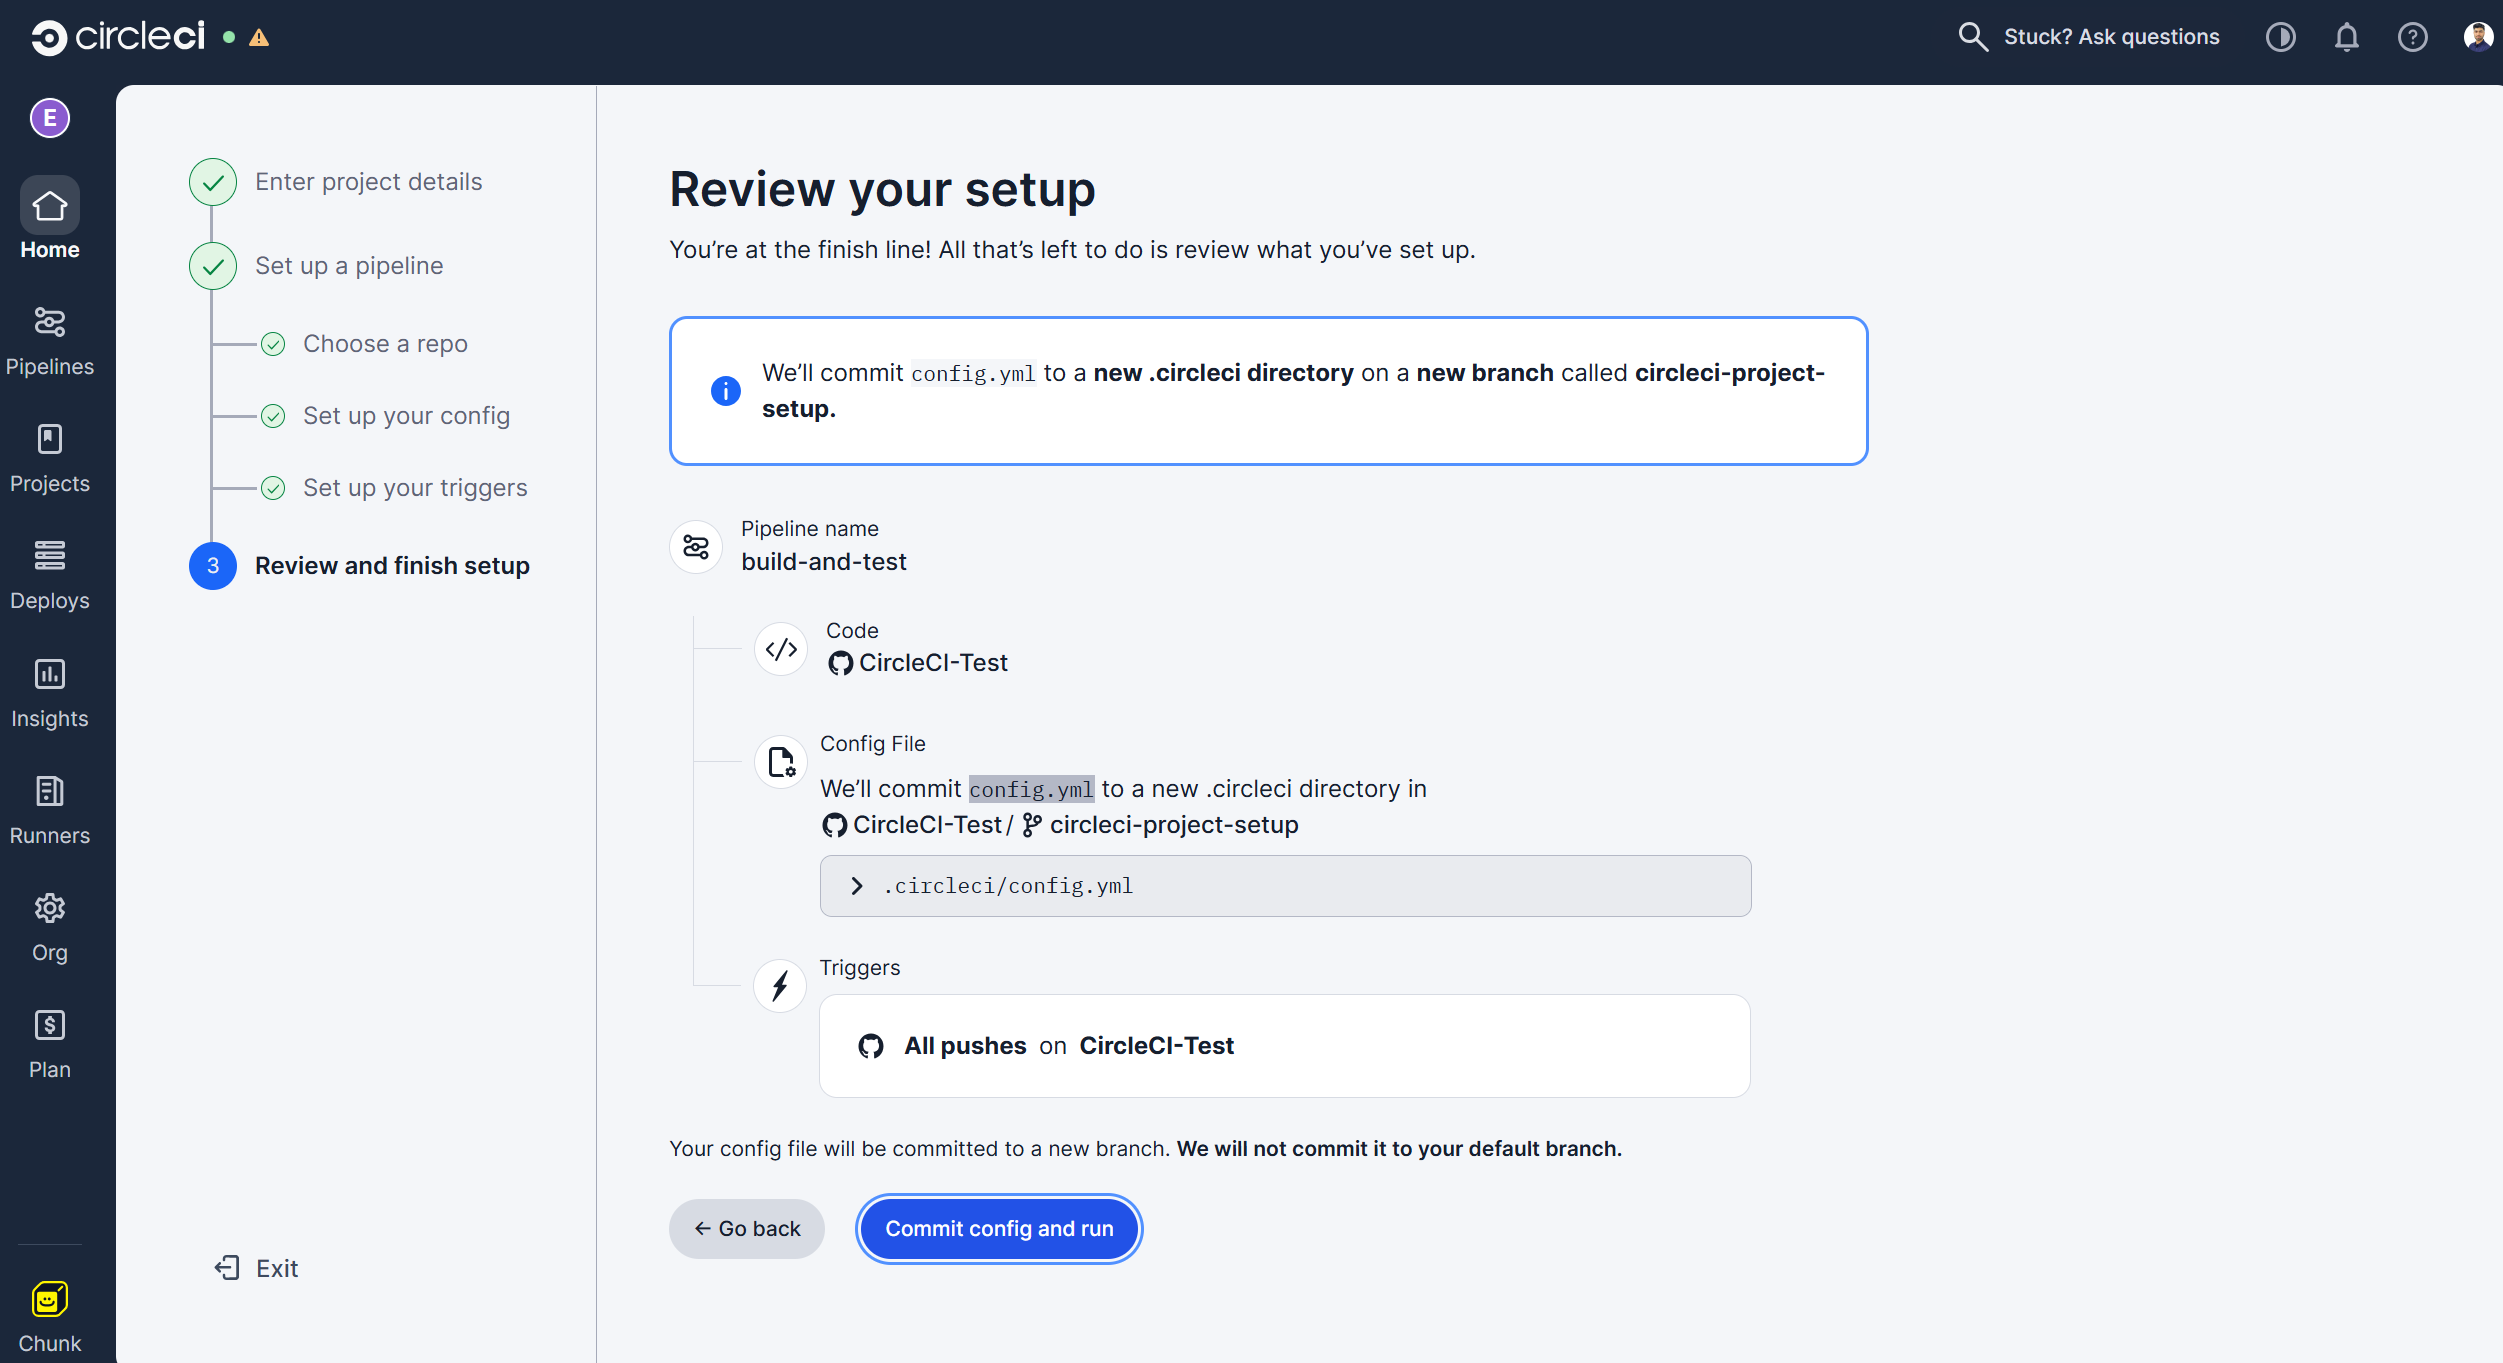
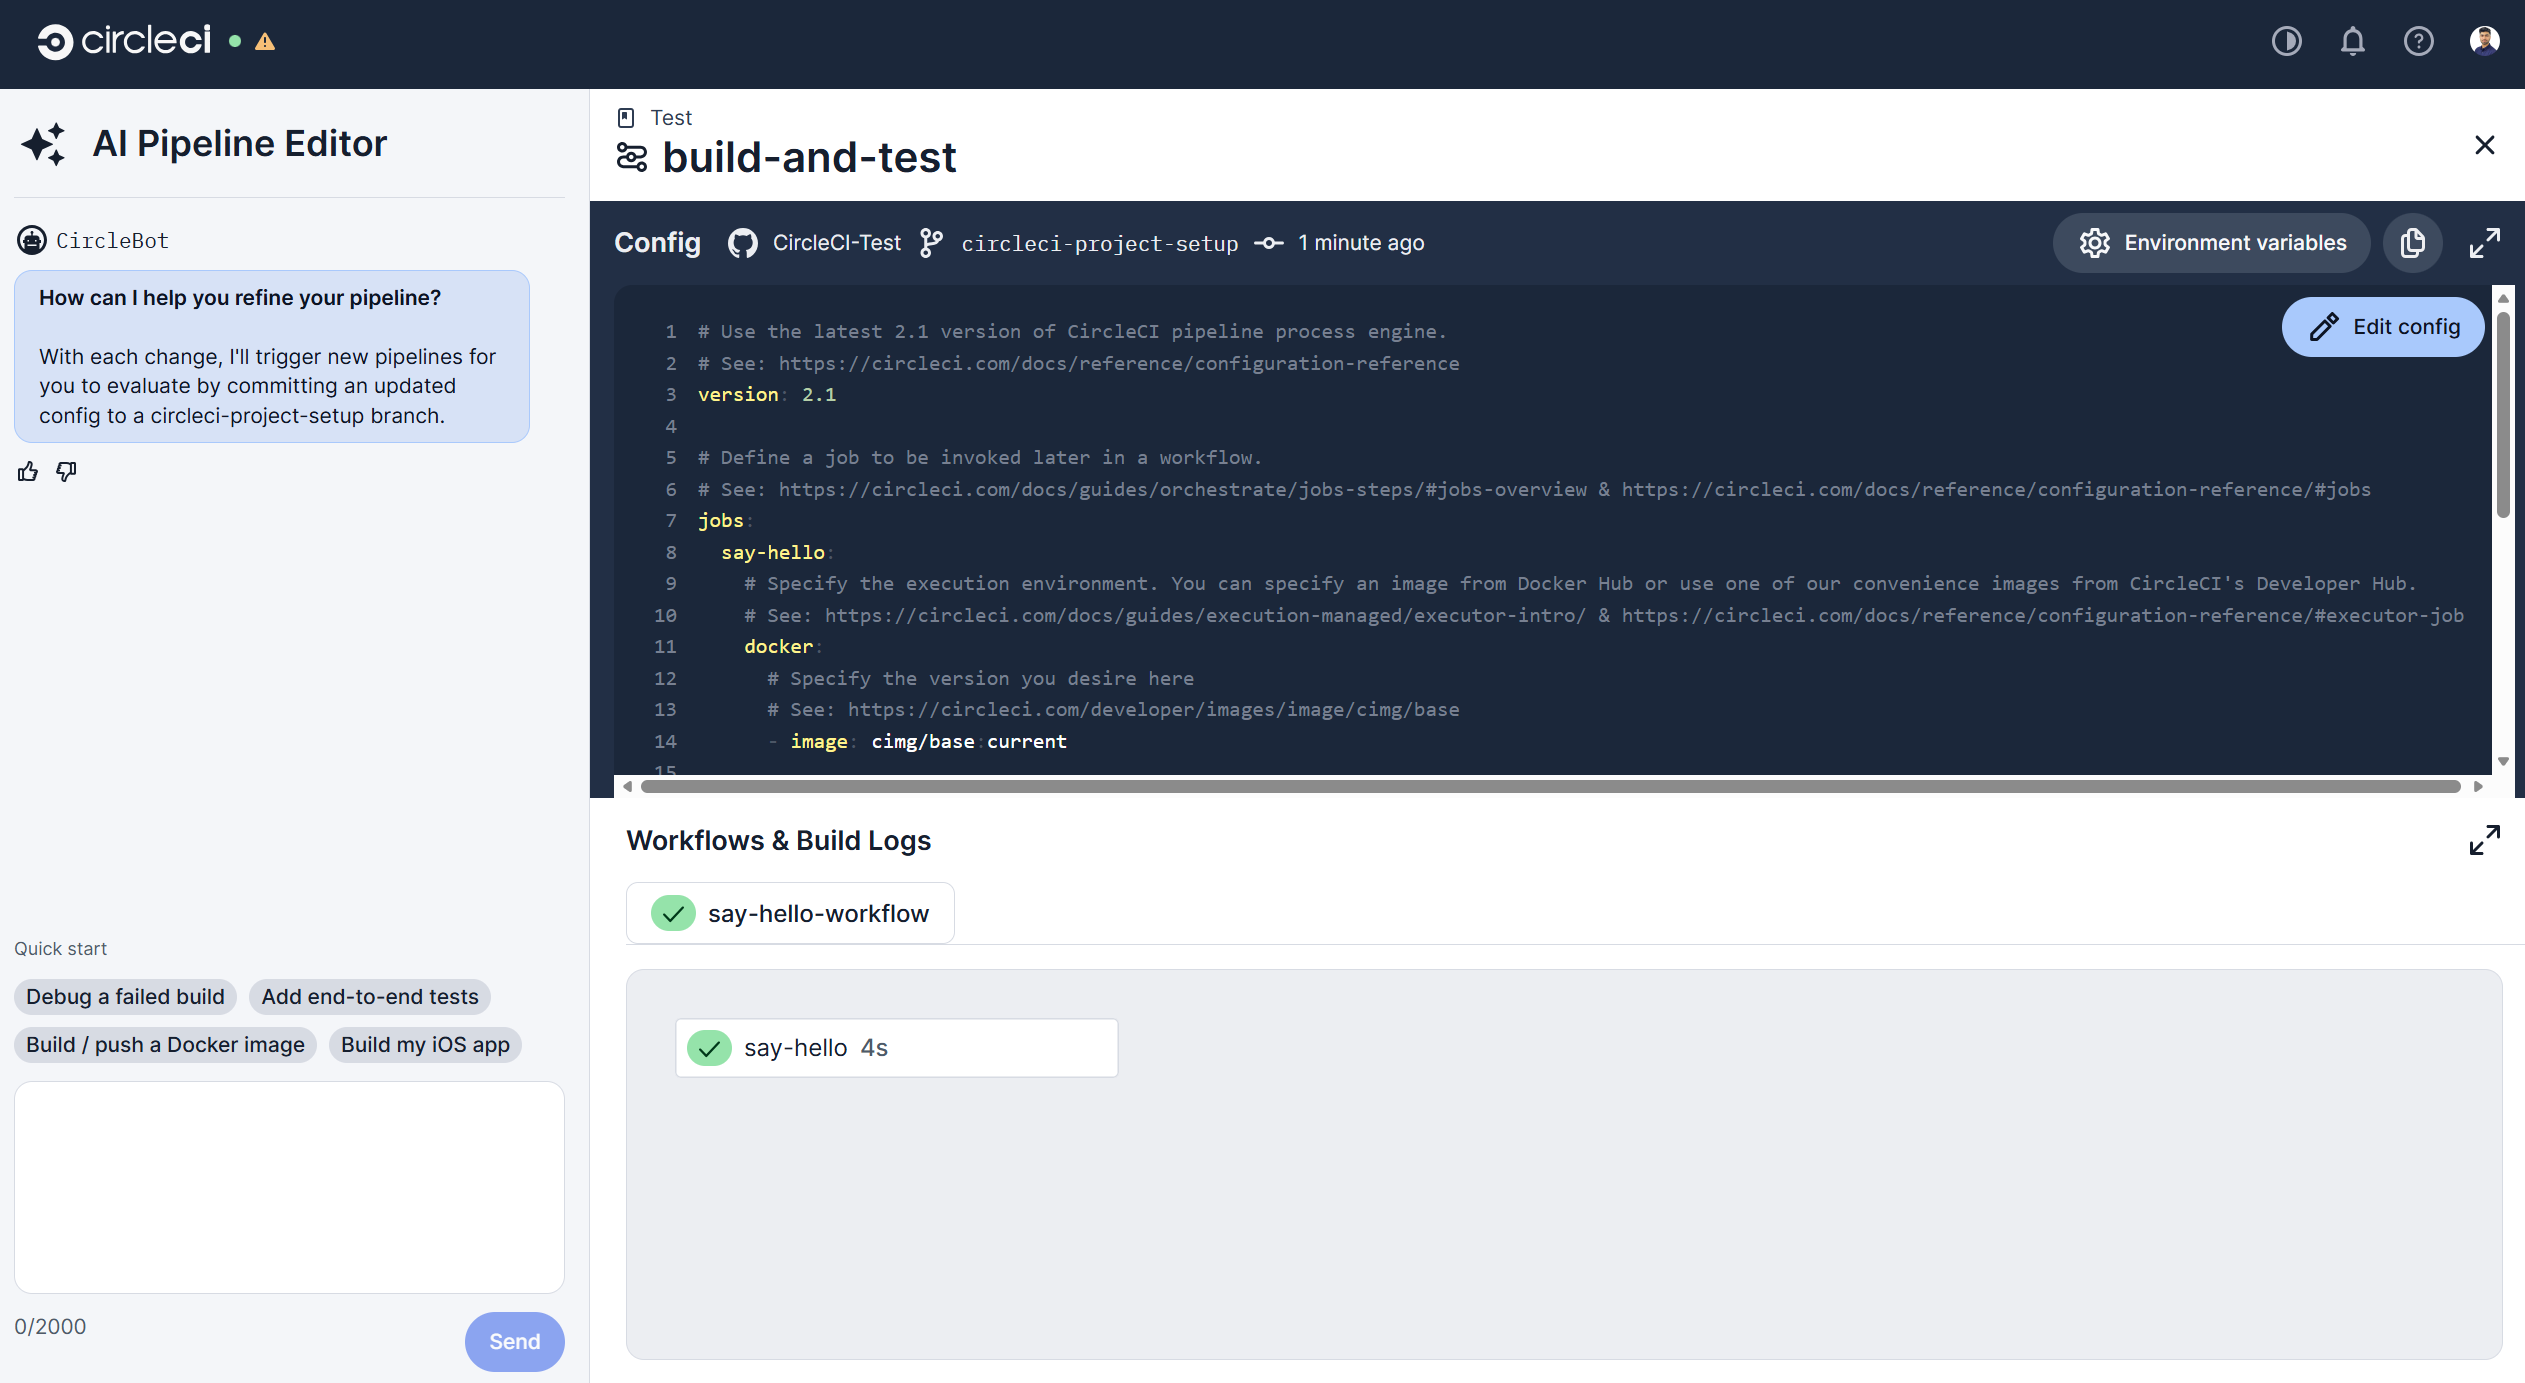
Review your setup and click on the "Commit config and run" option.
-
It will run the pipeline with this sample config file to test the pipeline.
-
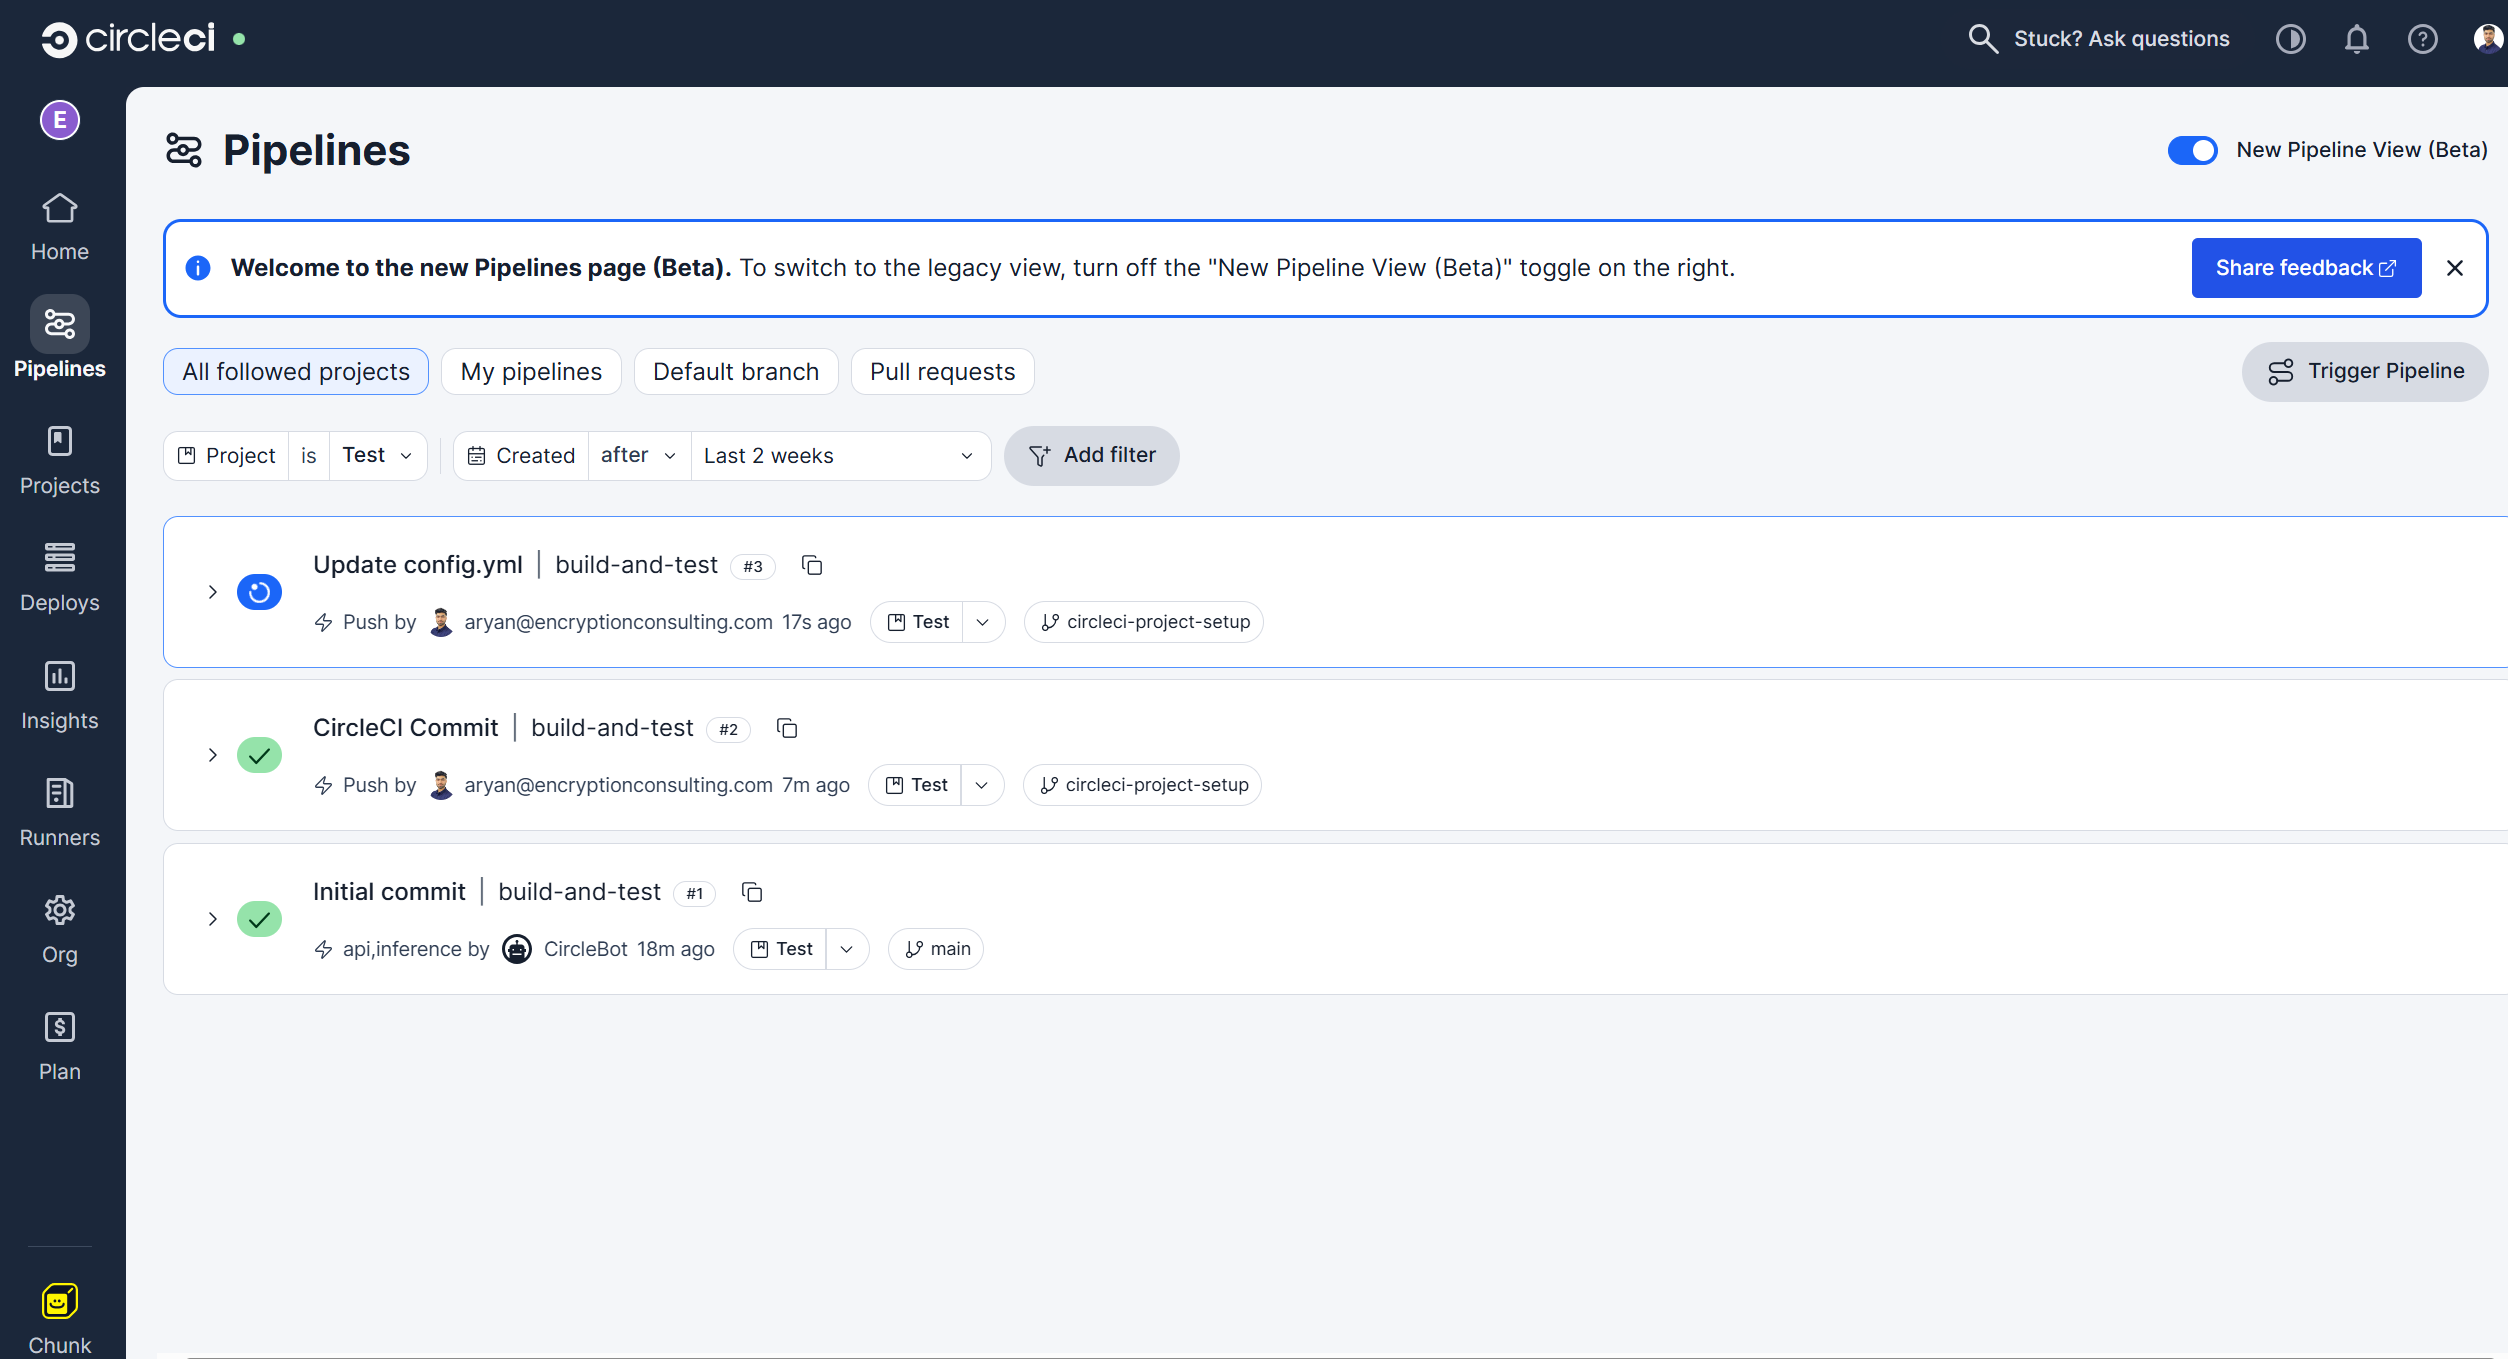
You can view your pipeline from the "Pipelines" Section from the left sidebar.
5. Update the Pipeline configuration
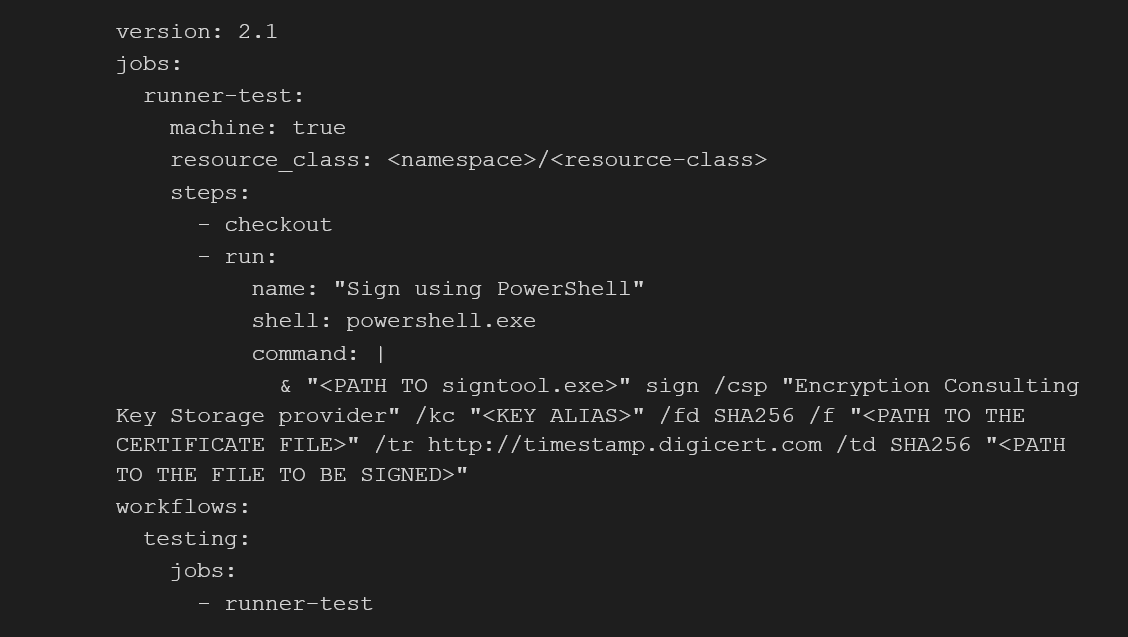
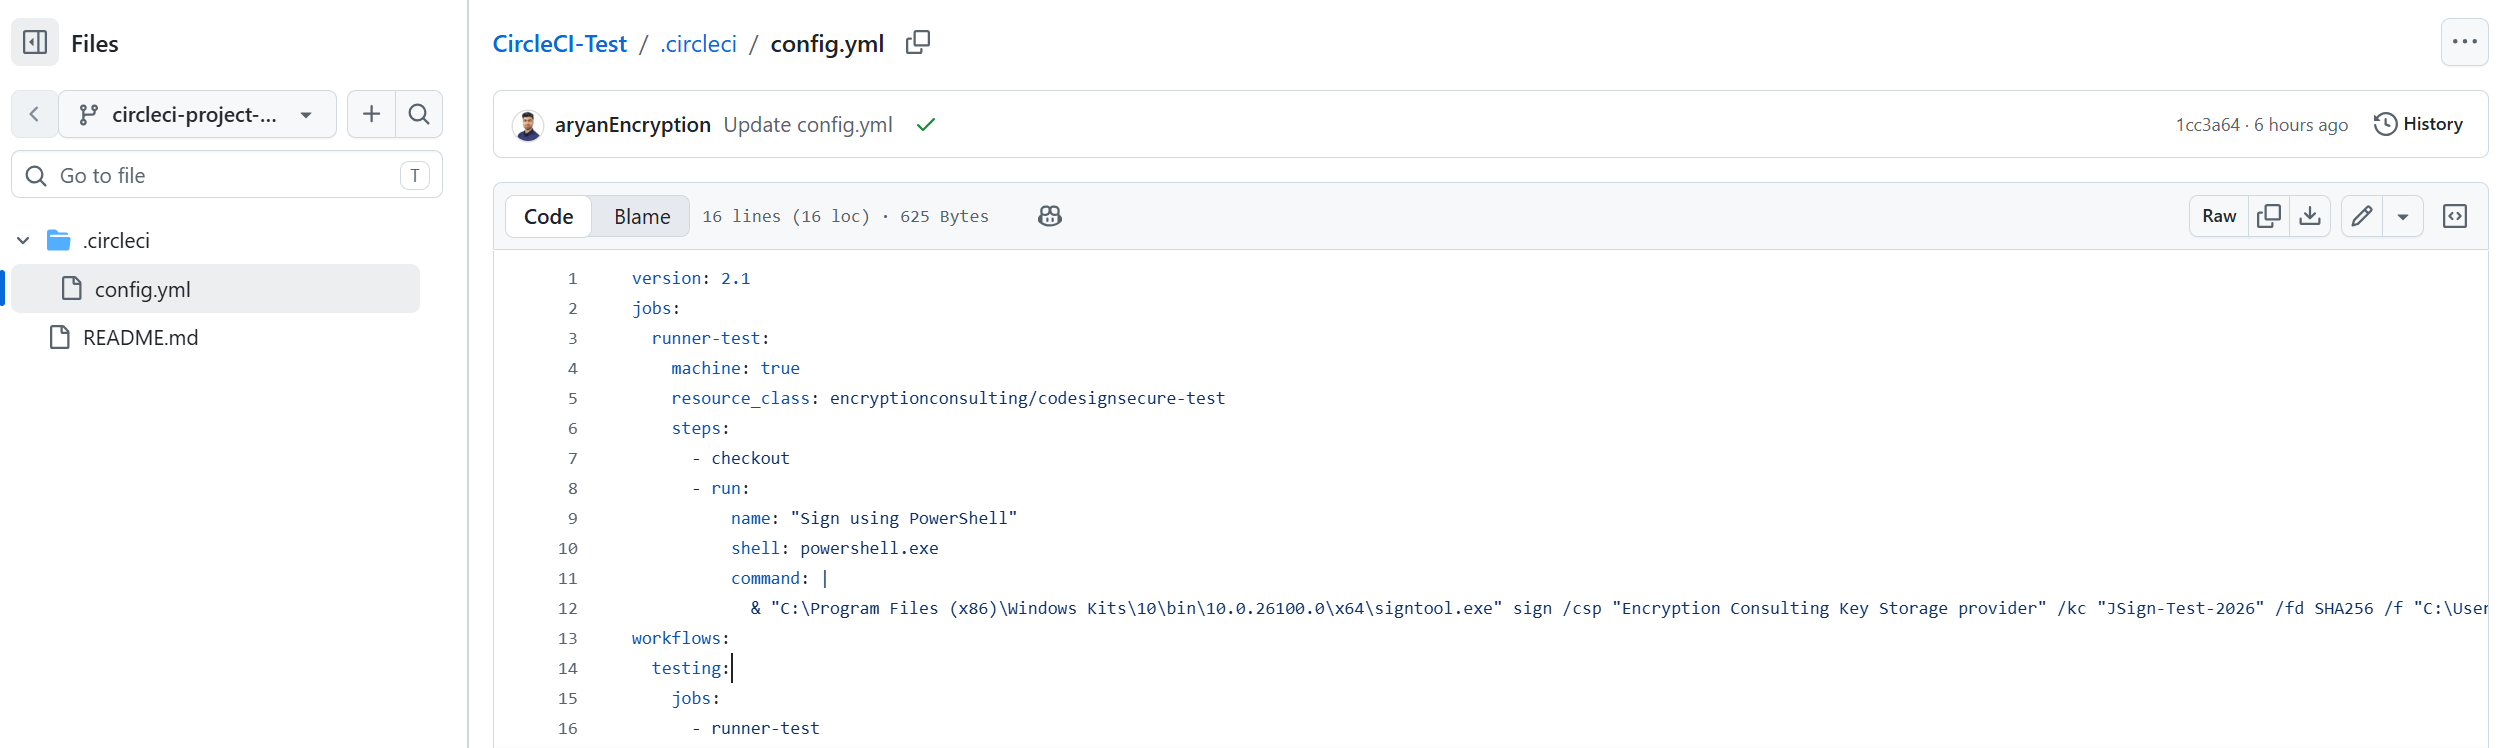
- Now will be updating the config.yml file on our repo branch to run the signtool command and perform the signing.
Follow the structure below of the config.yml to run the signtool command via CircleCI pipeline:
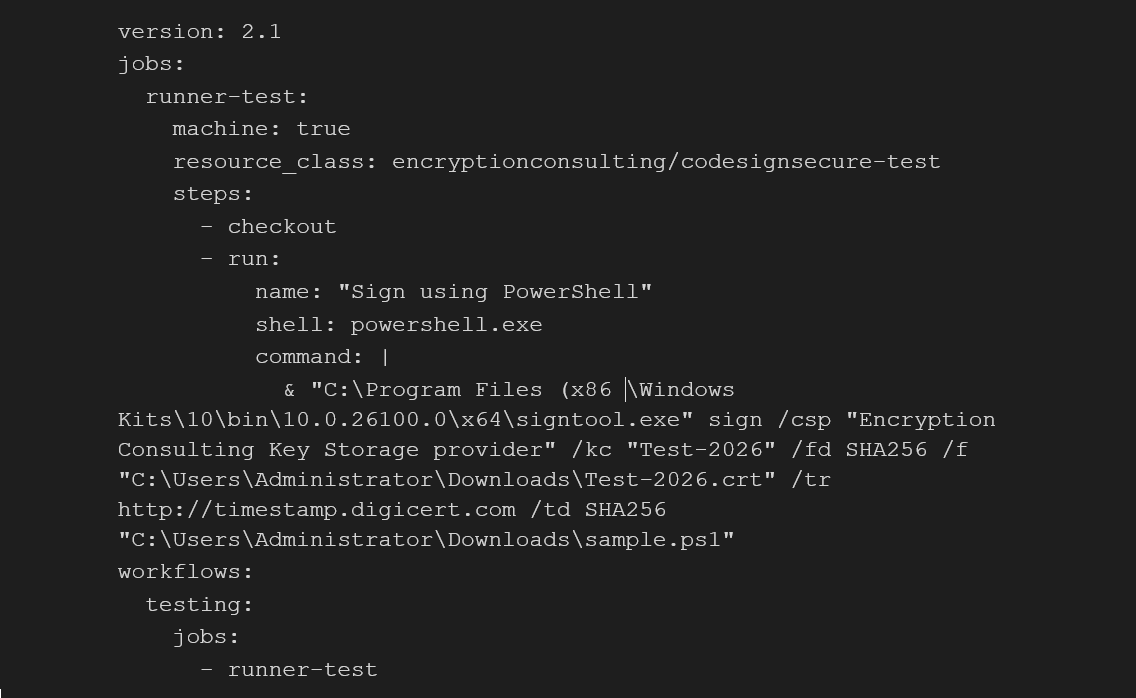
Here is a working config.yml file for your reference to match the details that we used in the earlier steps to step the resource class and signtool.
-
When you commit this update config file to your repository branch, the runner should start the pipeline automatically.
6. Run the CircleCI Pipeline
-
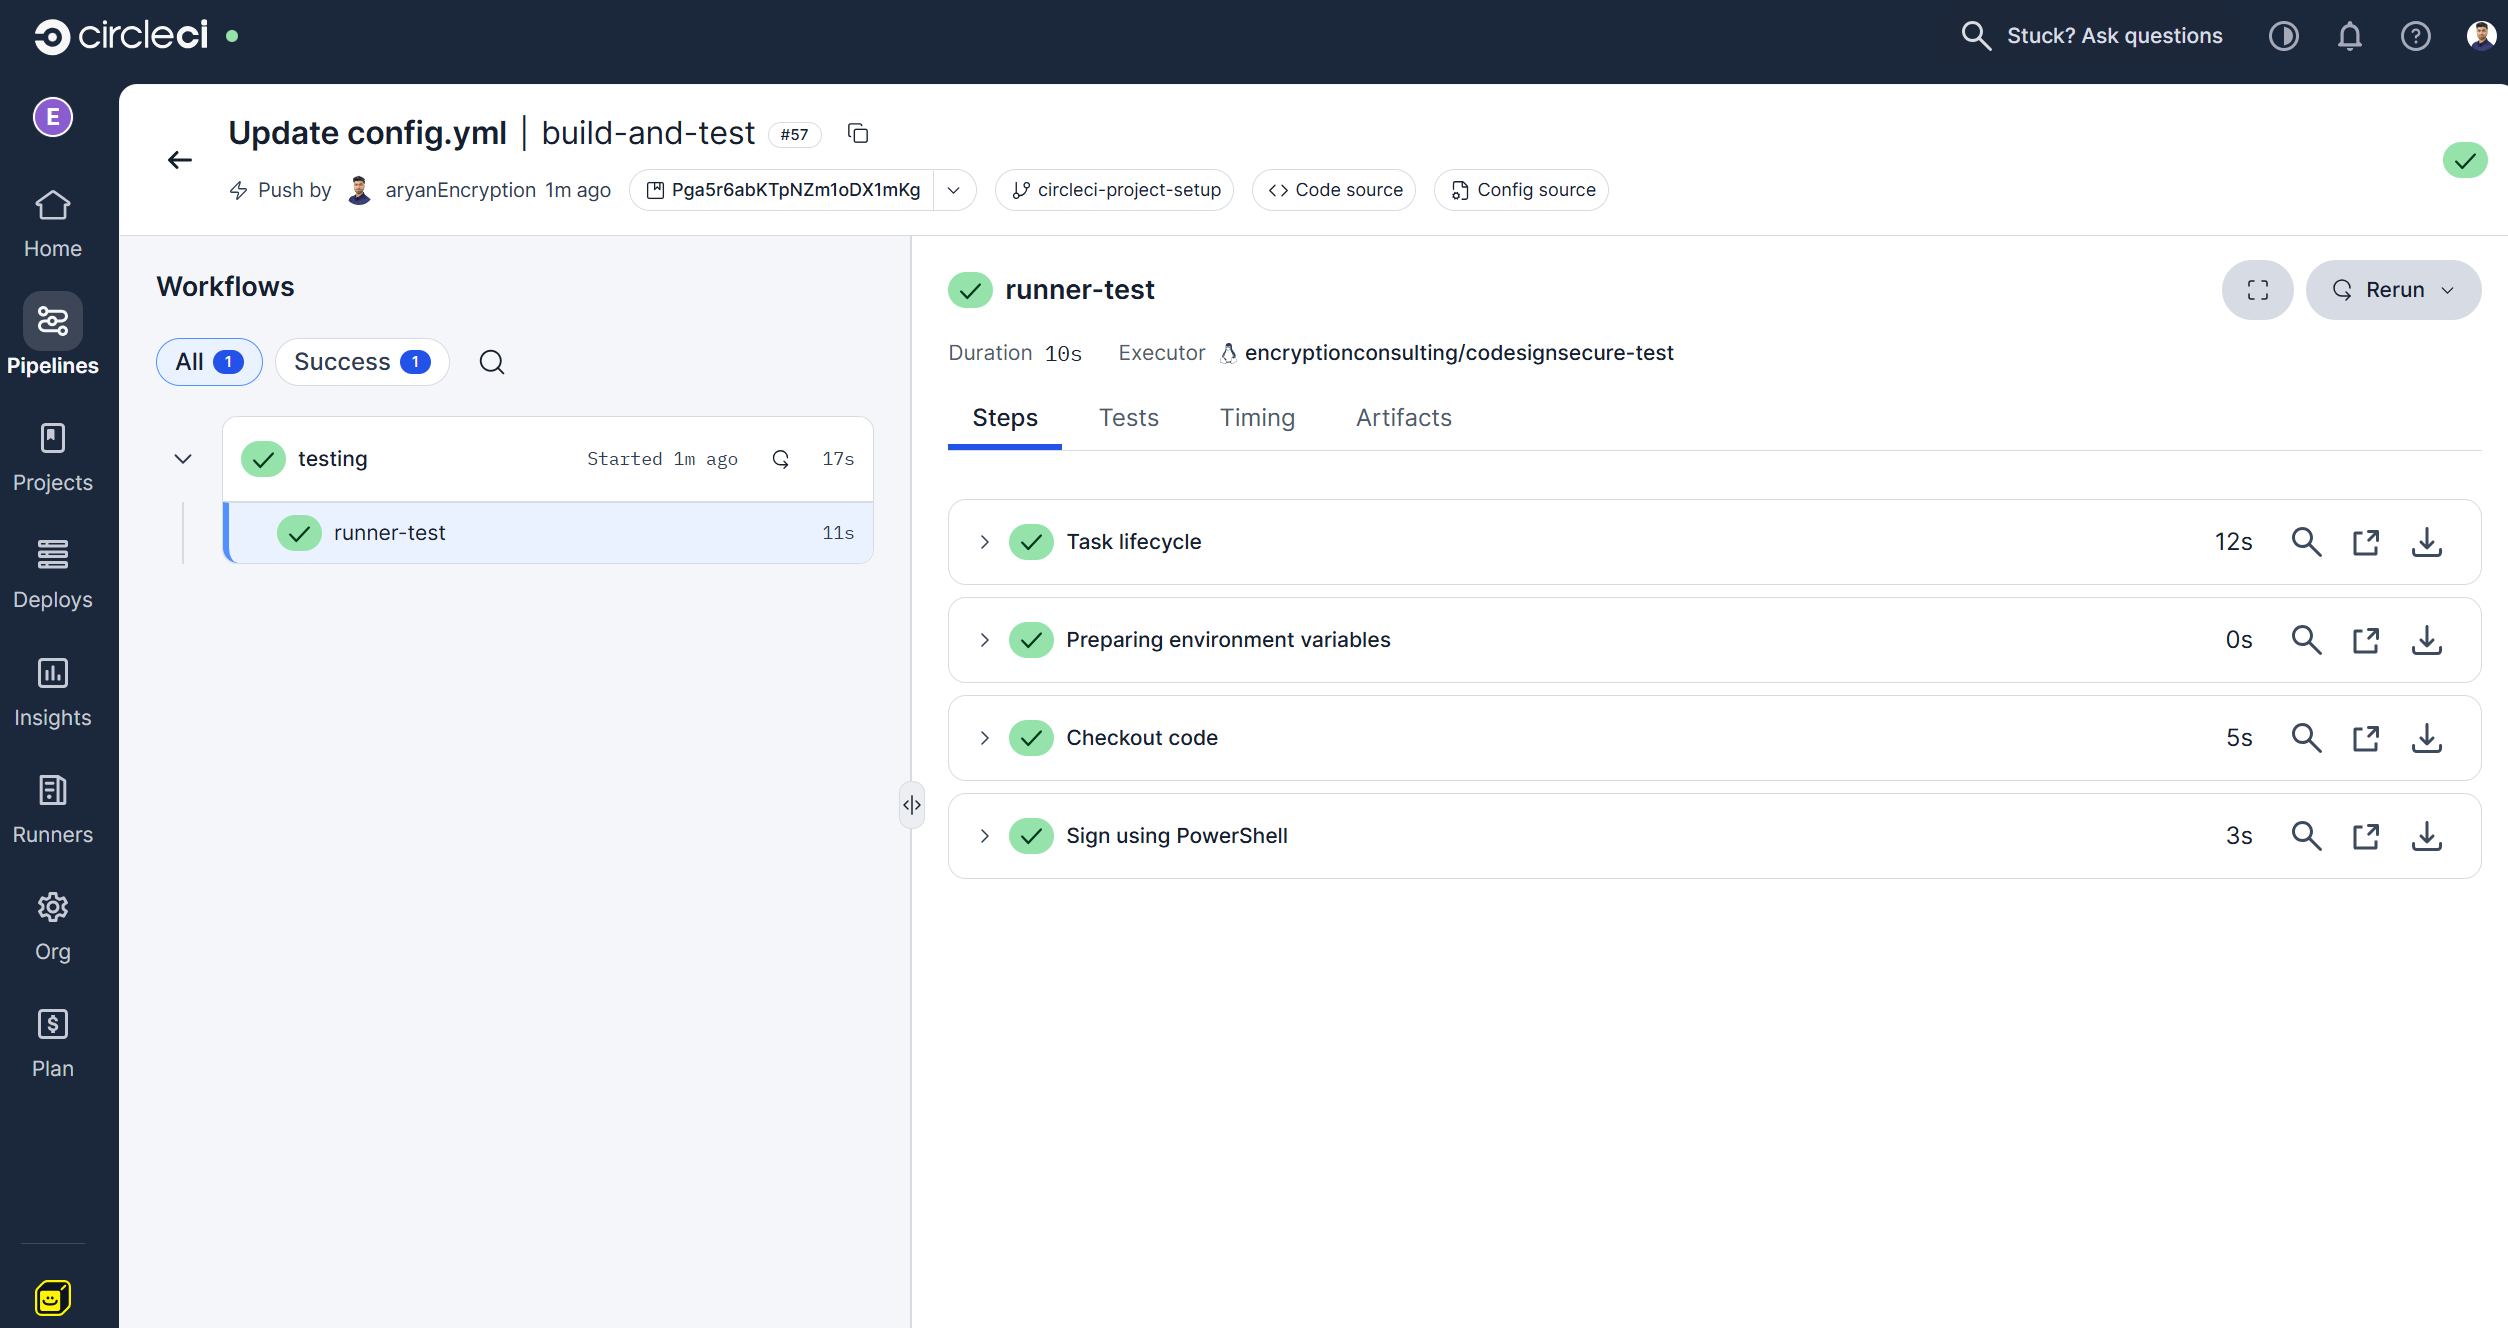
Once the file is committed, you will see a new pipeline run in the Pipeline section.
-
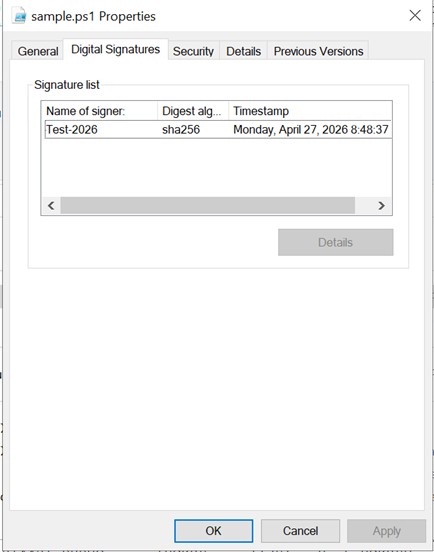
On successful completion of the pipeline, you can check the properties of the file that was to be signed for a valid signature.
Verifying from the Command Line
Checking Windows Explorer's Properties dialog works for a one-off spot check, but for a pipeline step you want a command that returns a clean pass/fail. Add a verification step after signing using signtool's own verify command:
signtool.exe verify /v /pa path\to\your-signed-file.exe
A successful verification prints the signing certificate's subject and confirms the signature is valid; a failure names the specific reason (no signature found, chain doesn't validate, or certificate revoked). Treat a non-zero exit code from this command as a pipeline failure, not a warning to check manually later.
Failure Handling and Rollback
If the signing step fails, whether from a KSP authentication error, an expired P12 certificate, or the CodeSign Secure service being unreachable, the pipeline should fail closed: the build artifact should not be published or promoted. Because nothing about this integration modifies source code or existing signed releases, rollback here is simple: fix the failure (renew the certificate, restore connectivity, re-run the runner installer if the token expired) and re-run the pipeline. There's no signed artifact to un-sign or revoke unless a bad build was mistakenly signed and shipped, in which case that's a certificate-level incident, not a pipeline configuration issue.
Audit Evidence
Every signing request that reaches CodeSign Secure through this integration is logged on the CodeSign Secure side, capturing the requesting identity (the service account tied to the API token), the artifact hash, the certificate used, and the timestamp, independent of whatever CircleCI's own build logs show. When investigating a release, cross-reference CircleCI's pipeline run history with CodeSign Secure's signing log for that same time window; the two should agree on what was signed and when.
Troubleshooting
| Symptom | Likely Cause | What to Check |
|---|---|---|
| Signtool reports it can't find the certificate | EC KSP isn't registered correctly, or the registry token wasn't saved | Re-check the HKEY_CURRENT_USER > Software > Encryption Consulting > SigningKSP registry entries |
| Authentication fails against CodeSign Secure | P12 certificate expired, or EC_Client_Auth/EC_Client_Pass environment variables are wrong | Confirm the certificate's expiry date and that the environment variable paths match where the .pfx file actually lives |
| Runner shows as offline in CircleCI | The self-hosted runner service stopped, or the authentication token used during install expired | Check the runner process on the Windows machine and re-run the install script with a fresh token if needed |
| Signing works locally but fails only in the pipeline | Environment variables set for a user account aren't visible to the runner's service context | Confirm EC_Client_Auth, EC_Client_Pass, and the signtool PATH entry are set as system variables, not user-only variables |
Manual Signing vs. This Integration
| Aspect | Manual Signing | CircleCI + CodeSign Secure |
|---|---|---|
| Who can sign | Anyone with local access to the key or token | Only the pipeline, using a scoped service account |
| Consistency | Depends on the person remembering every flag and cert | Identical signing step on every single build |
| Audit trail | Whatever the person happened to document | Logged automatically in CodeSign Secure, independent of pipeline logs |
| Key exposure | Often a local file or token on a developer's machine | Never leaves CodeSign Secure's HSM |
Frequently Asked Questions
Why does this require a self-hosted Windows runner instead of a CircleCI cloud runner?
Signtool.exe and the EC KSP are Windows-native components; CircleCI's cloud-hosted Linux and macOS resource classes can't run them. A self-hosted Windows runner is what lets the pipeline dispatch signing jobs to a machine with the right tooling installed.
Does the private key ever touch the CircleCI runner?
No. The EC KSP submits only the artifact's hash to CodeSign Secure and receives a signature back; the private key stays inside the HSM the entire time.
What should I do if the API token or P12 certificate expires?
Generate a new one from the CodeSign Secure portal following the same steps used initially, update the registry entry or environment variable, and confirm signing succeeds with a test build before relying on it for production releases.
Can I use this same pattern for other CI/CD platforms?
The EC KSP and signtool setup is the same regardless of which CI/CD platform dispatches the job; only the runner registration and pipeline configuration steps are CircleCI-specific. See our guides for Azure DevOps, Jenkins, and GitLab CI.
Conclusion
You’ve now set up a fully automated code signing pipeline with CircleCI and CodeSign Secure. Every time a developer commits to your repository, the pipeline triggers, picks up the job on your self-hosted Windows runner, and signs the output using Signtool — all without anyone handling a private key manually. This approach offers a few important advantages for your team such as Consistency, Security and Auditability.From here, you can expand this setup to cover multiple pipelines, additional signing certificates, or other CI/CD platforms.
If you run into any issues or want to explore more advanced configurations, the Encryption Consulting team is here to help. Sign up for a demo or reach out to the Encryption Consulting team at www.encryptionconsulting.com to learn how CodeSign Secure can make your organization's software supply chain pipeline secure and efficient.