

Jenkins is an open-source automation tool that is widely used for continuous integration and continuous delivery (CI/CD) of software applications. Jenkins provides a web-based user interface that makes it easy to configure and manage jobs, which are automated tasks that can be scheduled to run at specific times or triggered by specific events. These jobs can be used to compile code, run tests, deploy applications, and perform many other tasks related to software development.
Some of the key features of Jenkins include:
-
Easy installation and setup
Jenkins is easy to install and configure and can be set up on a wide range of operating systems and platforms.
-
Powerful job management
Jenkins allows you to create and manage jobs, which are automated tasks that can be scheduled to run at specific times or triggered by specific events. Jobs can be used to compile code, run tests, deploy applications, and perform many other tasks related to software development.
-
Wide range of plugins and integrations
Jenkins has a large number of plugins and integrations available, which allows it to work with many different tools and technologies. This makes it highly customizable and flexible.
-
Support for pipelines
Jenkins provides strong support for pipelines, which are sets of stages that define a software development workflow. Pipelines can be defined using code, which makes them highly customizable and easy to version control.
-
Built-in testing support
Jenkins provides built-in support for many different types of tests, including unit tests, integration tests, and functional tests. This makes it easy to run tests as part of a continuous integration workflow, ensuring that any code changes are thoroughly tested before being deployed to production.
-
Scalability
Jenkins can be easily scaled to support large development teams and complex software development workflows.
-
Open-source
Jenkins is open-source software, which means that it is free to use and can be customized to meet the specific needs of your development team.
Codesigning Using Jenkins
To perform codesigning using Jenkins go through the steps below.
Code signing is a procedure that verifies the legitimacy of the author and the originality and authenticity of digital information, particularly software code. It also ensures that the information is not malicious code. Additionally, it guarantees that this information has not been altered, falsified, or canceled after being digitally signed.
Integrating Jenkins with code signing, in short: install SignTool and the KSP client on the Jenkins agent, grant the Jenkins service account only the specific, narrow permissions the KSP requires (not local Administrator), then add a pipeline stage that invokes signtool against the KSP-registered certificate. The private key stays in the HSM throughout; the pipeline never handles it directly.
Key Takeaways
- The Jenkins service account should never need full local Administrator rights for signing. If you hit a permissions error, grant the specific access the KSP or signtool needs, don’t default to Administrator to make the error go away.
- This page covers Jenkins specifically as a platform tutorial. For the broader reference architecture, approval gates, and audit evidence model, see Code Signing Best Practices in the SDLC.
Prerequisites for performing this task includes:
- Jenkins Setup and Configured in your device
- Signtool installed and configured
- ECSigning KSP installed and configured.
To Setup and Configure Jenkins go through the link.
To Setup and Configure Signtool follow the steps below:
Signtool can be downloaded as part of the Windows SDK. Download Windows SDK: (developer.microsoft.com/en-us/windows/downloads/windows-10-sdk/)
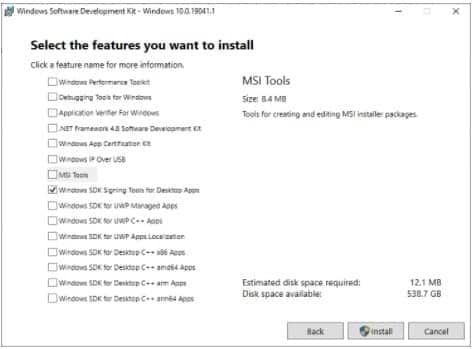
You can choose to install only the Windows SDK Signing Tools for Desktop Apps.
Open the winsdksetup.exe file. Remember the default path shown in the install path, as this will be helpful with running these commands from the command prompt.

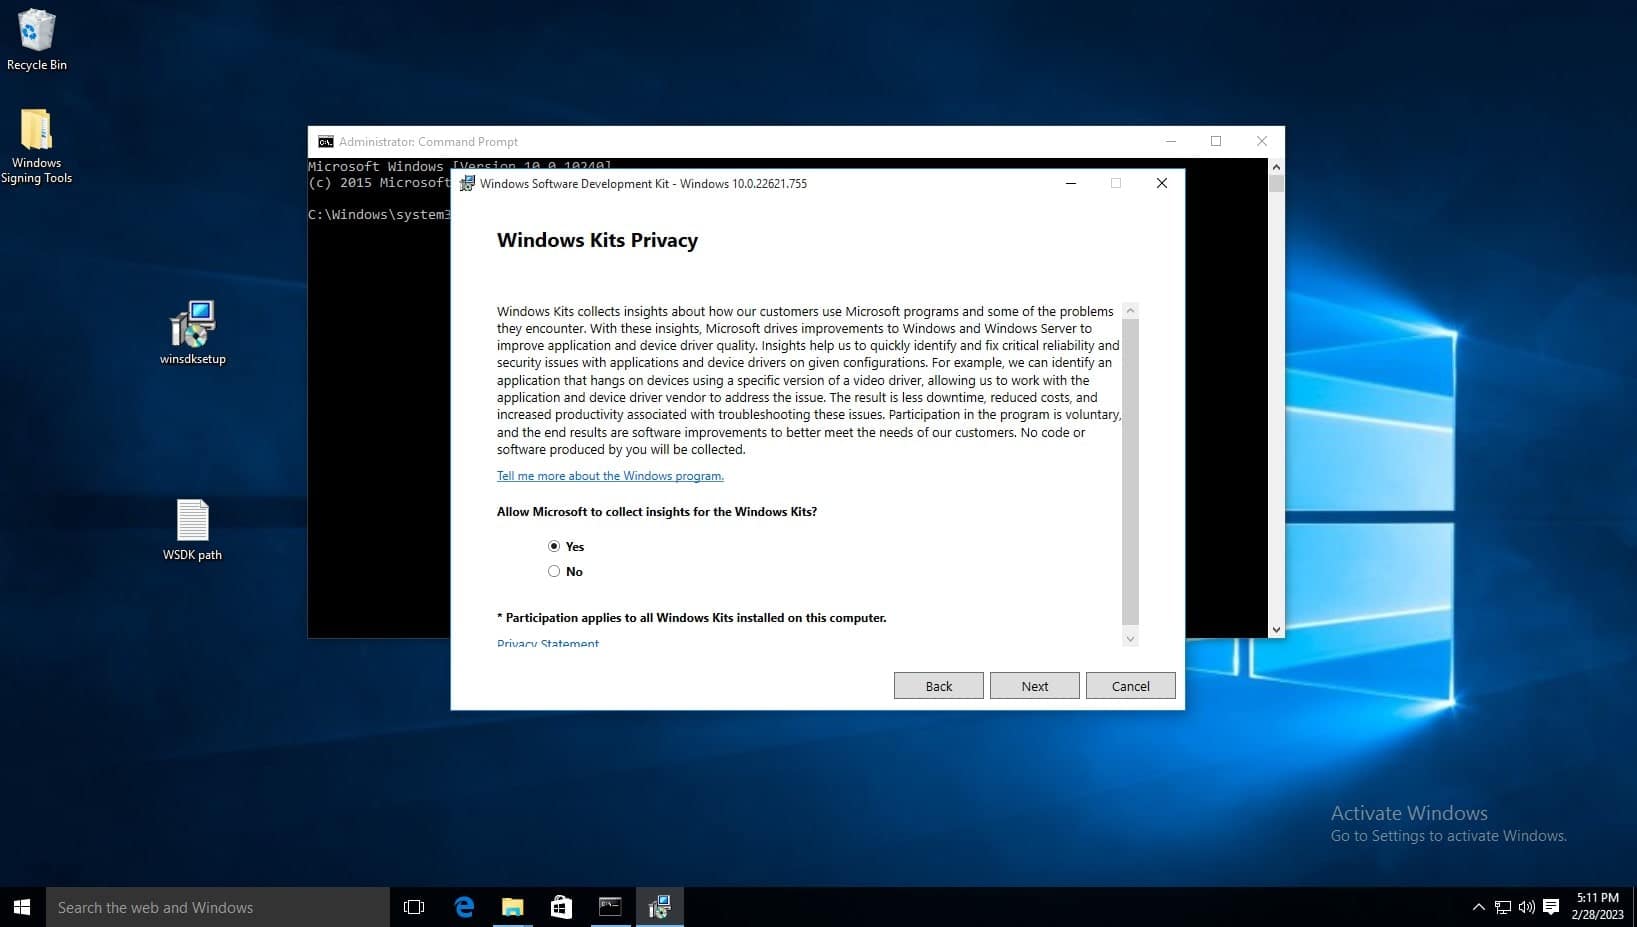
On the Windows Kits Privacy page, either option for allowing Microsoft to collect insights is okay. Click next.
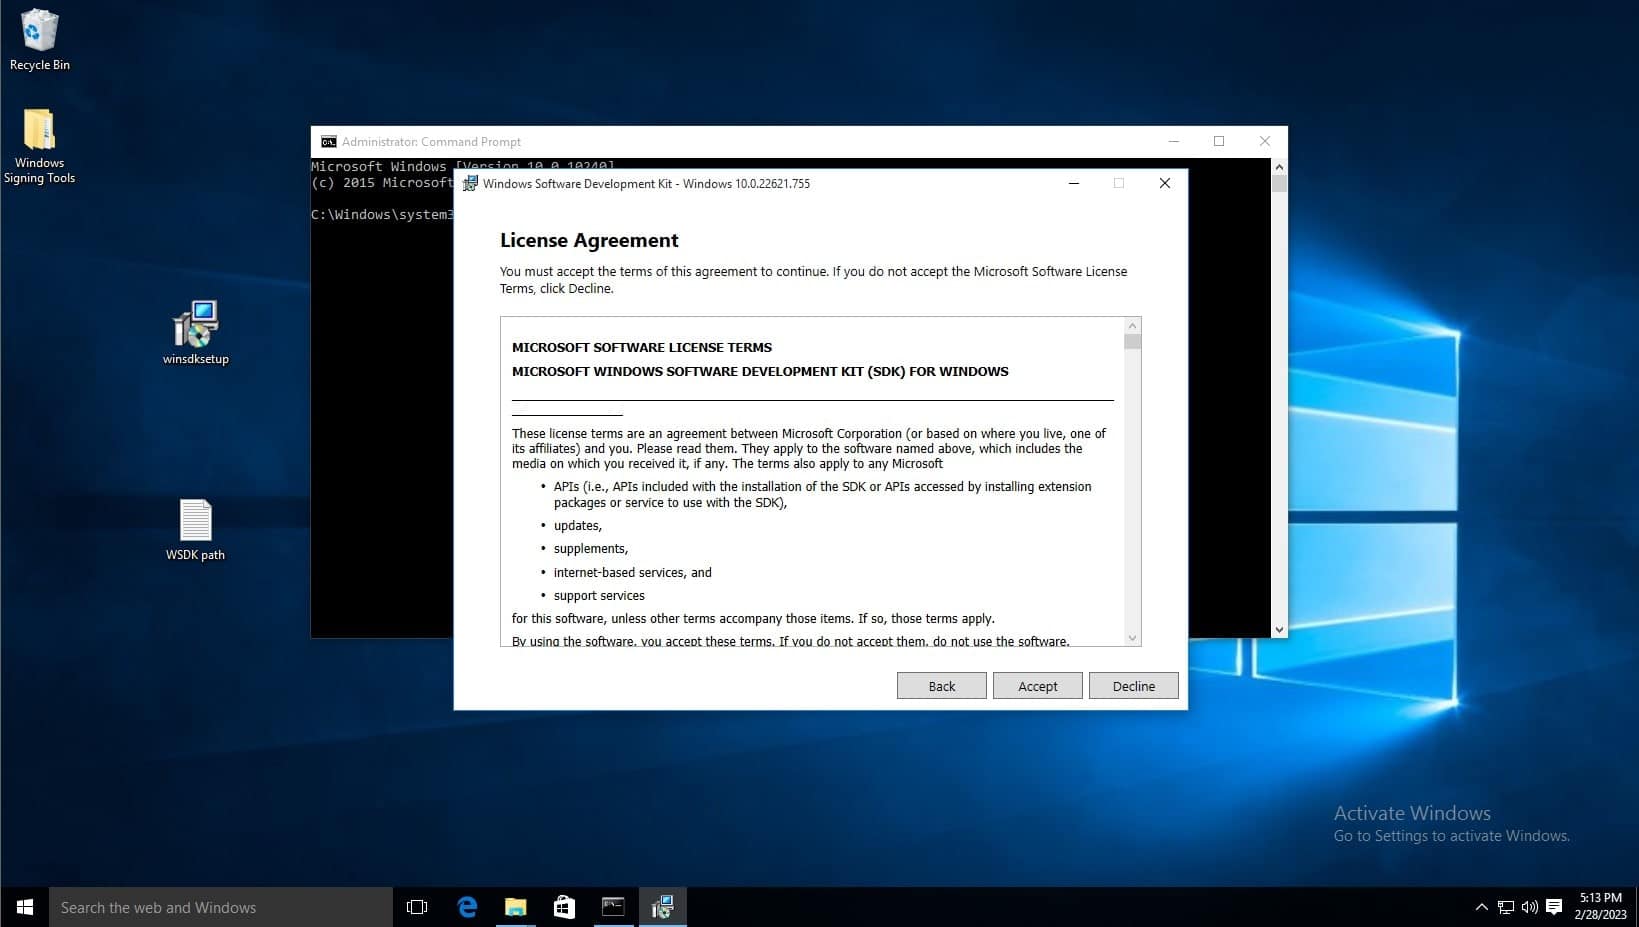
Accept the license agreement
Deselect every feature except for Windows SDK Signing Tools for Desktop Apps, then select install.
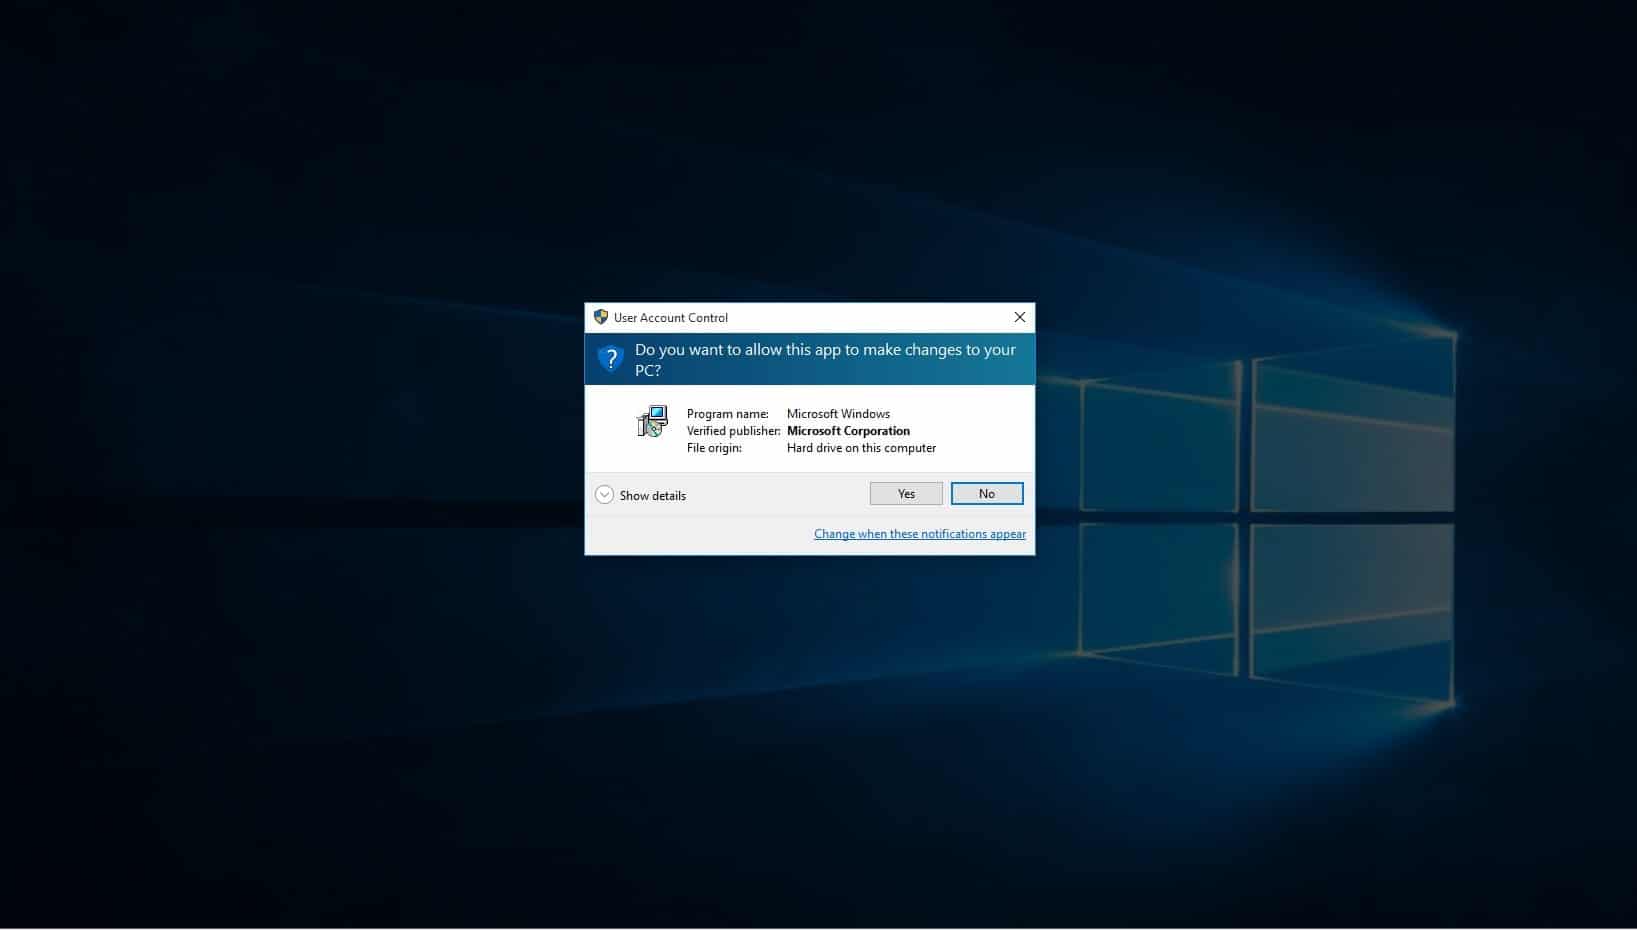
When prompted if you want to allow this app to make changes, select yes.
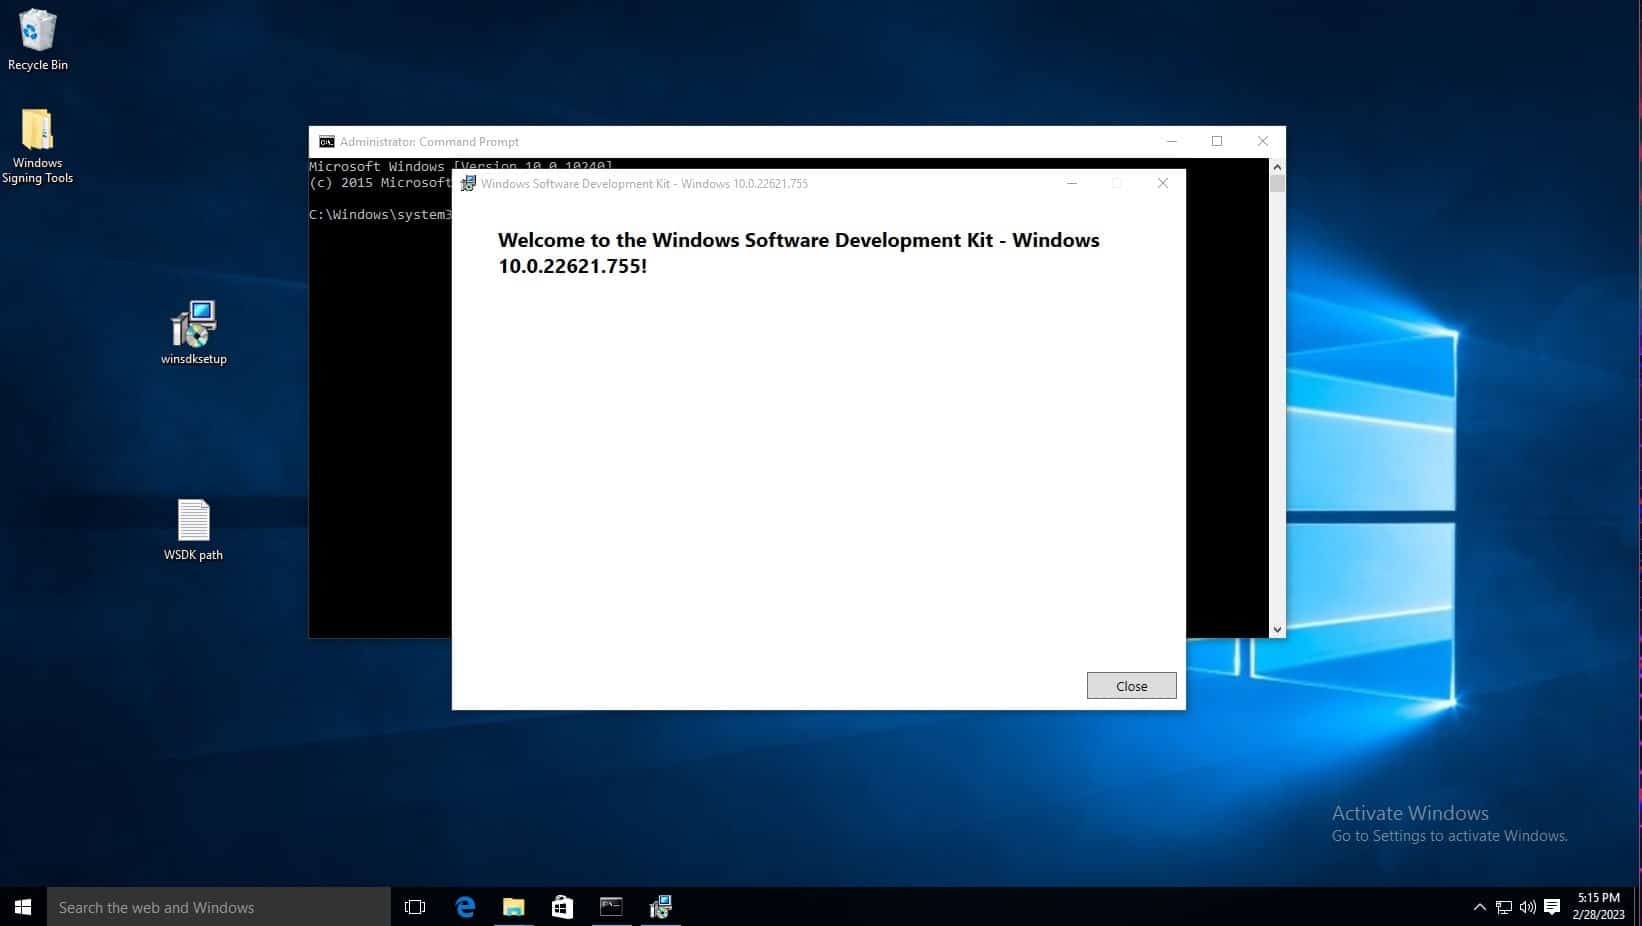
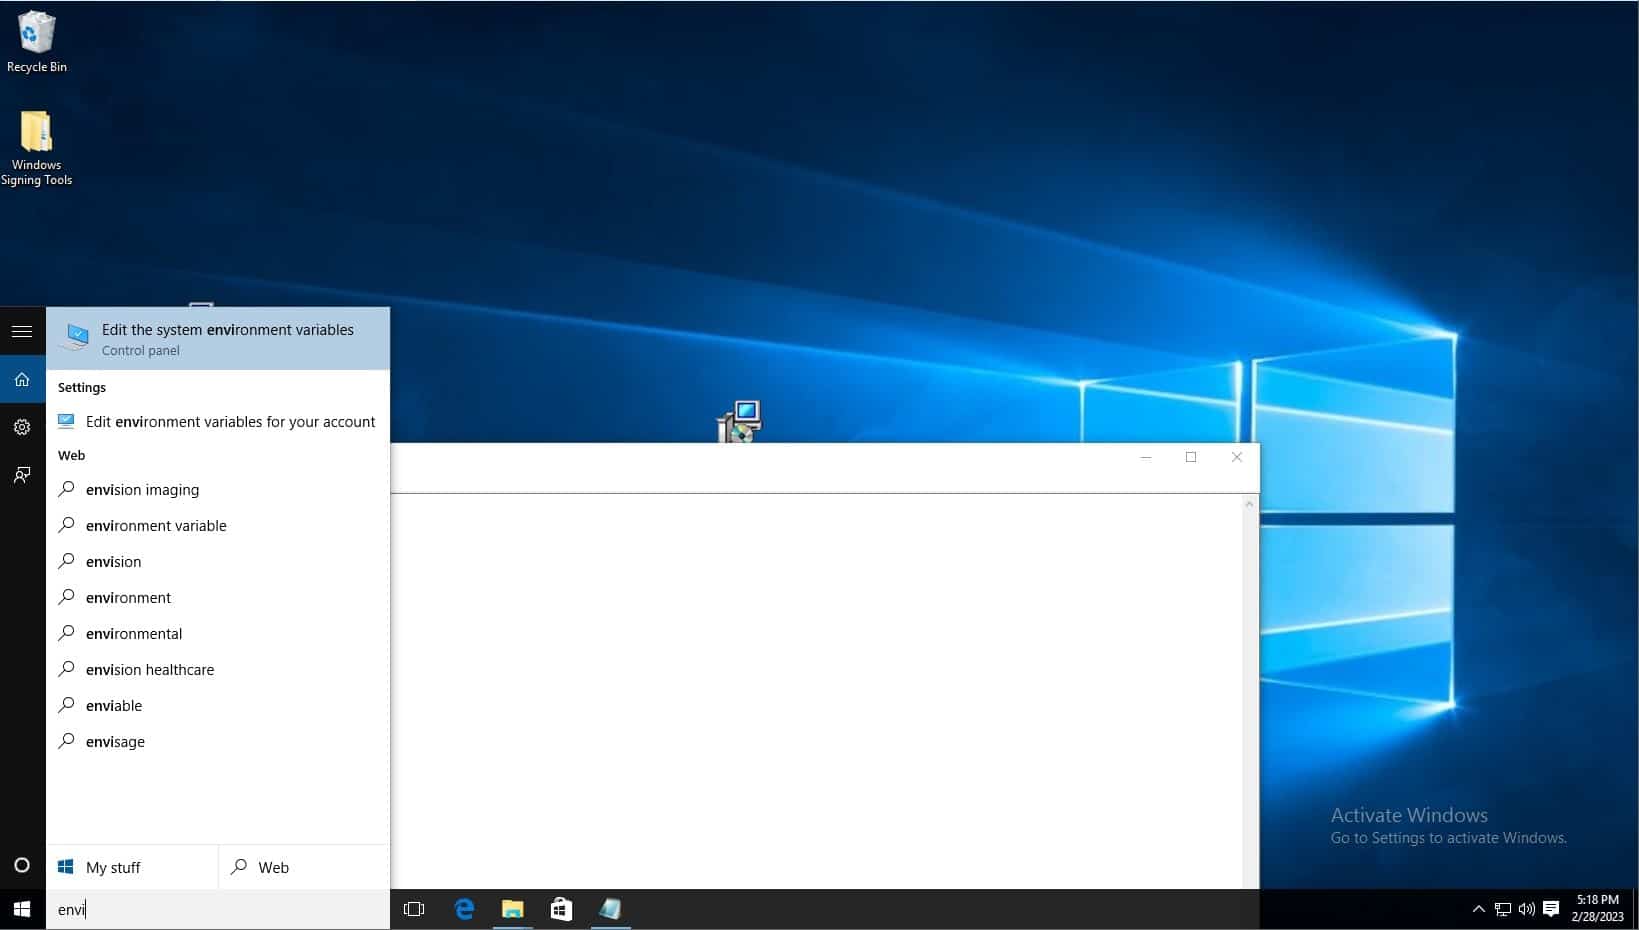
Click on windows search bar on task bar and type “Edit the system environment variables” and select the control panel option of the same name.
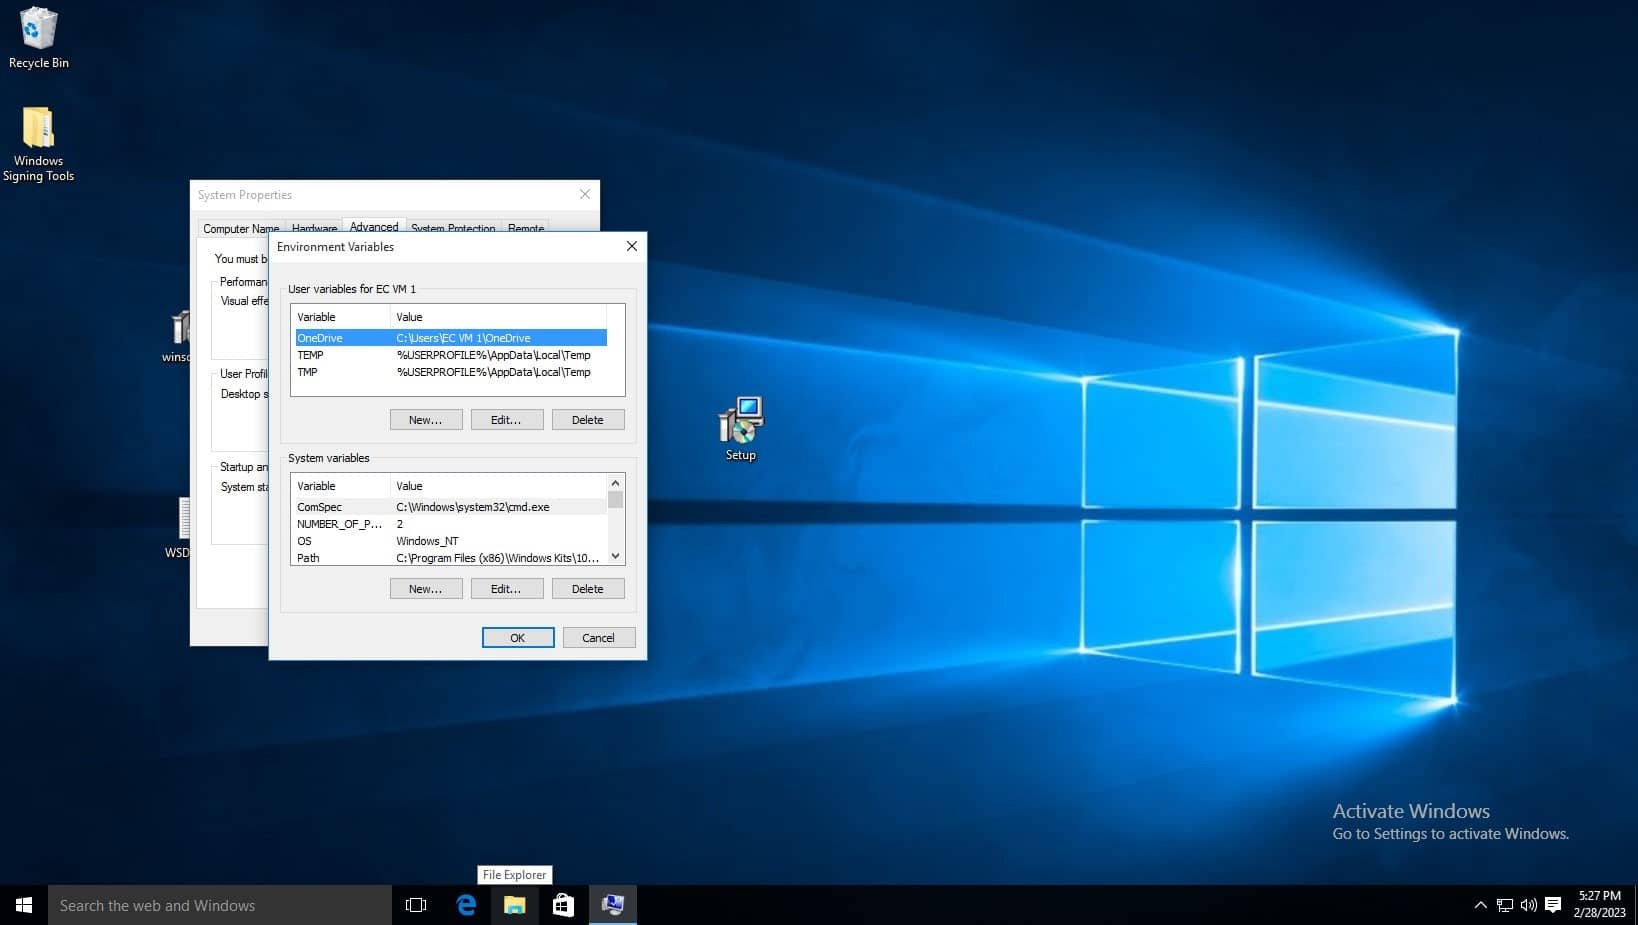
Click environment variables.
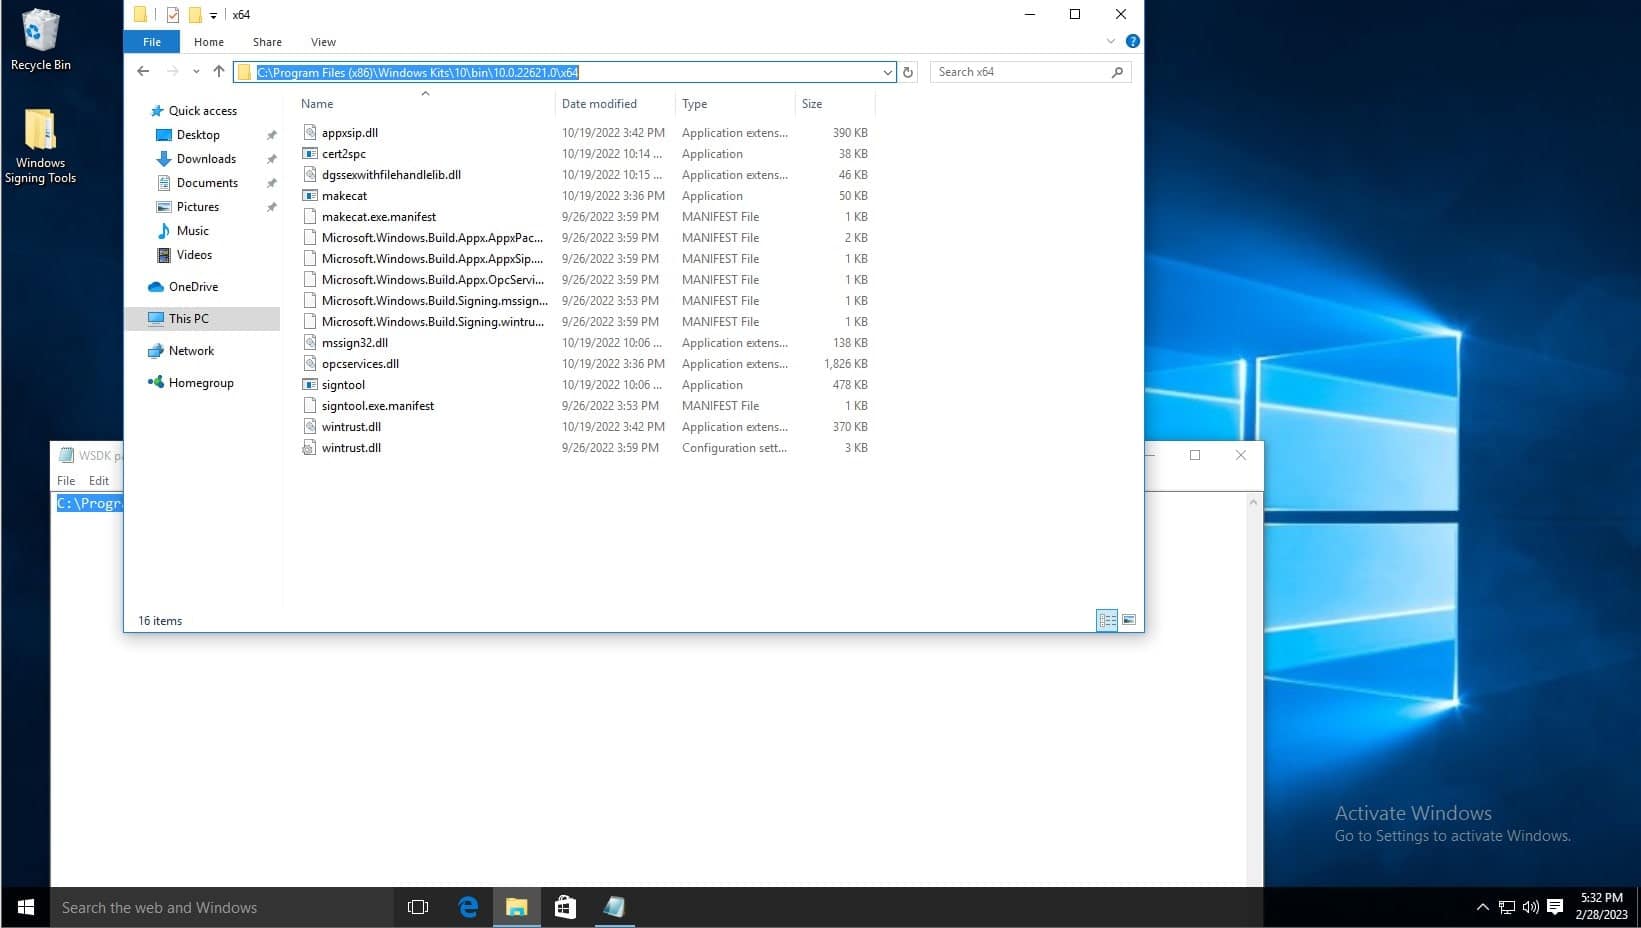
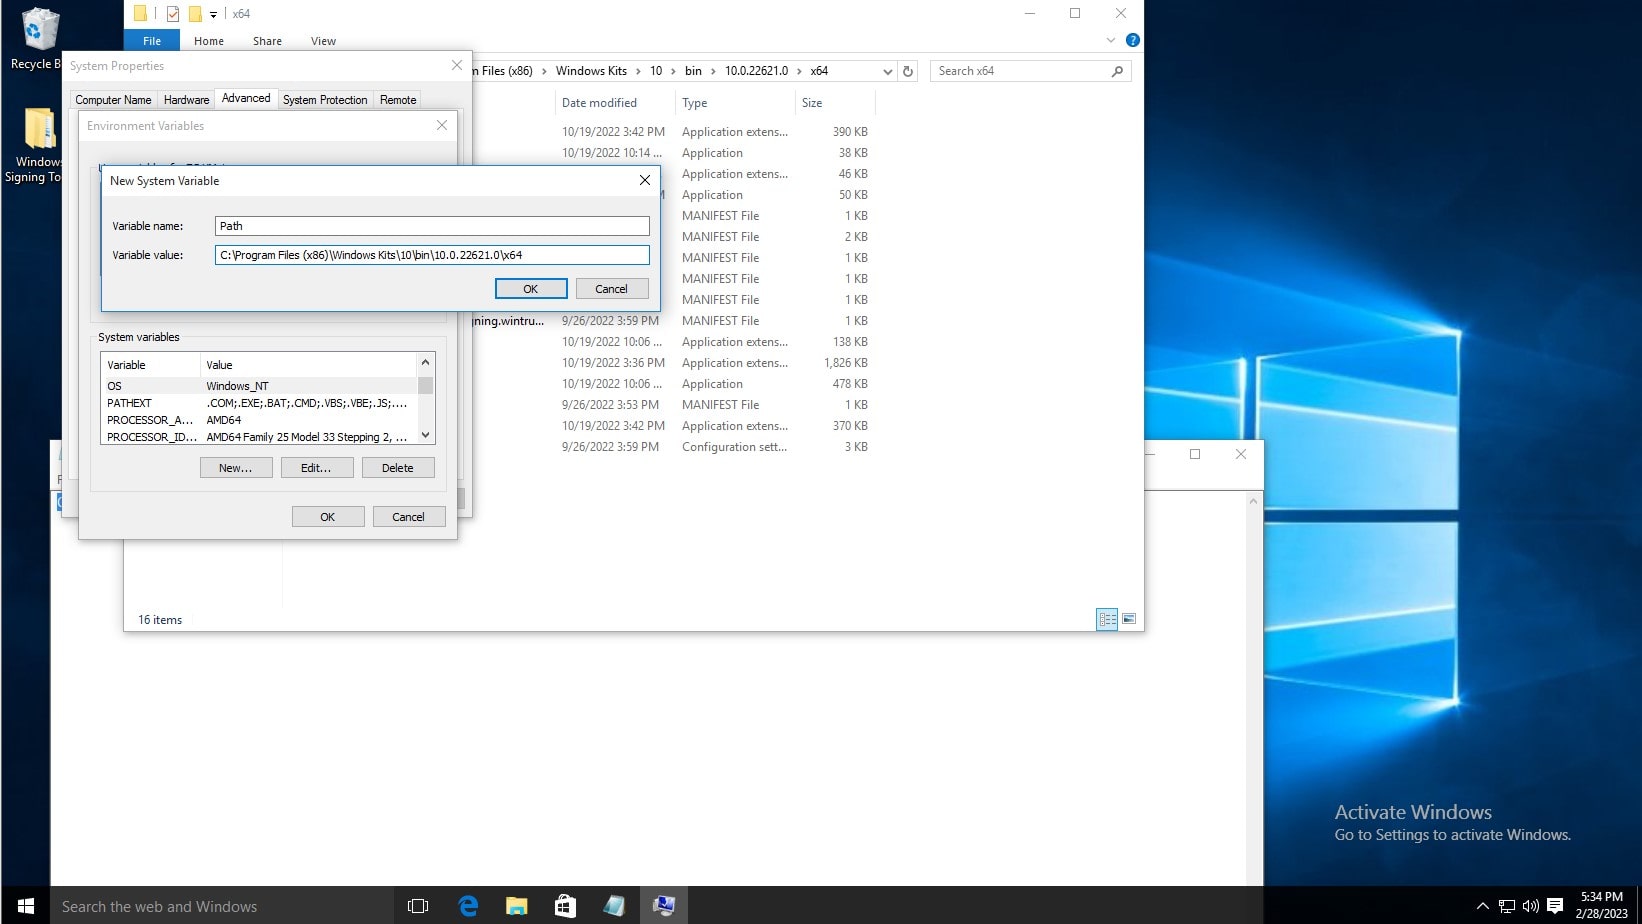
Before editing the variable list, navigate to where the Windows SDK is installed to using file explorer, you must copy the path of the folder which contains the signtool application, the default path is C:\Program Files (x86)\Windows Kits\10\bin\10.0.22621.0\x64, refer to the below screenshot. Make sure to right click and copy the path as shown. You can also see the signtool application at the bottom of the file list, this is the command you will run.
In the System Variables list, click new. Then type Path as the variable name, and copy and paste the aforementioned path. Then click OK on the environment variables window and system properties window.
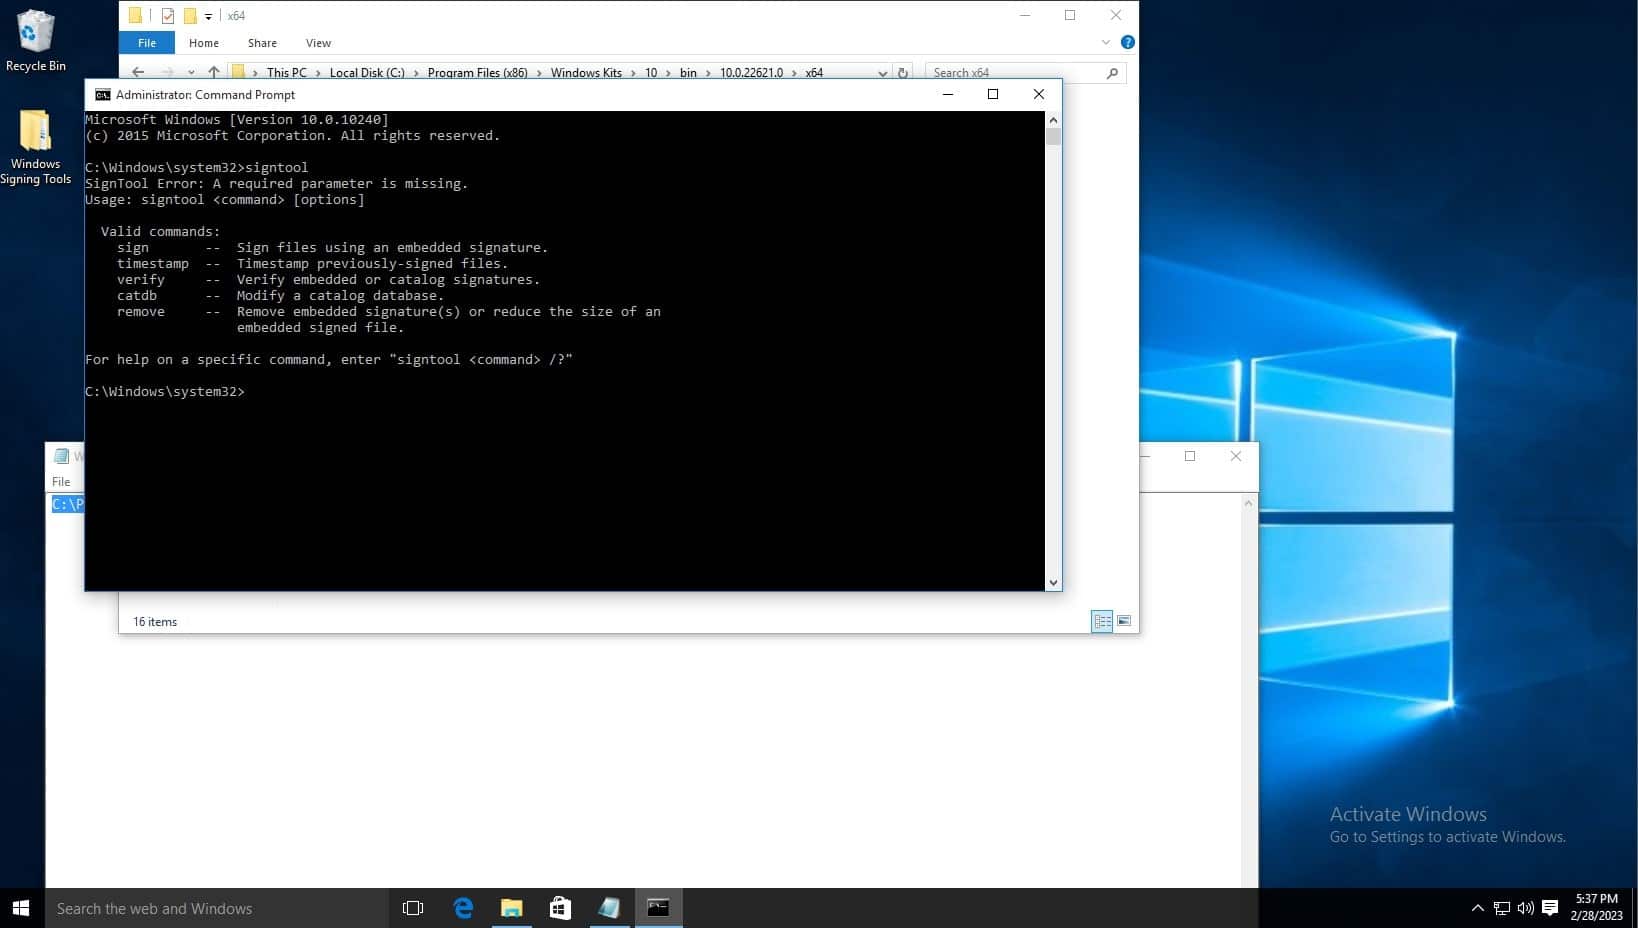
To test the installation, open command prompt, and type signtool, and the output should be as shown below.
The default signtool installation location is, for example: C:\Program Files (x86)\Windows Kits\10\bin\10.0.22621.0\x64
To set up KSP follow the steps below:
Encryption Consulting provides you with this solution, CodeSignSecure. This solution can help you with tamper-proof storage for the keys and complete visibility and control of Code Signing activities. The private keys of the code-signing certificate can be stored in an HSM to eliminate the risks associated with stolen, corrupted, or misused keys.
If you’re using our solution you can download the KSP using the steps below:
- Sign in to Code Sign Secure.
-
Navigate to: Signing tools repository.
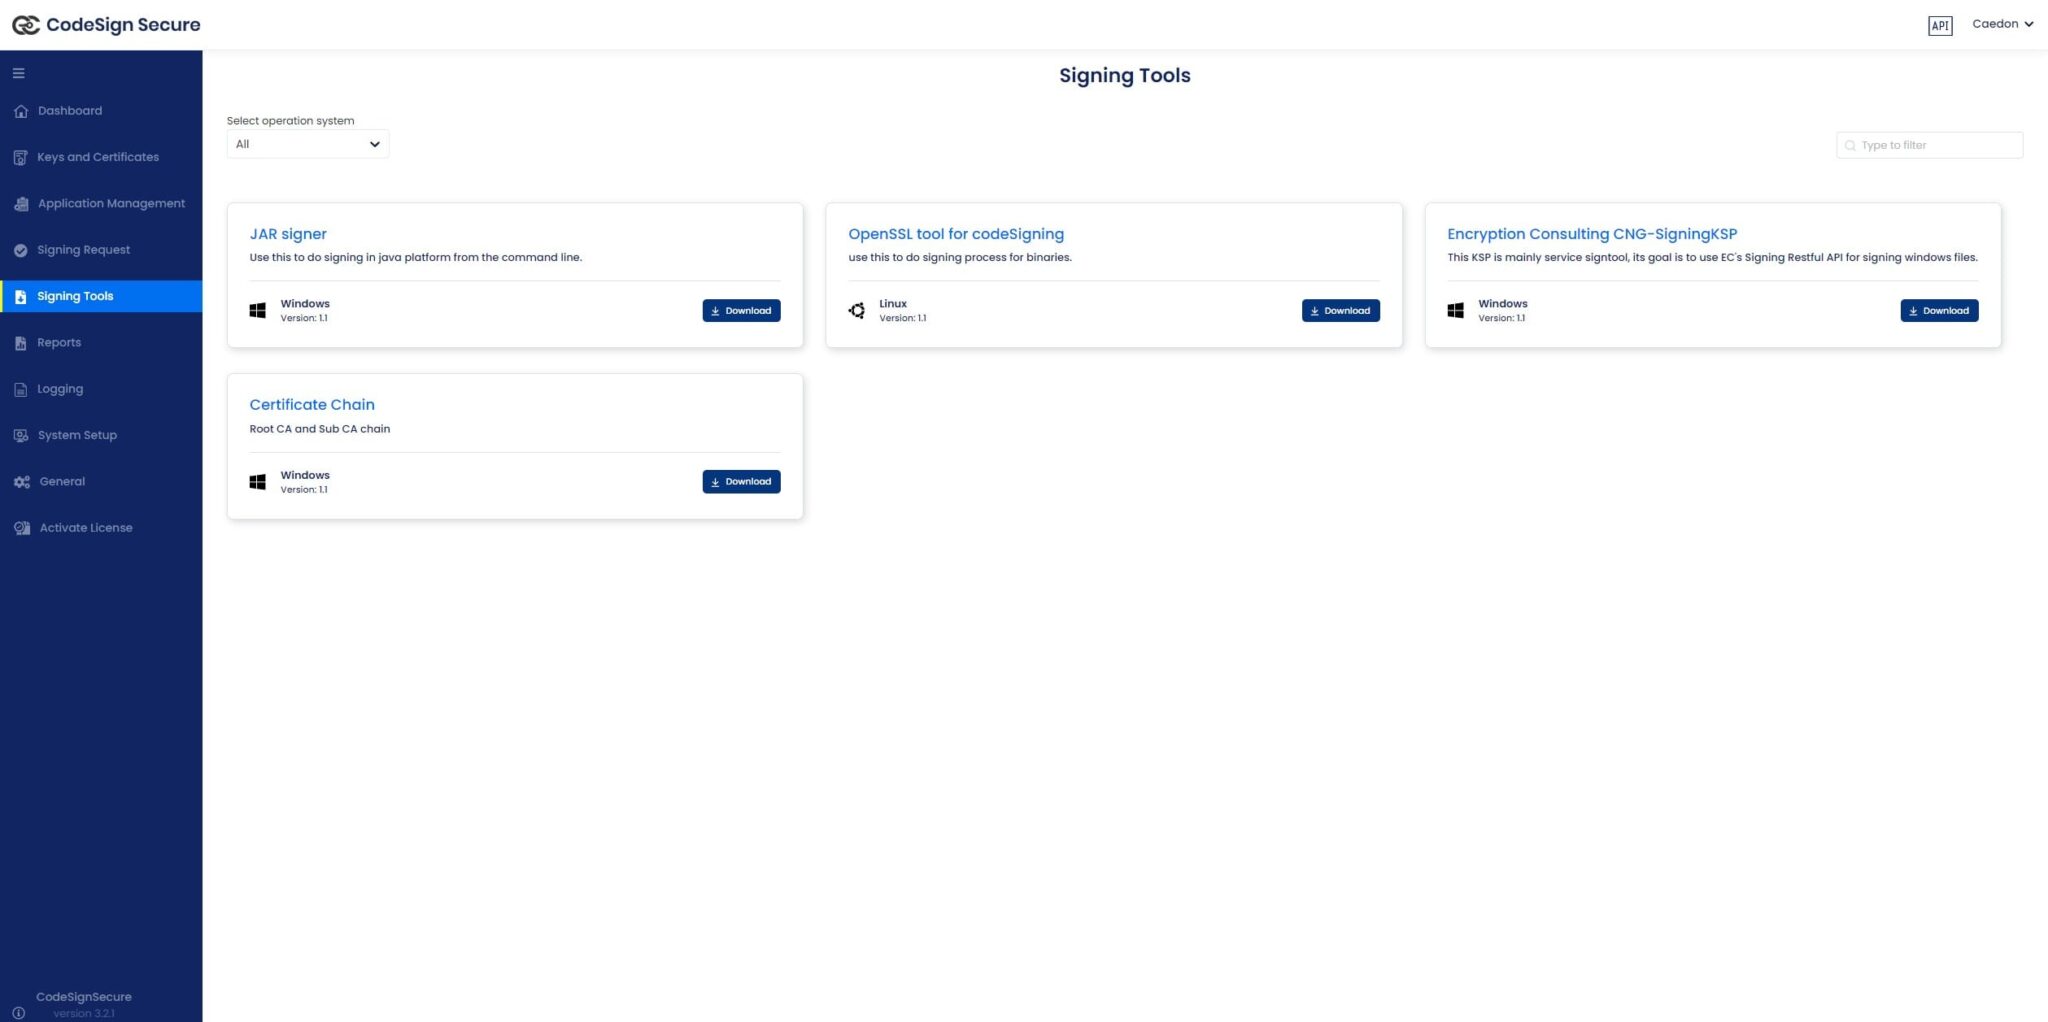
- Download “Encryption Consulting CNG-SigningKSP”
-
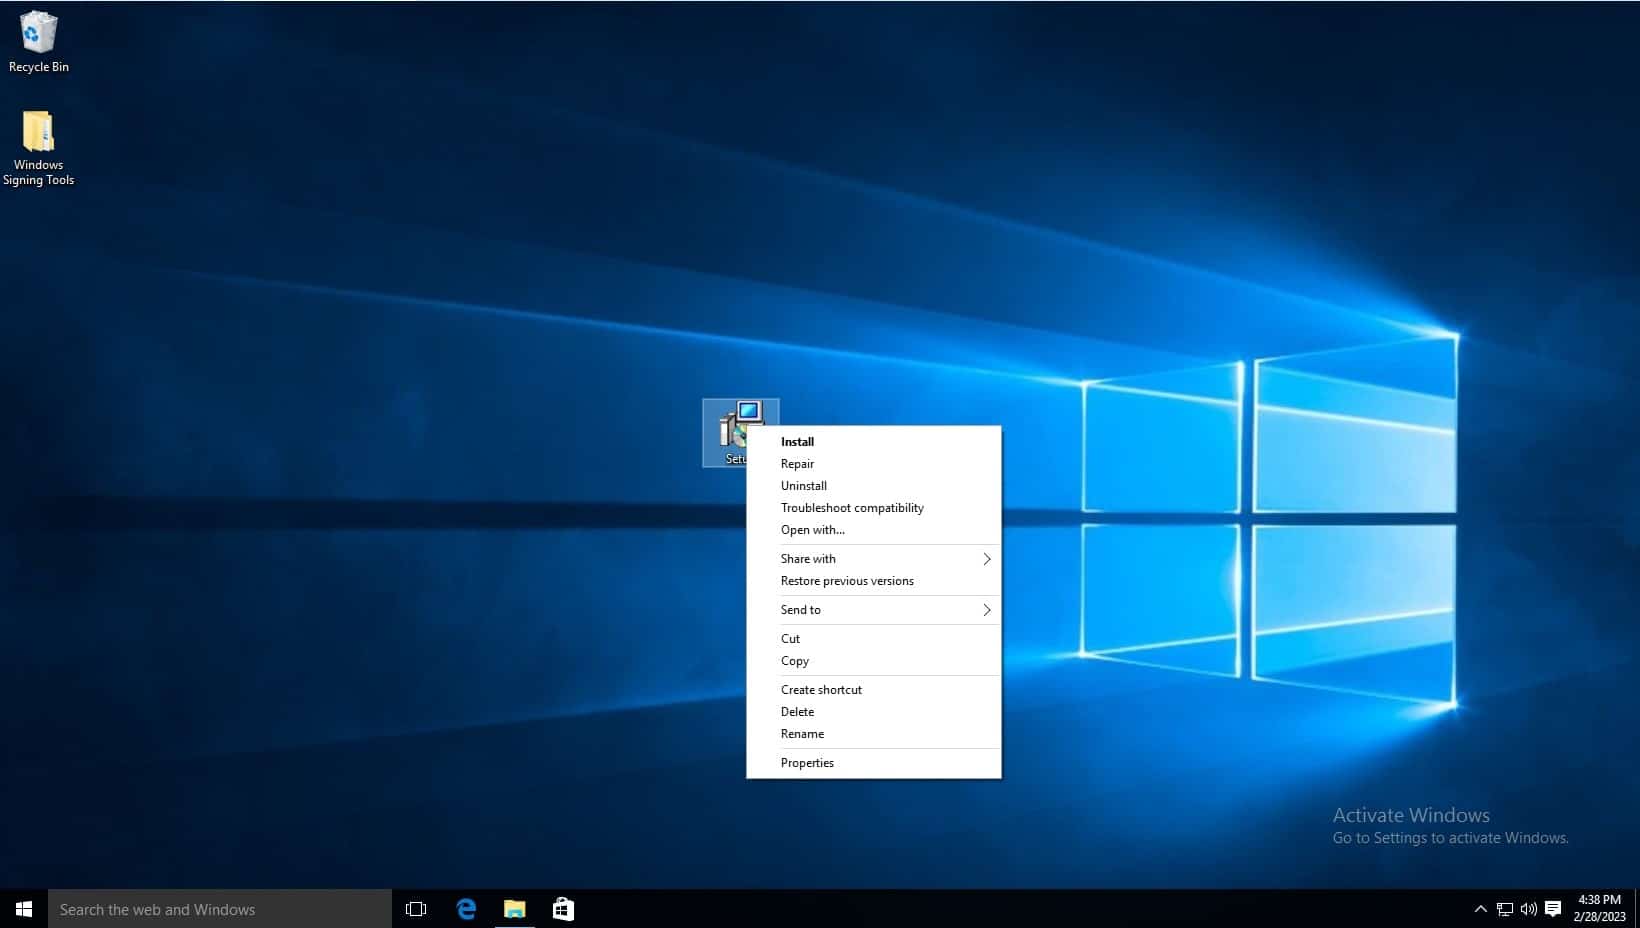
Install the client tools using the .MSI installer. The .MSI installer automates much of the configuration. Navigate to where the downloaded file is saved and launch the installer.
-
Click next when the installation wizard appears.
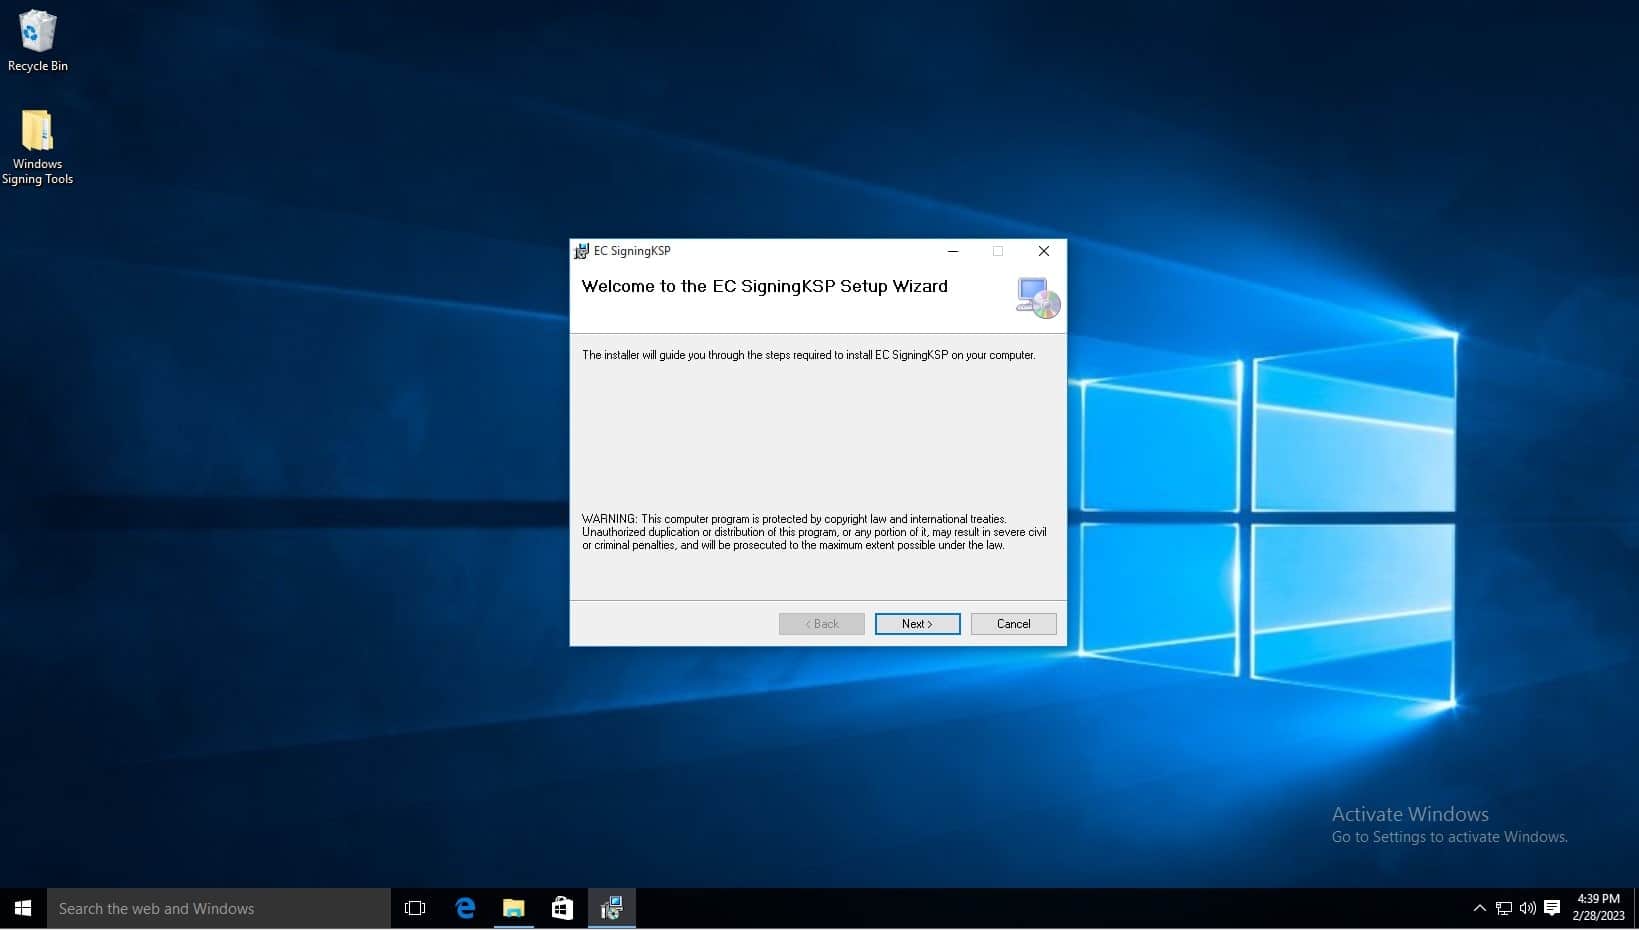
-
Click next.
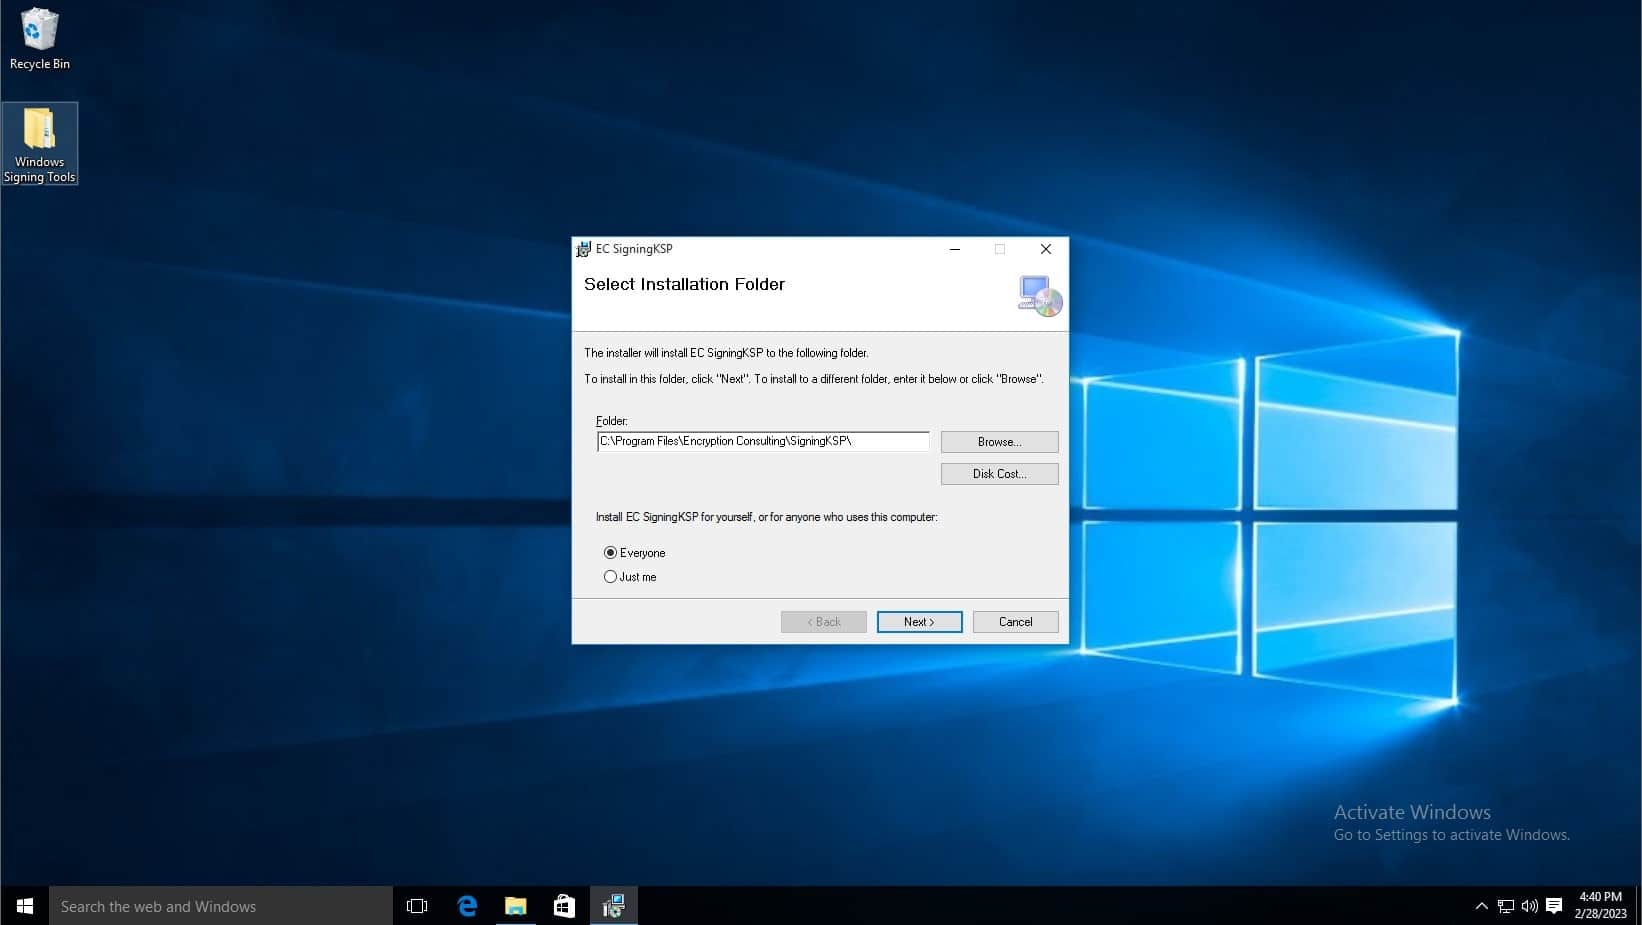
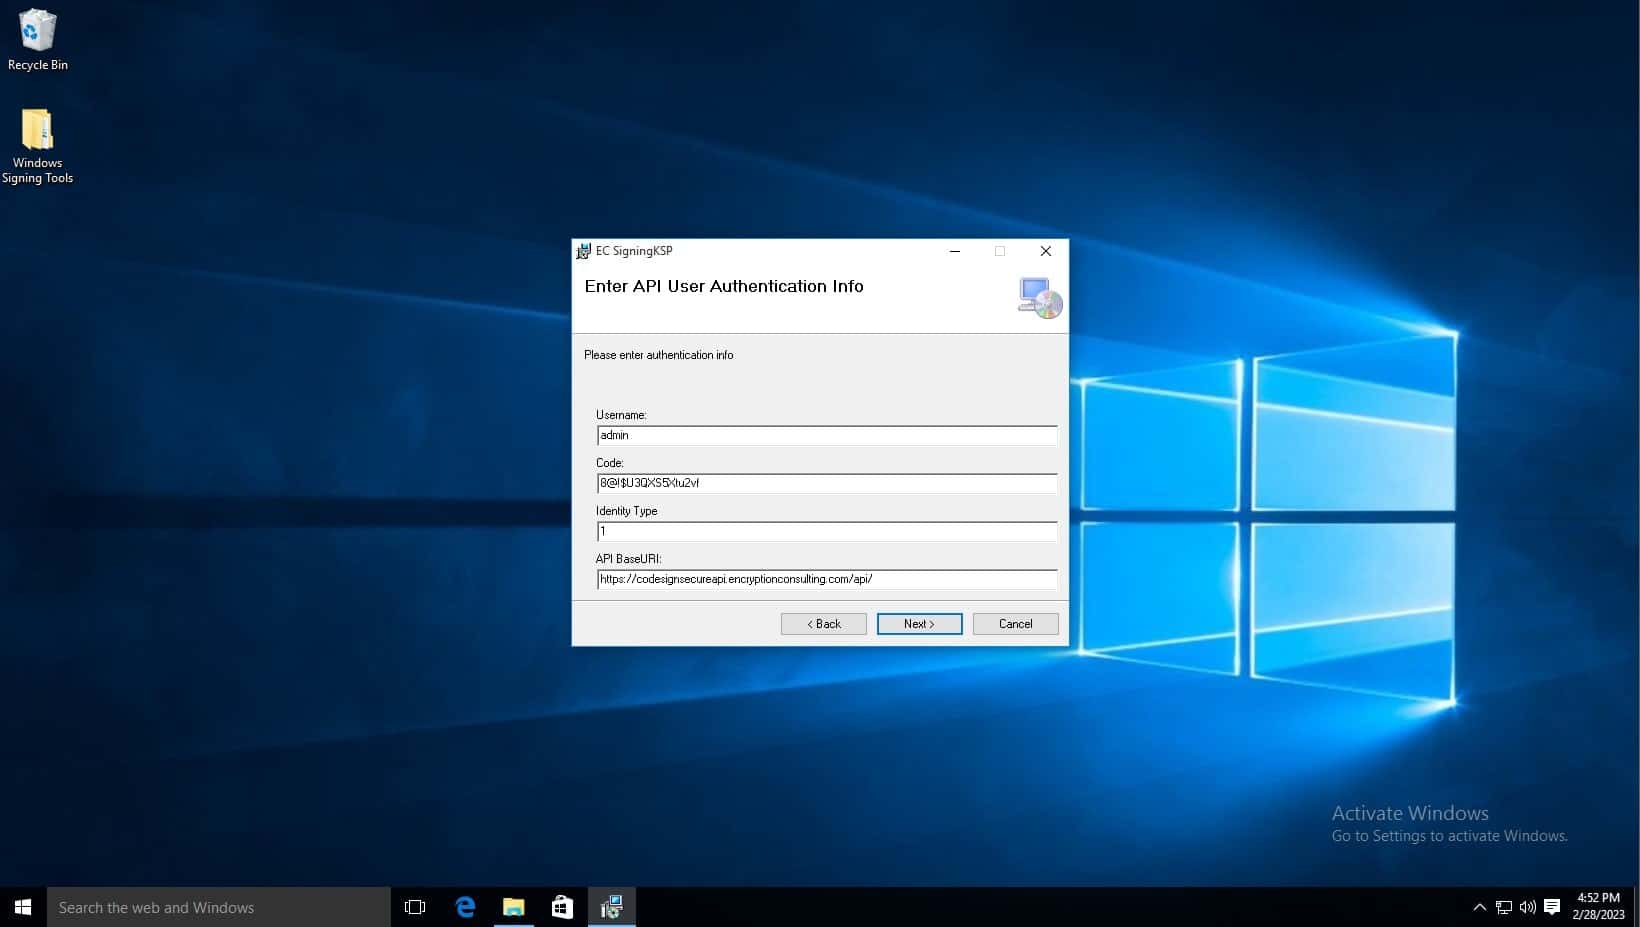
- In the Username field, type admin.
-
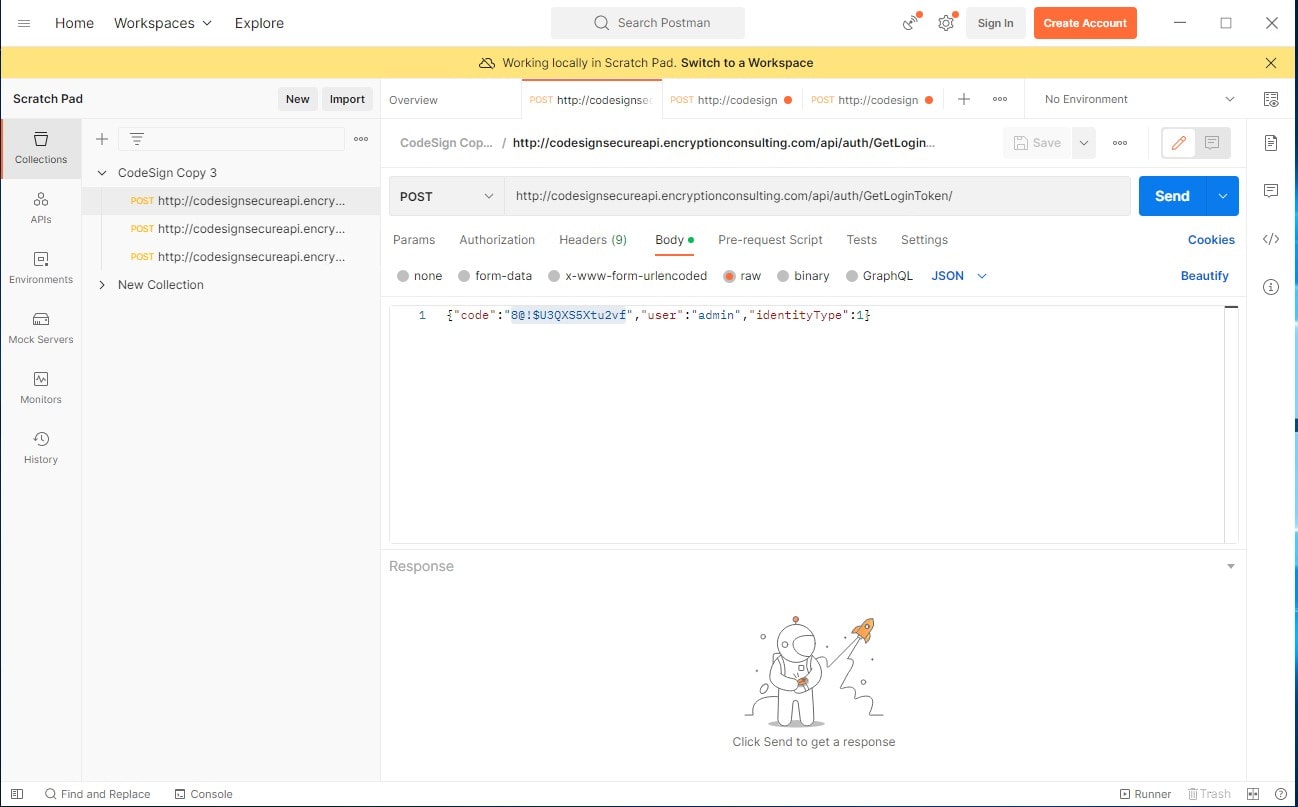
In the Code field, copy the code from the Postman API Repository. Click on the GetLoginToken api and copy the code from the Body.
Download PostMan from this link. Once downloaded, click the skip button at the bottom of the window. Once on dashboard, add a new collection using the plus sign button next to collections.
GetLoginToken API (http://codesignsecureapi.encryptionconsulting.com/api/auth/GetLoginToken): This is the most important API, as this gives you a Bearer Token to use with the rest of the APIs, What should be in the body is shown below. The code serves as a password in order to get a the Bearer Token, the user field is the username, and the identity type field specifices the user type. Click Send to generate an output which has the Bearer Token listed at the bottom. Copy this token for use.
- Change the Identity Type to 1.
- Leave API BaseURL the same.
-
Click next.
-
Click next.
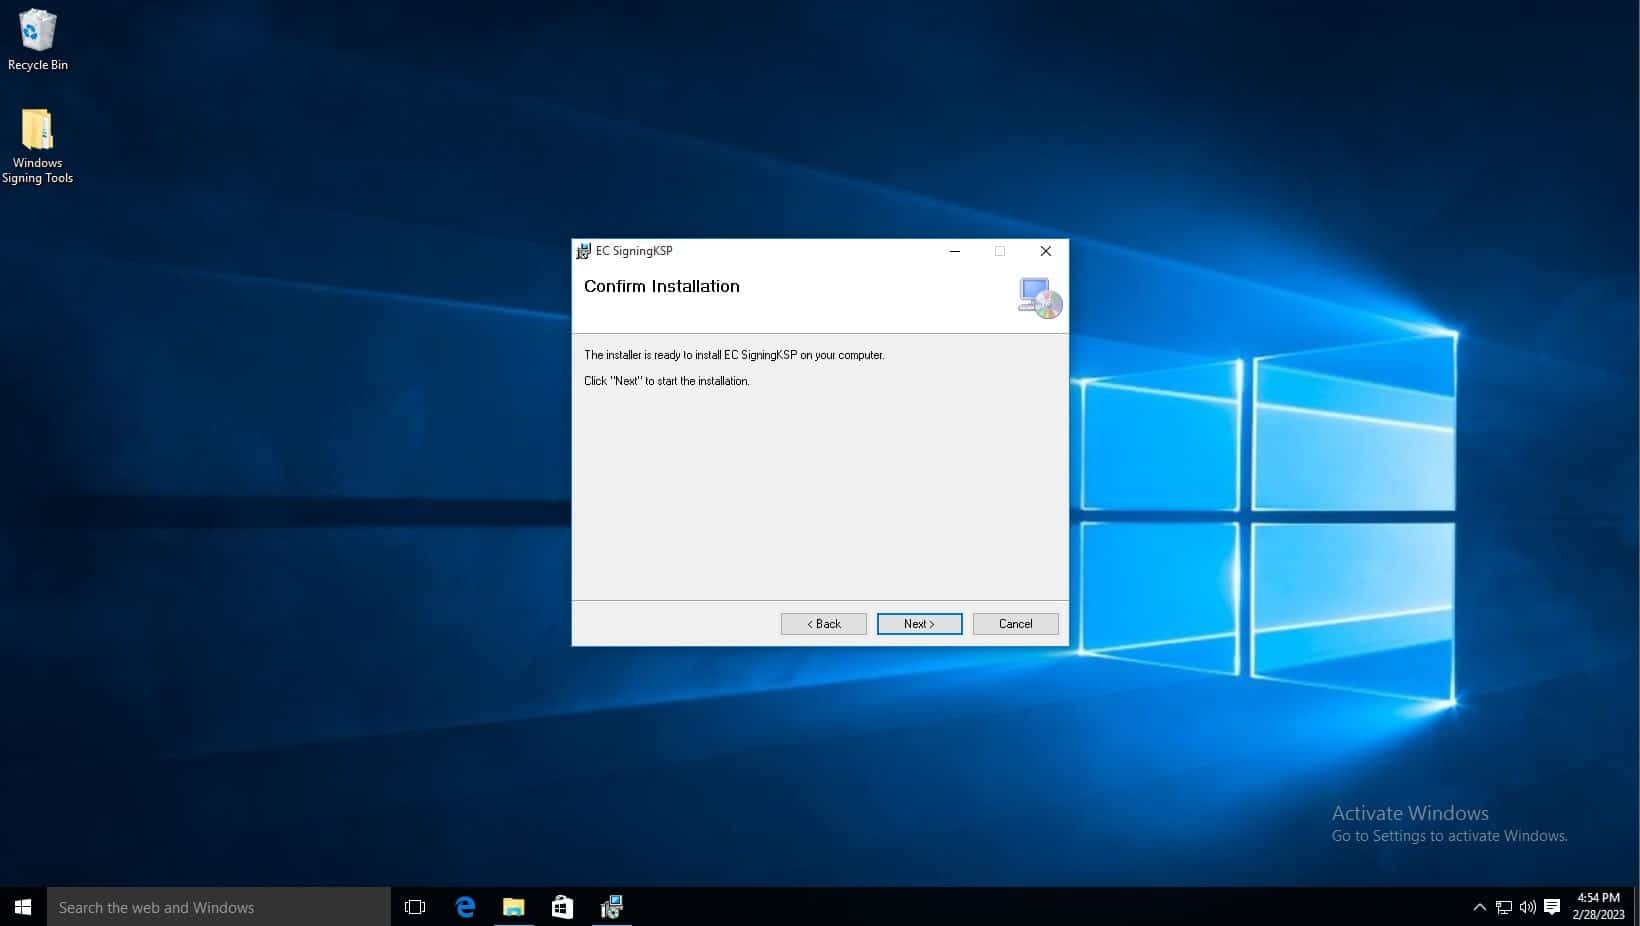
-
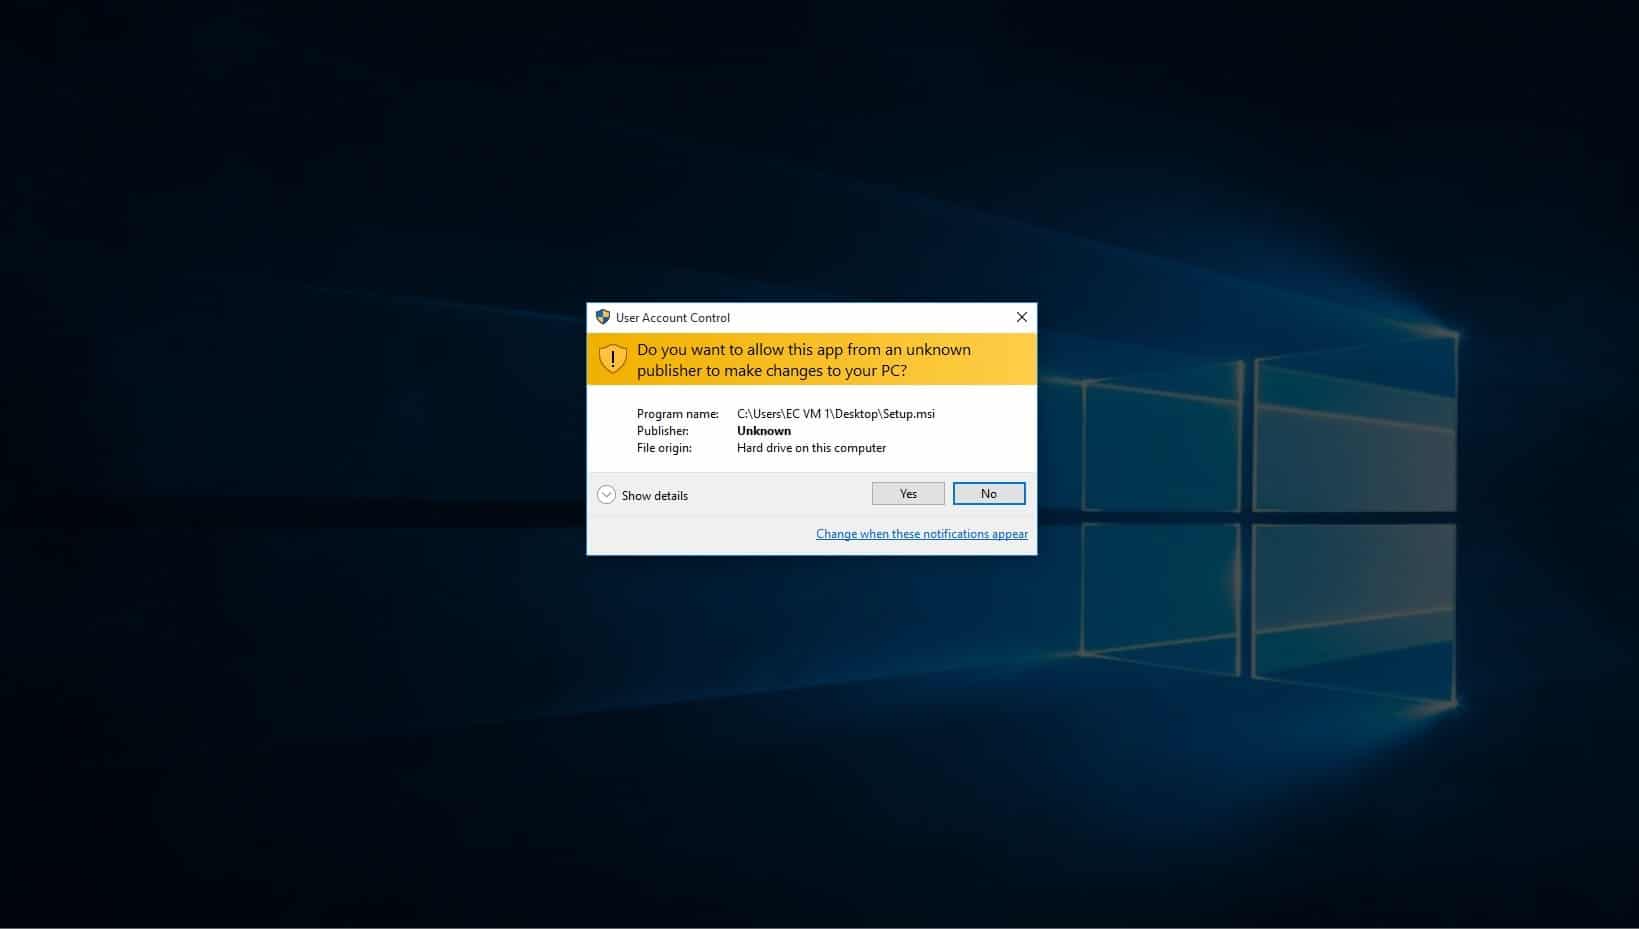
You will then be notified that this program will make changes to your pc, click yes.
-
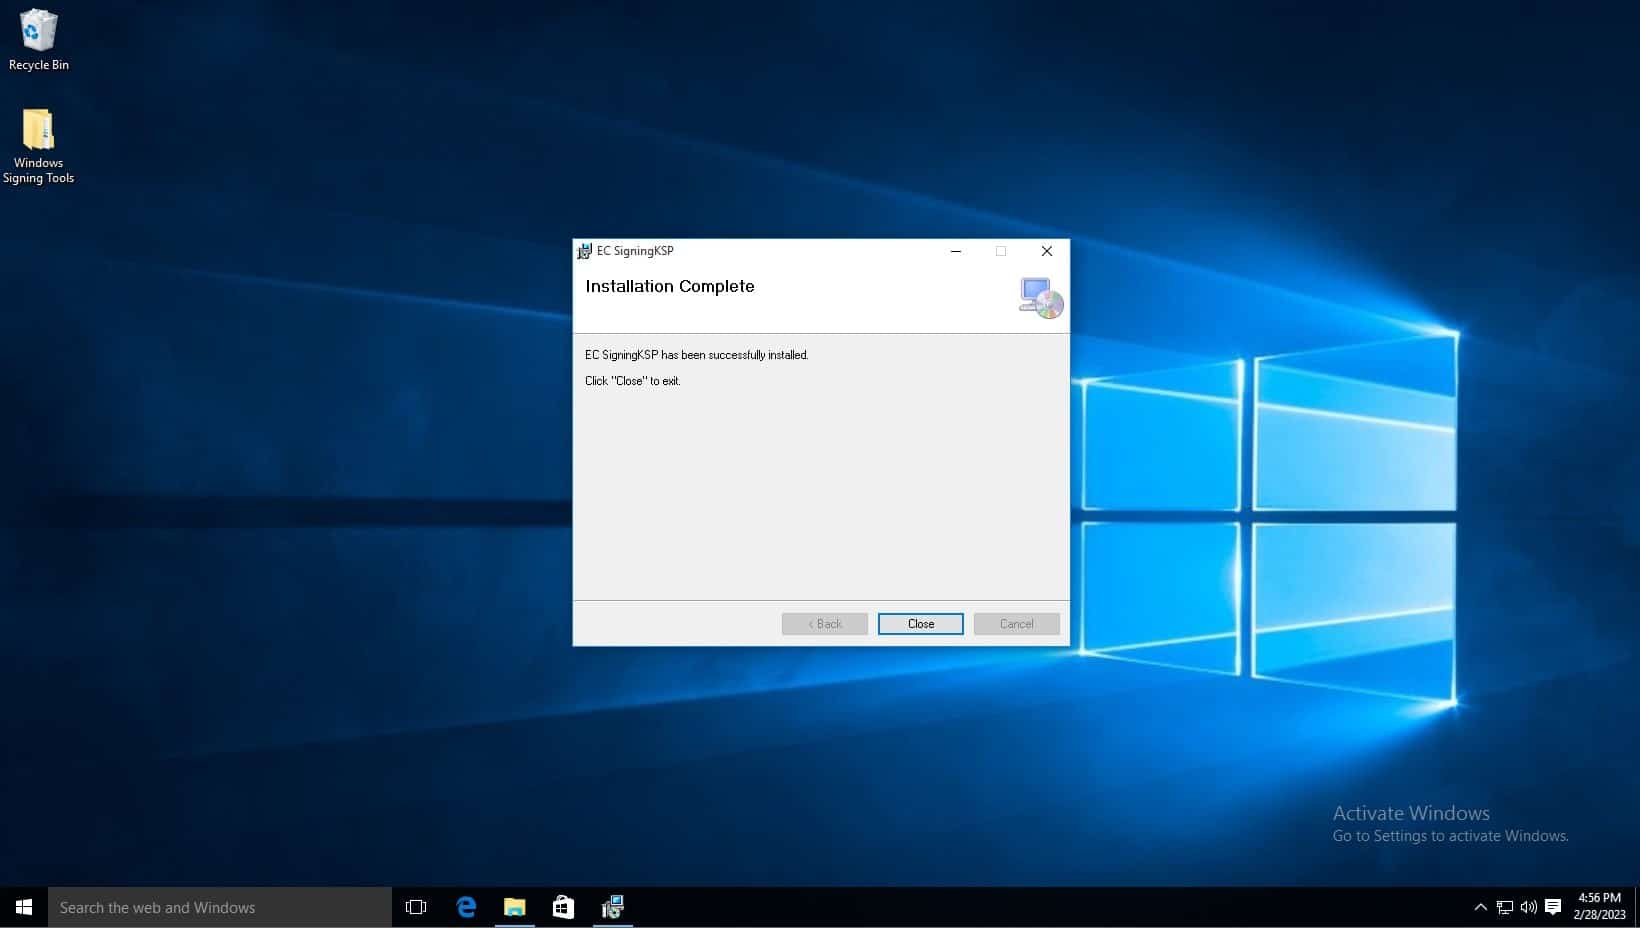
Installation is now complete.
Once Jenkins is set up, the service account running it needs permission to invoke signtool and reach the KSP; this does not require full local Administrator rights, and running Jenkins as Administrator to solve a signing permission problem is a least-privilege violation worth avoiding. The actual requirement is narrower: the Jenkins service account needs read access to the certificate file path referenced in the pipeline and whatever specific permission the KSP client requires to authenticate to the signing service (typically a registered client identity, not local admin). Grant that specific access via a dedicated, low-privilege service account rather than defaulting to Administrator; consult your KSP’s documentation for the exact permission it needs rather than granting broad rights to work around an unclear error.
- Go to services on your system (you can search for it) to check which account Jenkins currently runs as, visible in the “Log On As” column.
- If Jenkins is failing to reach signtool or the KSP with a permissions error, the fix is to grant that specific service account the narrow permission it’s missing (file access to the certificate path, or KSP client registration), not to switch the account to Administrator. Double-click Jenkins in Services, or right-click and choose Properties, then Log On, to view and adjust the account’s permissions.
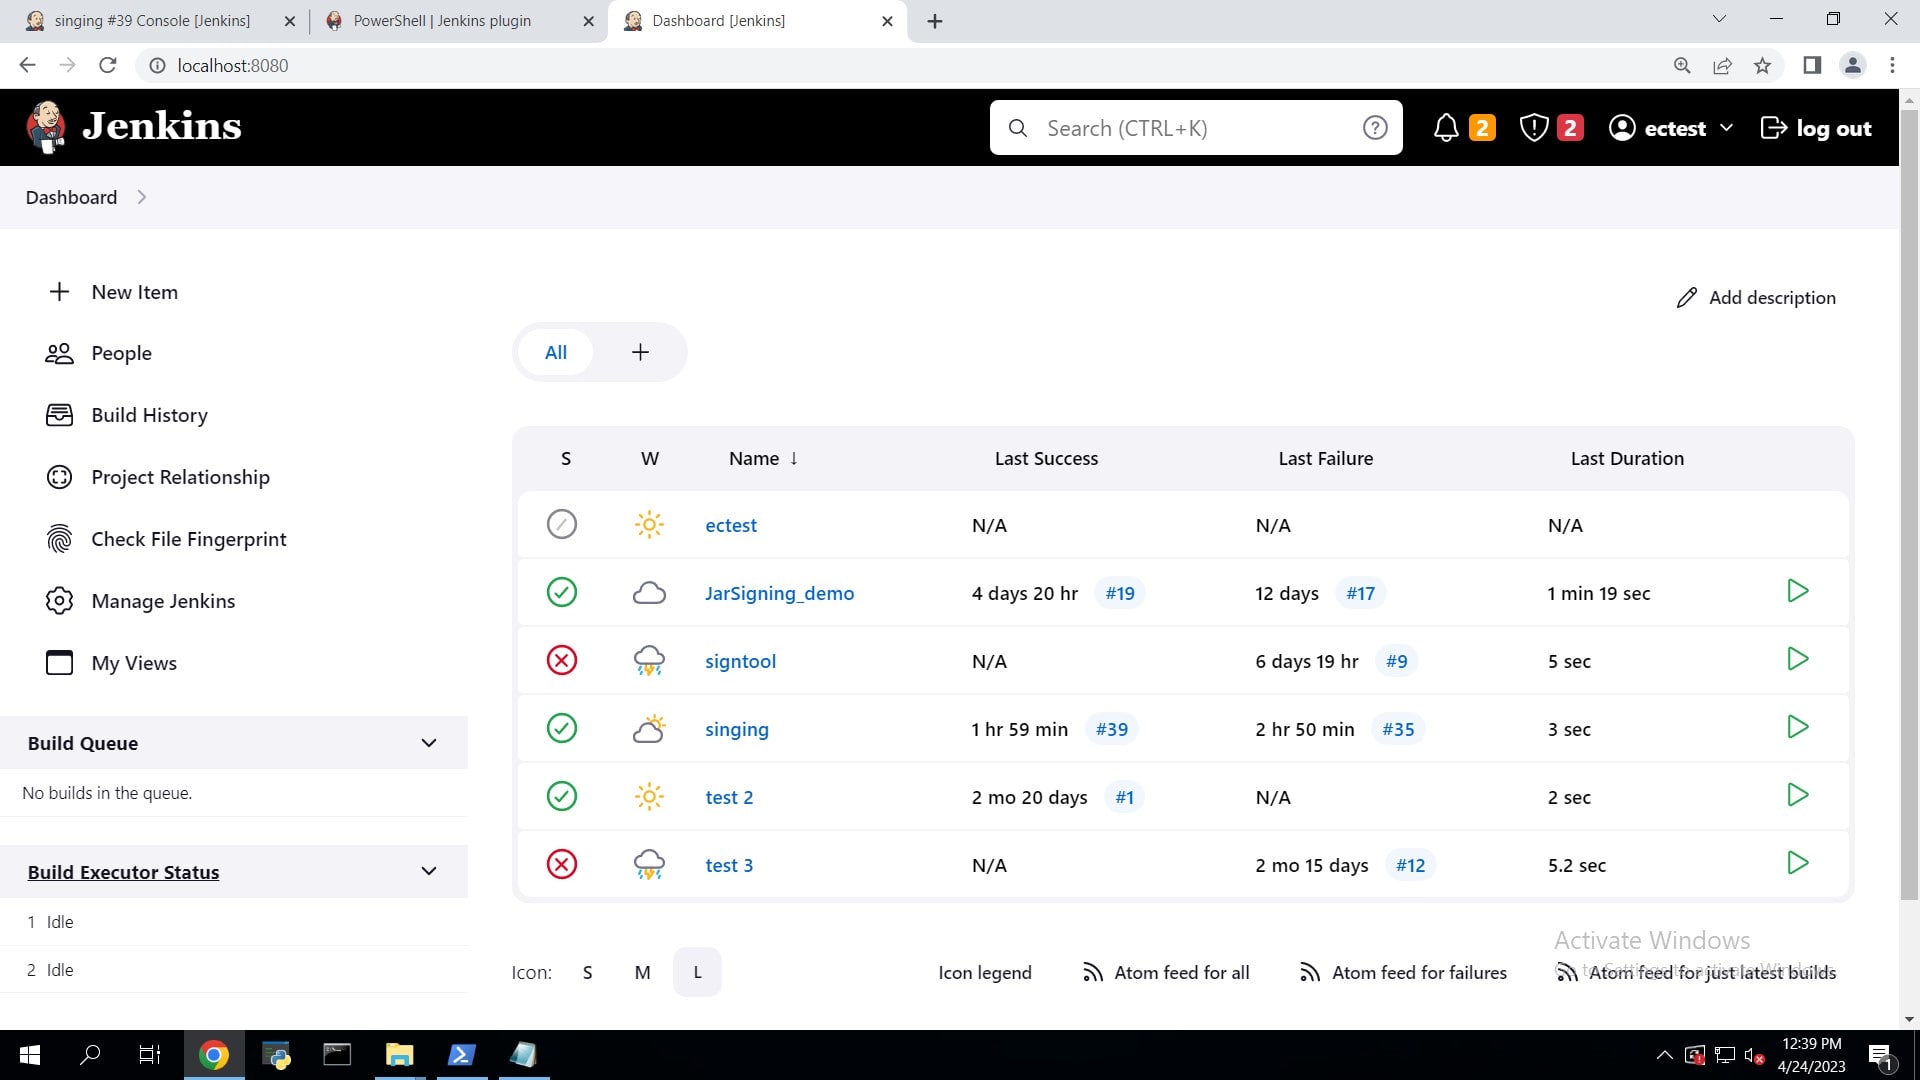
Once we have set this we’ll now head to Jenkins. Whichever URL/hostname you specified earlier while setting up, navigating to that from your browser will lead you to Jenkins. In my system I have set it up as http://localhost:8080/ (It is also default).
In your Dashboard follow the steps below:
-
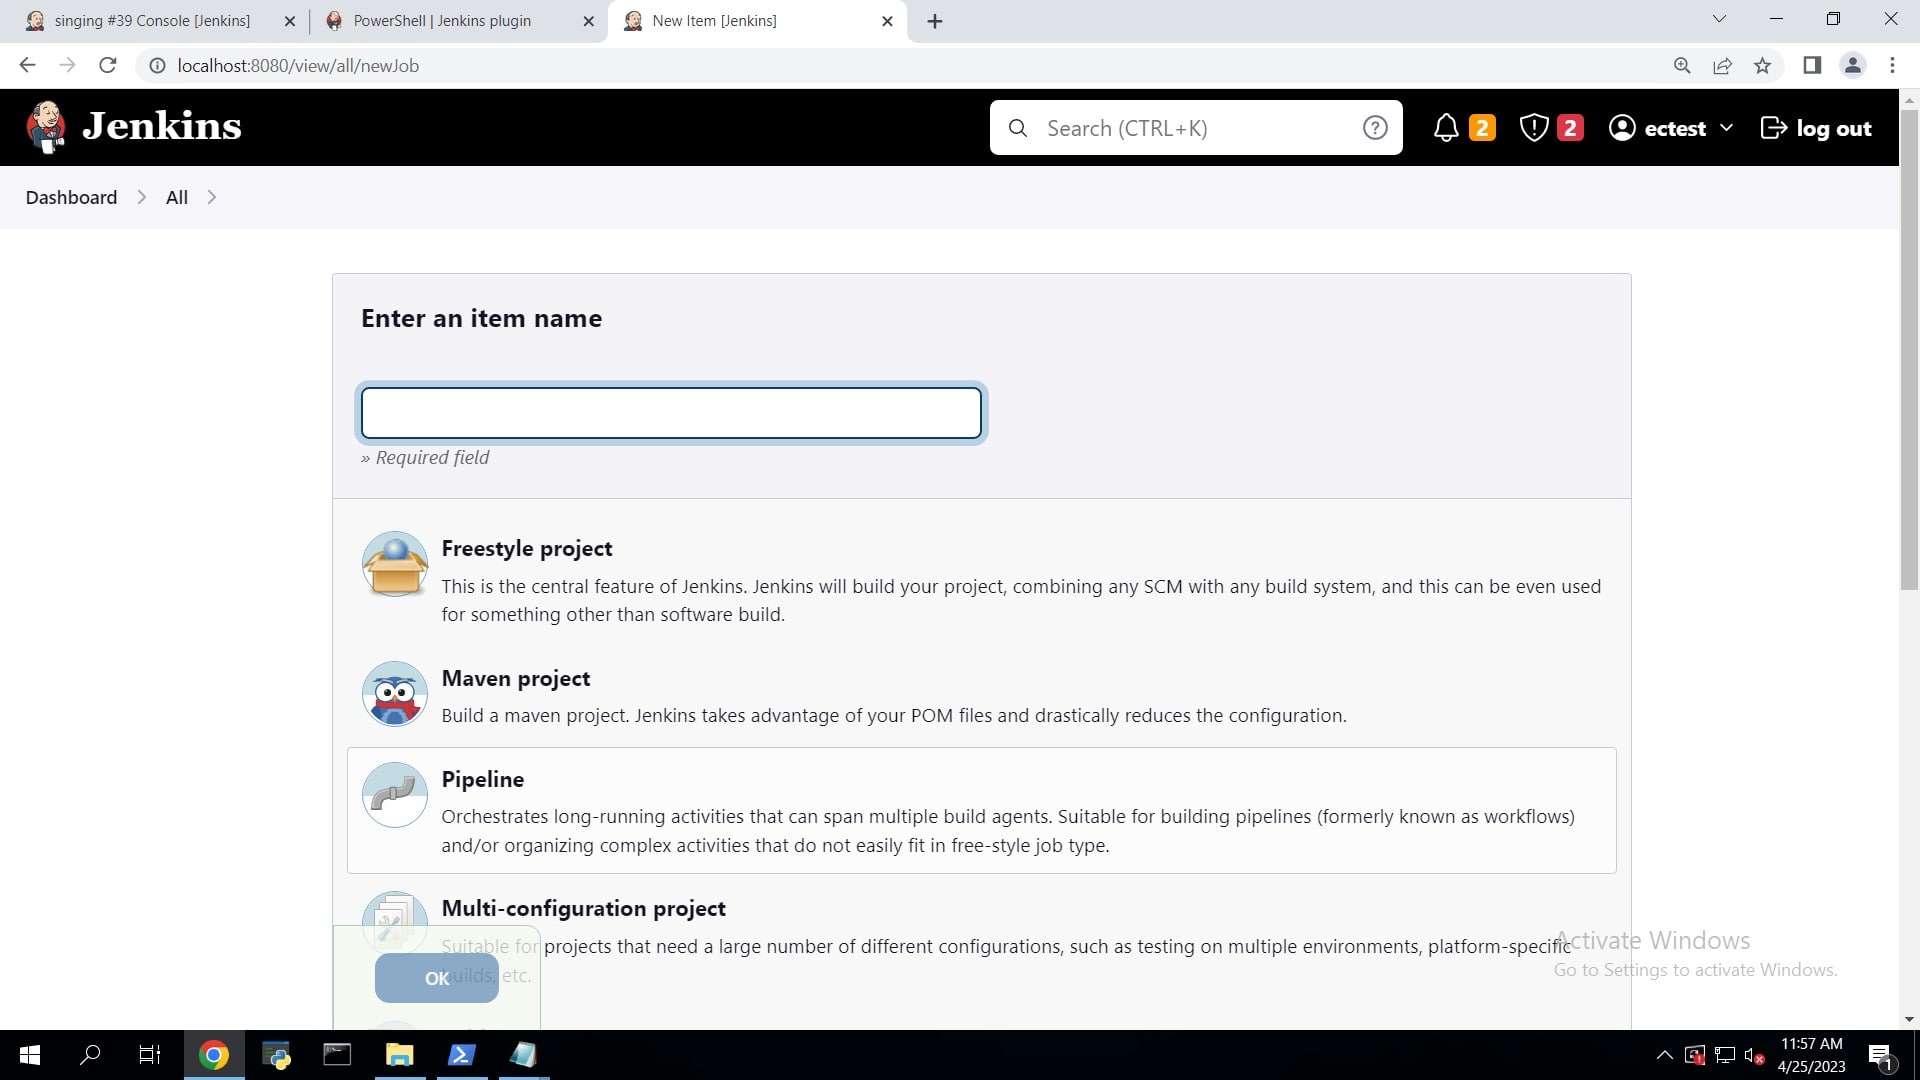
From Dashboard click on New Item.
-
Enter any item name and click on pipeline and click ok.
-
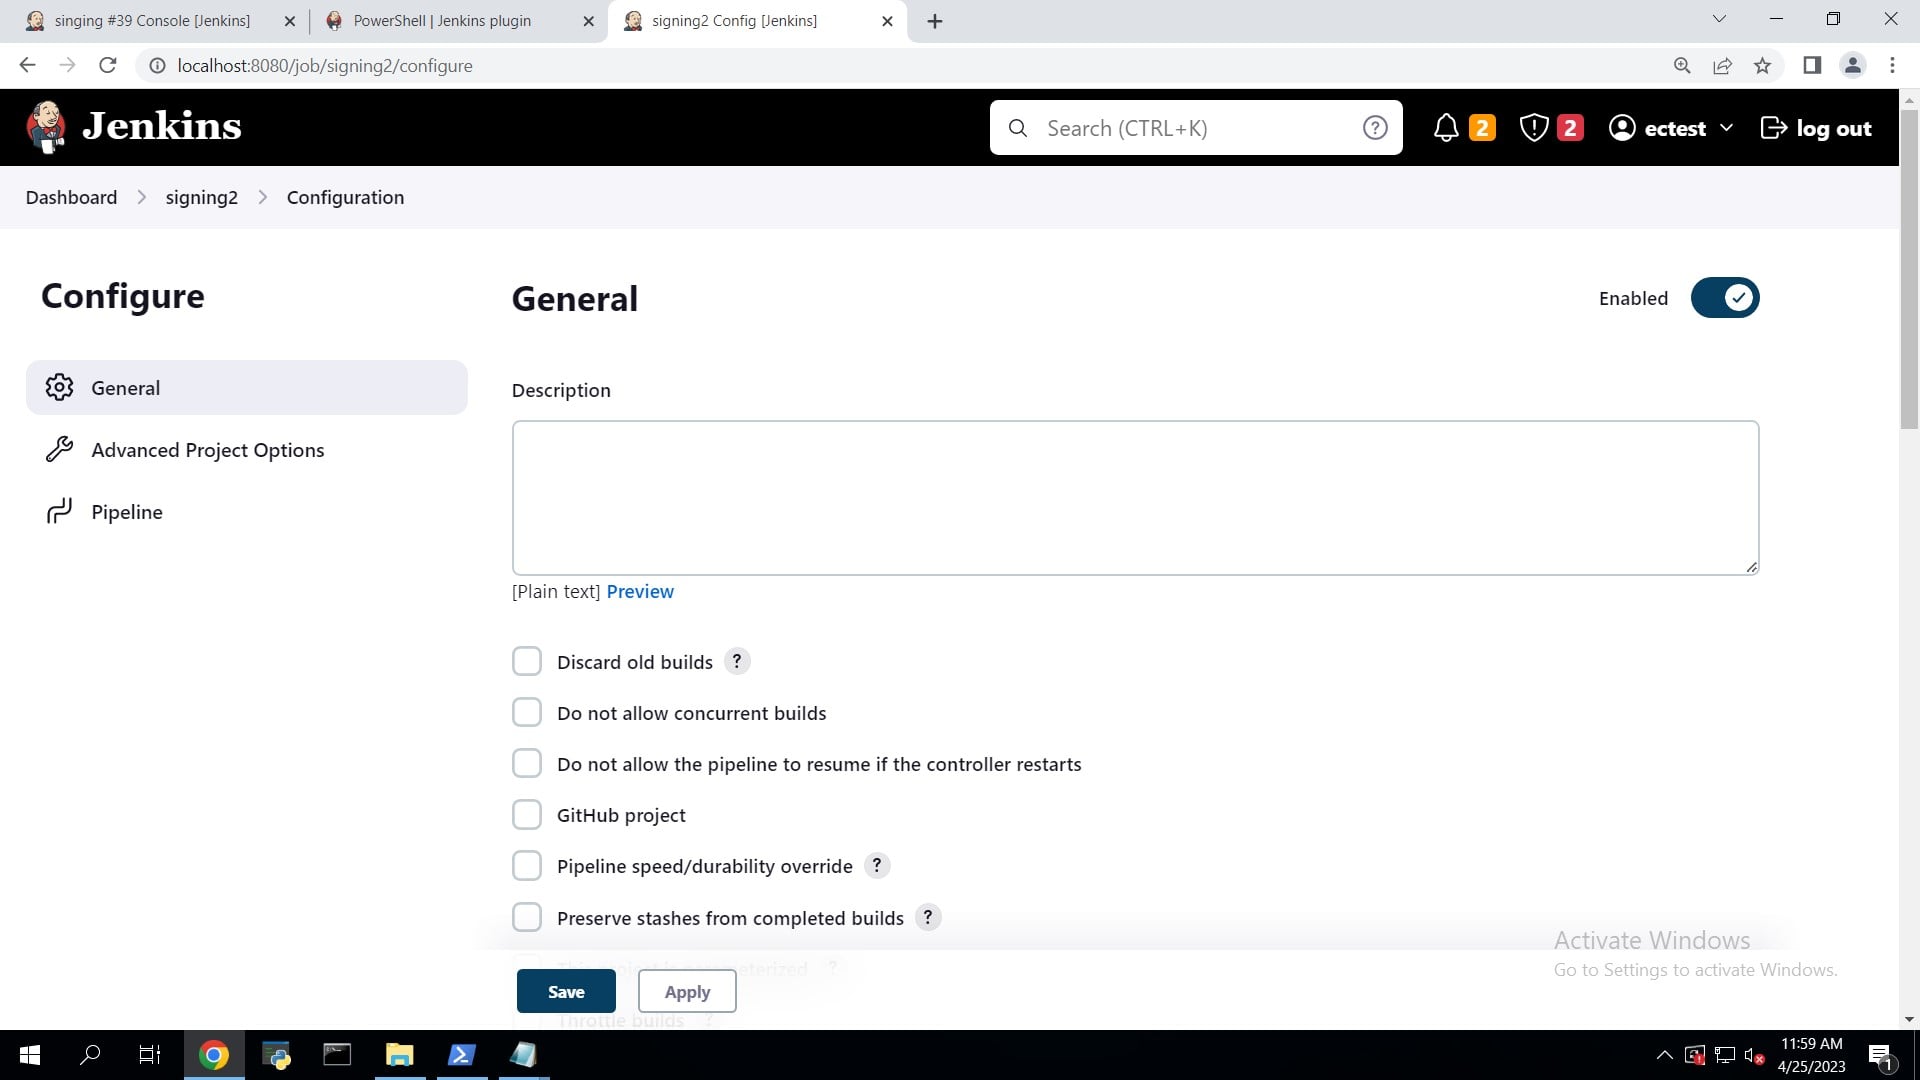
In configuration page, under General put up a description as your wish.
-
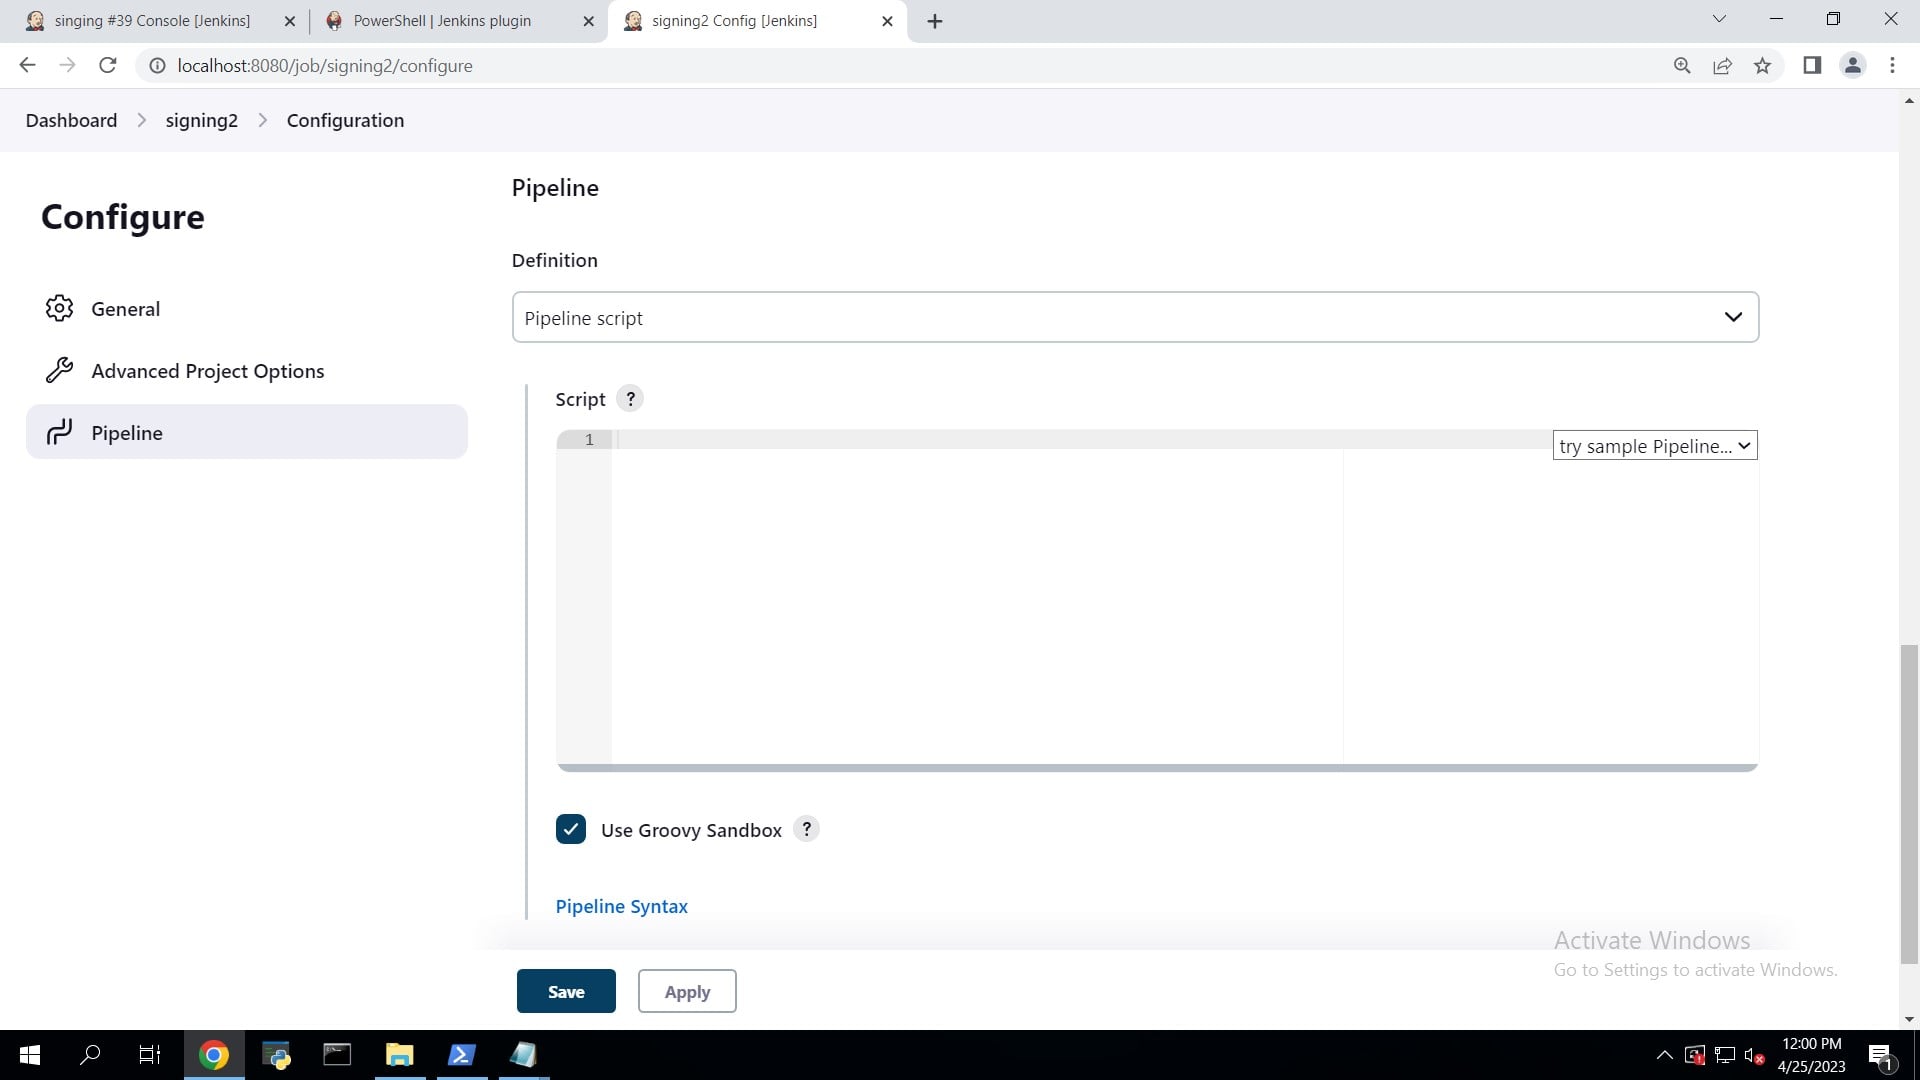
Scroll down to the bottom to find Pipeline.
-
Write the script in the script box and click on save. You’ll need to edit your environment variable as per your setup
pipeline { agent any environment { SM_KEY_NAME='evcodesigning' SM_CLIENT_CERT_FILE='C:\\Users\\Administrator\\Desktop\\ForTesting\\evcodesigning.pem' SM_HASHING_ALGORITHM='SHA256' SM_TIME_STAMP_SERVER="http://timestamp.digicert.com" SM_FILEPATH="C:\\Users\\Administrator\\Desktop\\ForTesting\\AgentService.exe" } stages { stage('Code Signing') { steps { dir('C:\\Users\\Administrator\\Desktop\\ForTesting'){ bat 'signtool sign /csp "Encryption Consulting Key Storage provider" /kc %SM_KEY_NAME% /fd %SM_HASHING_ALGORITHM% /f %SM_CLIENT_CERT_FILE% /tr %SM_TIME_STAMP_SERVER% /td SHA256 %SM_FILEPATH%' } } } } } -
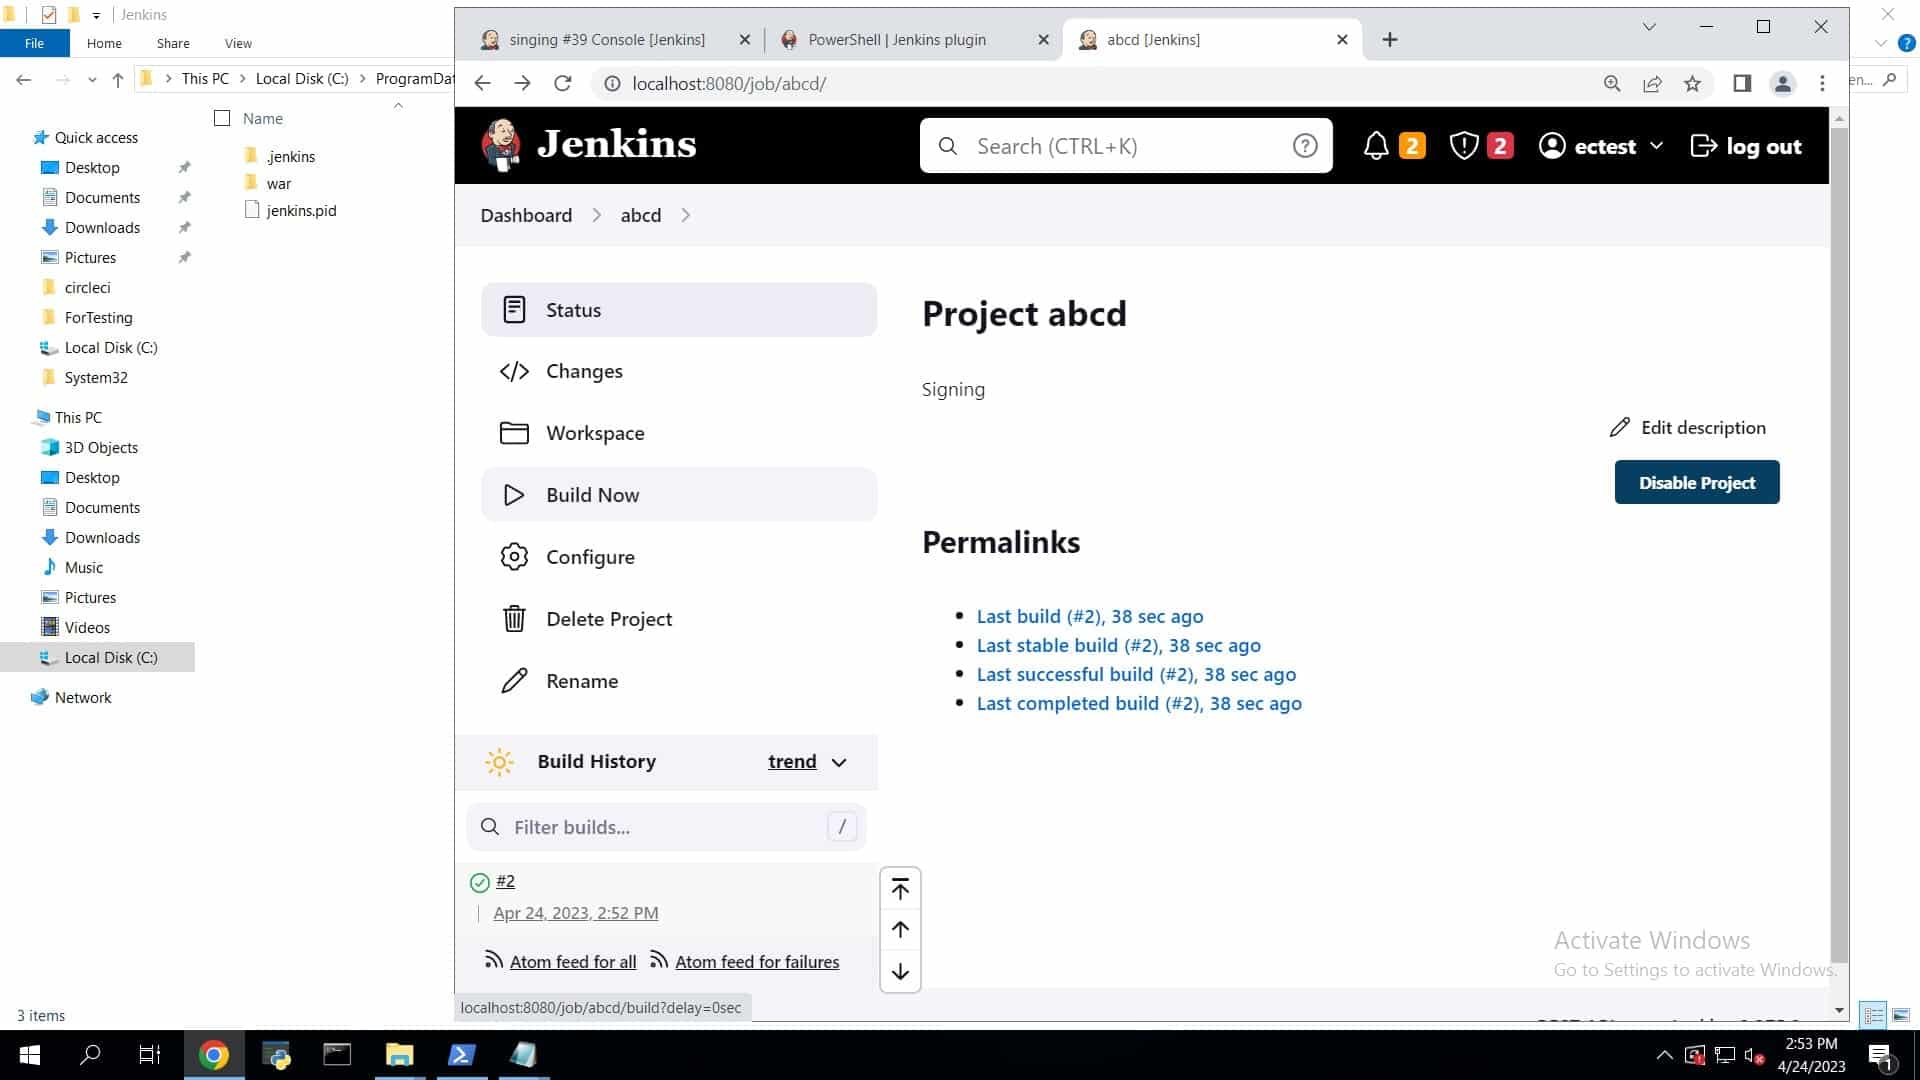
Click on build now and you’ll see a build number running on the screen.
-
If you click on the build number and go for console output you’ll see that your file has been signed.
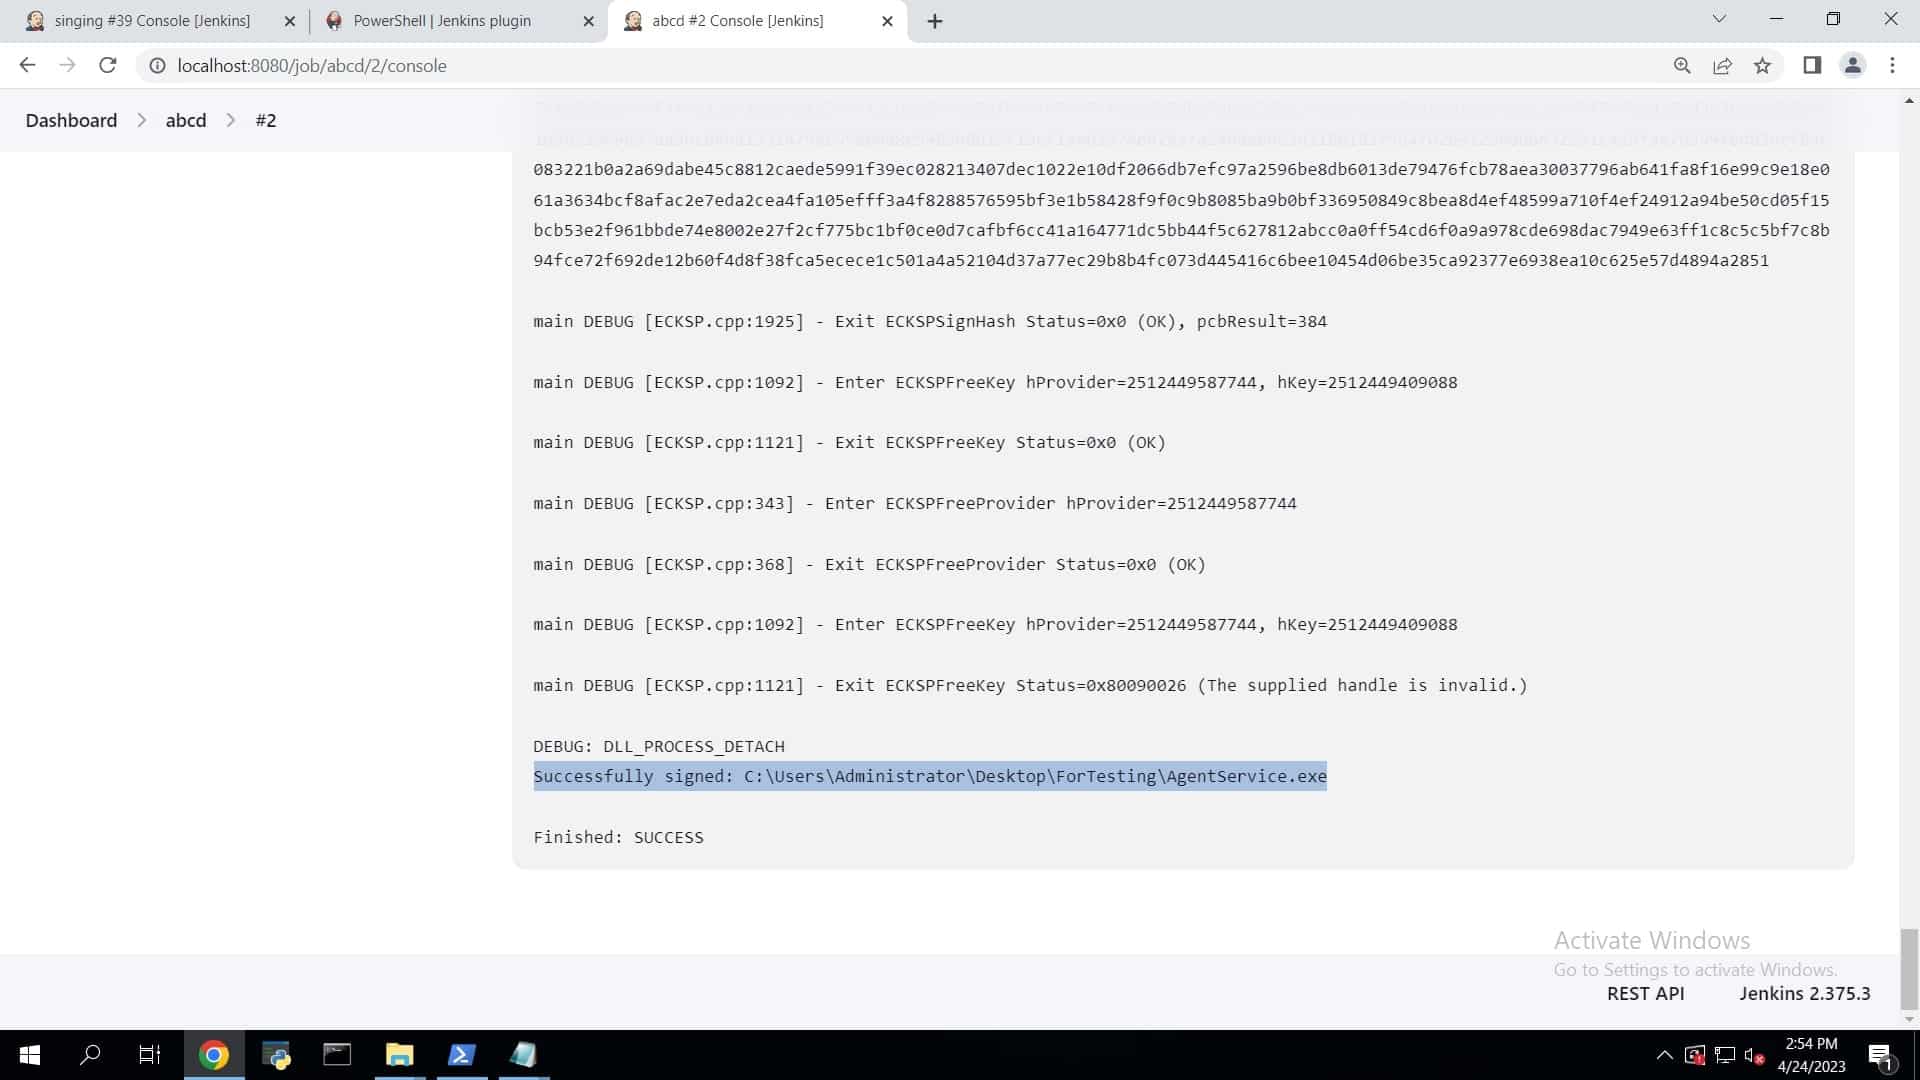
Verification and Failure Handling
Don’t treat “the pipeline stage completed” as proof the signature is valid. Add a verification stage immediately after signing that runs signtool verify /pa against the signed file and fails the build if verification doesn’t return success, catching a silent signing failure before the artifact moves further down the pipeline. If the pipeline reports a signing error, check the table below before assuming the certificate is invalid.
| Error | Likely Cause | Fix |
|---|---|---|
| No certificates were found that met all the given criteria | The KSP container name (SM_KEY_NAME) doesn’t match a registered key, or the KSP client isn’t authenticated | Confirm the exact container name and re-check the KSP’s authentication status independent of the pipeline |
| Access is denied | The Jenkins service account lacks the specific permission the KSP needs (this is not a reason to grant Administrator) | Grant the narrow permission the KSP documentation specifies for client authentication |
| The specified timestamp server either could not be reached or returned an invalid response | Network/firewall blocking the TSA URL, or a transient TSA outage | Confirm outbound access to the timestamp URL; retry, since TSA outages are usually transient |
For rollback, if a build is later found to have been signed incorrectly (wrong certificate, wrong file), don’t attempt to “fix” the signature in place; discard the artifact and re-run the pipeline from the signing stage against a corrected configuration, so there’s a clean audit trail showing the original bad artifact was never released rather than silently altered.
Frequently Asked Questions
Does the Jenkins service account need Administrator rights to run signtool?
No. It needs the specific permission the KSP requires to authenticate and file access to the certificate path referenced in the pipeline, not full local Administrator rights. Treating a permissions error as a reason to grant Administrator is a common but avoidable least-privilege violation.
How do I know the pipeline actually produced a valid signature, not just that the stage didn’t error?
Add a verification stage that runs signtool verify /pa against the signed file and fails the build on anything other than success, rather than assuming a completed signing stage means a valid signature.
Does the private key ever pass through the Jenkins agent?
No, in a correctly configured setup. The agent sends a signing request through the KSP to the HSM-backed signing service; the private key operation happens inside the HSM.